Table of Contents
Advertisement
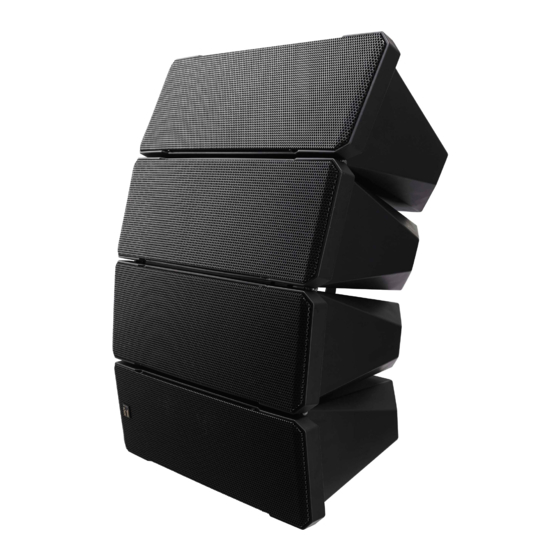
SPEAkER SySTEmS
WARNING
Thank you for purchasing TOA's Speaker Systems.
Please carefully follow the instructions in this manual to ensure long, trouble-free use of your equipment.
When using the speaker as shipped from the factory, be sure
to retighten the bolts holding the rear-mounted brackets with a
designated tightening torque. (See p. 8, "When Using the
Directivity Angle at 0º Mode.")
Failure to retighten the bolts may cause the speaker to fall, resulting
in personal injury.
OPERATING INSTRUCTIONS
HX-7B
HX-7W
HX-7B-WP
HX-7W-WP
Advertisement
Table of Contents


Need help?
Do you have a question about the HX-7B and is the answer not in the manual?
Questions and answers