Advertisement

Before installation or starting the compressor for
the first time,this manual should be studied careful-
ly to obtain a clear knowledge of the unit and of the
duties to be performed while operating and main-
taining the unit.
RETAIN THIS MANUAL WITH UNIT.
This Technical manual contains IMPORTANT SAFE-
TY DATA and should be kept with the air compres-
sor at all times.
More Than Air. Answers.
Online answers: http://www.air.ingersoll-rand.com
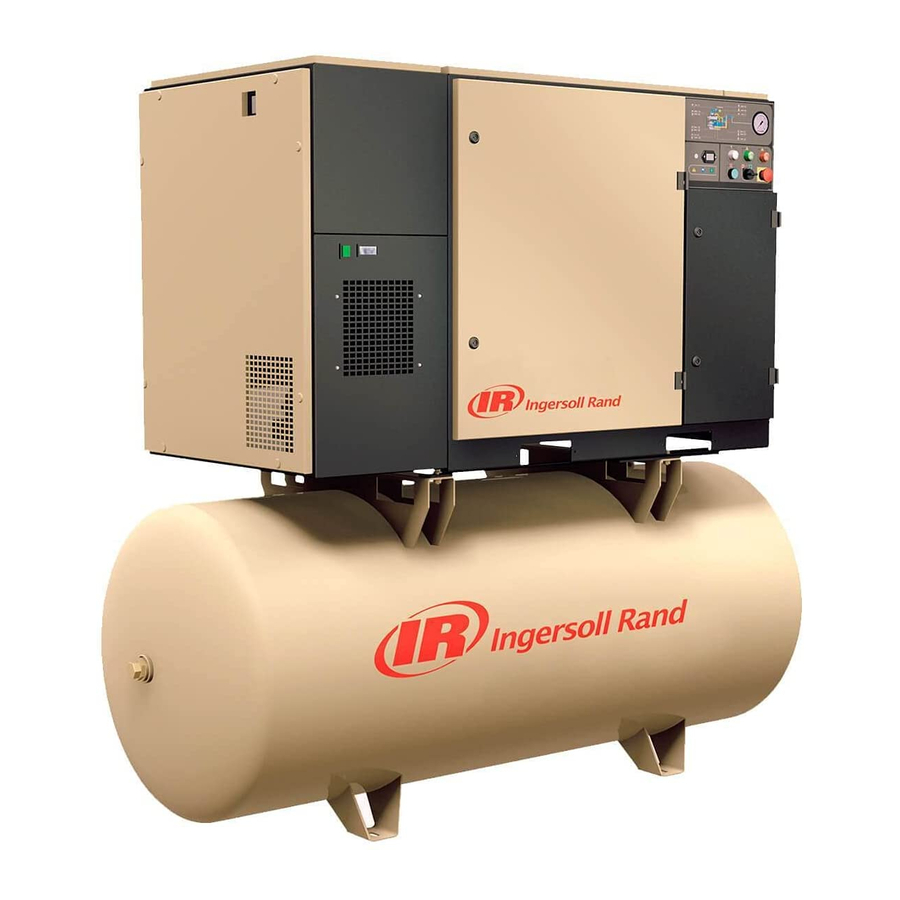
XF 7.5 - 15
EP 7.5 - 15
HP 7.5 - 15
XP 7.5 - 15
OPERATORS/
INSTRUCTION MANUAL
PARTS LIST
RECOMMENDED SPARES
APDD 702B
June 2000

Advertisement

Table of Contents
loading
Need help?

Need help?

Do you have a question about the XF 7.5 and is the answer not in the manual?

Questions and answers

Subscribe to Our Youtube Channel

Summary of Contents for Ingersoll-Rand XF 7.5

  • Page 1 XF 7.5 - 15 EP 7.5 - 15 HP 7.5 - 15 XP 7.5 - 15 OPERATORS/ INSTRUCTION MANUAL PARTS LIST RECOMMENDED SPARES Before installation or starting the compressor for the first time,this manual should be studied careful- ly to obtain a clear knowledge of the unit and of the duties to be performed while operating and main- taining the unit.
  • Page 2 EXTENDED AIREND WARRANTY The Ingersoll-Rand Company Rotary Screw Air Compressor that has been filled prior to its original shipment from Ingersoll-Rand Company with ULTRA COOLANT and which has been operated solely on ULTRA COOLANT there- after shall have its AIREND warranted for twenty four (24) months from the date of placing the COMPRESSOR in operation or thirty (30) months from the date of shipment, whichever occurs first.
  • Page 3 This unit was purchased from ––––––––––––––––––––––––––––––––––––––––––––––––––––––––––– ––––––––––––––––––––––––––––––––––––––––––––––––––––––––––– ––––––––––––––––––––––––––––––––––––––––––––––––––––––––––– Ingersoll-Rand Company reserves the right to make changes or add improvements without notice and without incurring any obligation to make such changes or add such improvements to products sold previously. No. of units on order: Customer Order No: Ingersoll-Rand Co.
  • Page 4: Table Of Contents

    TABLE OF CONTENTS 6.0 REFERENCE DRAWINGS 6.1 electrical schematic - full voltage 6.2 electrical schematic - star-delta 0.0 SAFETY AND WARNINGS 6.3 piping diagram 0.1 safety instructions 6.4 found. plan - 80 gal tank mounted - enclosed 0.2 safety precautions 6.5 found.
  • Page 5: Safety And Warnings

    0.0 SAFETY AND WARNINGS Safety instructions in the operators manual are bold-faced for emphasis. The signal words DANGER, WARNING and CAU- 0.1 SAFETY INSTRUCTIONS TION are used to indicate hazard seriousness levels as fol- Before you install this air compressor you should take the time lows: to carefully read all the instructions contained in this manual.
  • Page 6 It is the responsibility of the installer and owner to provide the appropriate service pipework to and from the machine. WARNING “Ingersoll-Rand air compressors are not designed, intended, or approved for breathing air applications. Ingersoll-Rand does not approve specialized equipment for breathing air application and assumes no responsibility or liability for compressors used for breathing air services.”...
  • Page 7: Decals

    0.3 DECALS This section contains representative examples of If for some reason a decal is defaced, parts are decals which will be appearing throughout this manual replaced or painted over, we recommend that you and are applied to the compressor unit. obtain a replacement (See Recommended Spare Parts List for Decal Kit Number).
  • Page 8 INGERSOLLrAND® 39859236 39540174 39540232 3954190 39540281 39544150 39540166 39544143 39540257 *THESE DECALS ARE LOCATED ON THE END OF THE RECEIVER TANK ON TANK MOUNTED UNITS.
  • Page 10: Receipt Of Equipment

    2.2 FOUNDATION REQUIREMENTS 1.0 RECEIPT OF EQUIPMENT The compressor can be installed on any level floor that 1.1 INSPECTION is capable of supporting the weight. When you receive the compressor please inspect it When sound transmission is of particular importance, closely.
  • Page 11 • If the area around the installation contains fine air- • Some type of protection such as a fence or security borne dust or lint and fibers etc., then the unit should system, should be provided to prevent unauthorized be purchased with the TEFC motor option. access.
  • Page 12: Piping

    It is essential when installing a new compressor to review the total plant air system.This is to insure a safe Contact your local Ingersoll-Rand Distributor or Air and effective total system. Center for assistance in selecting correct Ingersoll- Rand filtration or drying products.
  • Page 13 IMPORTANT: Discharge piping should be at least as large as the discharge connection at the compressor. All piping and fittings must be suitably rated for the discharge pressure and temperature. A careful review of piping size from the compressor connection point is essential. Length of pipe, size of pipe, number and type of fittings and valves must be considered for minimum air pressure drop and opti- mum efficiency of your compressor.
  • Page 14: Electrical Installation

    Inspect the motor and control wiring for tightness. 2.5 ELECTRICAL INSTALLATION Replace control box door. Before proceeding further, we recommend that you review the safety data in the front of this manual. 2.6 VOLTAGE CONVERSION Locate the compressor data plate on the left end of the cooler box next to the control box (See Figure IMPORTANT:This procedure should only be carried out 2.5-1).
  • Page 15: Rotation Check

    PROCEDURE: 2.7 ROTATION CHECK. Put main disconnect in the OFF position, lock and tag Locate the rotation decal on the motor and check for (See Figure 2.6-2). correct rotation.The correct rotation when viewed from the opposite drive end of the motor is clockwise. If compressor is operated in the opposite direction of rotation, airend damage can result and is not war- rantable.
  • Page 16: Before Starting - Starting - Stopping

    equipped. Push the Start button to start the unit and Starting immediately depress (push) the Stop button to stop the 1. Push the Start button and release.The compressor unit. will start and then load automatically if line pressure is Observe the compressor drive motor shaft. The rota- below the lower set point of the pressure switch.
  • Page 17: Air Systems

    Coolant 3.3 AIR SYSTEM Rotary screw compressor fluids have a triple function Components and Flow to perform.They lubricate the bearings and contacting The air system is composed of: surfaces of the rotors, seal internal clearances within Inlet air filter the rotor chamber, and provide for the cooling of the Inlet valve compression process.The bulk of the fluid is actually Airend...
  • Page 18: Capacity Control

    3.4 CAPACITY CONTROL 4. Set the off-line pressure by turning screw 2.Turn screw counter-clockwise to increase setting or clock- On Line/Off Line With Automatic Start/Stop wise to decrease setting (indicated by pointer 3). Control The compressor will deliver air at full capacity, (the CAUTION: compressor maximum efficiency condition) or will DO NOT EXCEED MAXIMUM DISCHARGE PRES-...
  • Page 19: Maintenance

    Have a well equipped mechanic’s tool box with English and detailed records of all maintenance work you or and Metric sockets. (Special tools when needed will be the Ingersoll-Rand Distributor or Air Center perform on listed under each appropriate procedure). your compressor.This includes, but is not limited to,...
  • Page 20: Pressure Relief Valve Check

    Before beginning any work on the compressor, open, lock and tag the main electrical disconnect and close the isolation valve on the compressor dis- charge.Wait 2 minutes after stopping to allow inter- nal pressure to dissipate.Vent residual pressure from the unit by slowly unscrewing the coolant fill plug one turn.
  • Page 21: Sheave Alignment

    4.5 SHEAVE ALIGNMENT Align Sheaves Any degree of sheave misalignment will result in a Ensure that the compressor is isolated from the reduction of belt life. Misalignment of belt drive should compressed air system by closing the isolation not exceed 1/16 in. (1.6 mm). valve and venting pressure from the drip leg.
  • Page 22: Drive Belt

    2.7-1 and remove. Replacement Parts Belts (See Recommended Spare Parts Section 7.3). Be sure to use only Ingersoll-Rand genuine parts to assure proper belt size and length. Incorrectly sized belts can lead to overloading of bearings and eventual “A” - Clearance Holes airend or motor failure.
  • Page 23: Shaft Seal Replacement

    Ingersoll-Rand Distributor or Air Center perform this 10. Drive each seal out of the housing, being careful work, the task can be accomplished by a good mechanic not to damage the surface of the bore.The larger...
  • Page 24 15. Be certain to install the seals from the proper side 22. Using a clean flat tool that is larger in diameter and in the proper orientation. Carefully follow directions than the seal, press the single lip seal into the seal for seal assembly.
  • Page 25: Inlet Air Filter Element

    4.9 INLET AIR FILTER ELEMENT Special Tools Suitable clean drain pan or container to hold coolant The inlet air filter element should be changed at the drained from unit. interval shown in the maintenance chart or any time the filter becomes dirty. A quantity of proper coolant sufficient to top off the coolant level in the compressor.
  • Page 26: Coolant Change

    9. Fill unit with new coolant as follows: a. Fill tank to the bottom of the threads in the coolant fill port. b. Replace fill plug. c. Run compressor 15-20 seconds. d. Stop compressor and relieve pressure by slowly unscrewing the coolant fill plug one turn.
  • Page 27: Coolant Hose

    The flexible hose that carries coolant to the airend may become brittle with age and will require replacement. COOLANT DRAIN VALVE Have your local Ingersoll-Rand Distributor or Air Center check it every year, and replace as needed or every 2 FIGURE 4.11-1 COOLANT DRAIN VALVE years.
  • Page 28: Coolant Separator Element

    Installation Before beginning any work on the compressor, open, lock and tag the main electrical disconnect Install the new hose. Refill the unit with coolant. Start and close the isolation valve on the compressor the compressor and check for leaks. Stop unit and discharge.Wait 2 minutes after stopping to allow check coolant level in the sight glass on the separator internal pressure to dissipate.Vent residual pres-...
  • Page 29: Separator Tank Scavenge Check Valve/Screen/Orifice

    6. Replace cover and start the retaining bolts. 4.15 COOLER CORES/CLEANING Inspection 7.Torque bolts evenly to 80 ft.-lb (109 N-m). Visually check the cooler cores for build up of dirt, 8. Replace connections removed in step 1. dust, lint or other foreign material. 9.
  • Page 30: Trouble Shooting

    5.0 TROUBLE SHOOTING TROUBLE CHECK POINT NUMBERS Compressor Fails to Start 1,2,3 Repeat Shutdowns 3,4,5,2 High Amp Draw 8,9,6,7 Low Amp Draw 1,10,12 High Discharge Pressure 13,15,16,19 Low Air System Pressure 22, 20,17,18,13,15,14,19,7 Unit Running Hot 22,21,23,24,6 High Coolant Consumption 28,27,25,26 Excessive Noise Level 17,18,31,30,29...
  • Page 31: Reference Drawings

    6.0 REFERENCE DRAWINGS 39914643 REV 01 6.1 ELECTRICAL SCHEMATIC - FULL VOLTAGE...
  • Page 37 6.5 FOUNDATION PLAN - 80 GAL TANK MOUNTED - UNENCLOSED...
  • Page 39 6.6 FOUNDATION PLAN - 120 GAL TANK MOUNTED - ENCLOSED...
  • Page 44 6.9 FOUNDATION PLAN - BASE MOUNTED - UNENCLOSED (CONTINUED)
  • Page 46: Typical System Flow Diagram

    PRE FILTER FUTURE DRYER ISOLATION VALVE RECEIVER COMP. SYSTEM AFTER PRE FILTER FILTER OUTSIDE COMPRESSOR ROOM GLADHAND Emergency Standby Air Hook Up.Complete with Necessary Fitting For Portable or IR Rental Air Unit From Local IRDistributor VALVE Water, Or Ball Type Valve UNION Aids in Disconnecting Compressor From The System PRESSURE GAUGE...
  • Page 47: Parts List

    Canadian 2. Locate the part on the illustration Ingersoll-Rand Company, Limited. by visual identification and the ref- 1.The model number of the unit as There are also Ingersoll-Rand erence number. shown on the Compressor Data Company subsidiaries and autho- Plate.
  • Page 57 NOTE:...
  • Page 70 O-RINGS FOR SAE FITTINGS Part Size/ Tube Thread Width Size 39404157 7/16-20 0.351 0.072 39404132 9/16-18 0.468 0.078 39404165 3/4-16 0.644 0.087 39437074 7/8-14 0.755 0.097 39407531 1- 1/16-12 0.924 0.116 39404173 1- 5/16-12 1.171 0.116 39404140 1- 5/8-12 1.475 0.118 1-1/4 39406996...
  • Page 71: Service And Option Kits

    7.3 SERVICE AND OPTION KITS Service Kits: Part Number Description Models 42448456 *Kit, Maintenance Units with Uncoded Separator Tank 42474692 *Kit, Maintenance Units with ASME/CRN Separator Tank Option Kits: Part Number Description 42457721 Kit, Field - Power Outage Restart (PORO) 42455865 Kit, Field - High Dust Air Filter 42448753...
  • Page 72: Recommended Spare Parts

    Fuse, FU1 / FU2 39239355 Fuse, FU3 39113527 Control Circuit Transformer 39233408 Decal Kit (English) 39256730 QUANTITY IS (2) FOR STAR-DELTA ** BELT SIZE AND QUANTITY VARYWITH HORSEPOWER AND PRESSURE RATING.CONTACT YOUR LOCAL INGERSOLL-RAND DISTRIBUTOR IF ASSISTANCE IS NEEDED FOR BELT REPLACEMENT.
  • Page 73 8.0 MAINTENANCE RECORD DATE RUN TIME WORK DONE QTY. UNIT WORK (HOURS) MEASURE...
  • Page 74: Maintenance Record

    MAINTENANCE RECORD DATE RUN TIME WORK DONE QTY. UNIT WORK (HOURS) MEASURE...

This manual is also suitable for:

Ep 15Hp 7.5Hp 15Xf 15Xp 7.5Xp 15 ... Show all

Table of Contents

Save PDF