Advertisement
Table of Contents
- 1 Recommended Tools
- 2 Included Components
- 3 Important Safety Instructions
- 4 In the Home Close to Wi-Fi Router
- 5 Download the OHD Anywhere™ App
- 6 In the Garage
- 7 Wire OHD Anywhere™: (Single Door Install Shown)
- 8 Button & Connection Detail
- 9 Mount and Power Aladdin Connect™
- 10 Mount DPS Module to Garage Door
- 11 Complete the Programming
- Download this manual
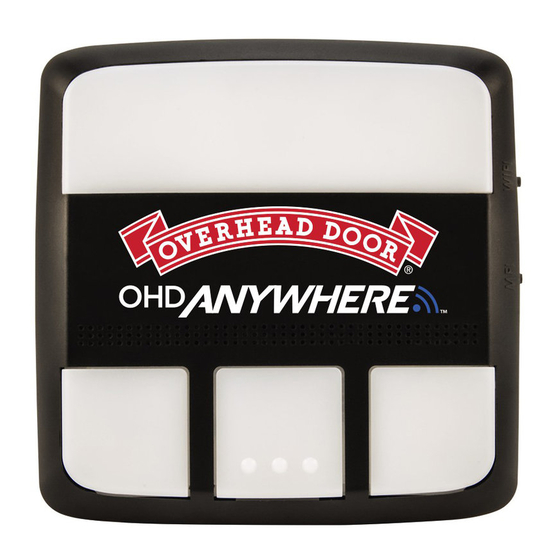
OHD Anywhere™
Control Wire
Power Pack
For a video of this installation,
Visit www.OverheadDoor.com/OHDAnywhere/InstallationVideo
Drill & 3/32 Bit
Wall Button Wire
Photocell wire
Hammer
Quick Set-up Guide
Recommended Tools
Included Components
DCM
Small Common
(Door Control Module)
Screwdriver
5/16 Wrench or
Nut Driver
Phillips Head
Screwdriver
Wire Cutters/
Strippers
Wire Spool
DPS
(Door Position Sensor)
Hardware Bag
Power Pack
Insulated
Staple x30
39405503009 10/15
Advertisement
Table of Contents

Summary of Contents for Overhead door ohd anywhere
- Page 1 Quick Set-up Guide Recommended Tools Included Components Drill & 3/32 Bit OHD Anywhere™ Control Wire Wall Button Wire Photocell wire Small Common (Door Control Module) Screwdriver (Door Position Sensor) Power Pack 5/16 Wrench or Nut Driver Phillips Head Screwdriver Wire Cutters/...
-
Page 2: Important Safety Instructions
DO NOT install OHD Anywhere™ on garage peut se déplacer de façon inattendue. door openers manufactured prior to 1993 NE PAS installer OHD Anywhere™ sur les ouvre-portes without photocell non-contact safety sensors. de garage fabriqués avant 1993, sans capteurs de DO NOT install on one-piece doors sécurité... - Page 3 Scan for app. FIG.A FIG.B NOTE: Customers using control apps from other vendors and NOT using the OHD Anywhere™ app to control this system will need to visit www.OverheadDoor.com/OHDAnywhere for specific Wi-Fi Apple and the Apple logo are trademarks instructions.
- Page 4 STEP 3 WARNING In the Garage: UNPLUG GARAGE DOOR OPENER PRIOR TO INSTALLING These factors must be determined prior to mounting OHD Anywhere™ OHD Anywhere™ (DCM) to the wall or ceiling. Door may operate unexpectedly. 1. Optimal Wi-Fi signal strength.
- Page 5 STEP 4 Button & Connection Detail Wire OHD Anywhere™: (Single door install shown) OHD Anywhere™ will wire directly to the wall control connections at the powerhead or directly to the wall control. New Genie models shown. OVERHEAD DOOR CORPORATION Visit www.OverheadDoor.com/OHDAnywhere for more information on older models 1-866-901-2750 or www.Overheaddoor.com...
- Page 6 All Overhead Door brand and most competitor brands of garage door openers will operate with OHD Anywhere™. Visit www. OverheadDoor.com/OHDAnywhere for detailed wire diagrams or to check compatibility with other manufacturer’s controls or check your garage door opener’s owners manual for wall control wiring instructions. OHD Anywhere™ will operate up to 3 garage door openers.
- Page 7 STEP 5 Mount and Power Aladdin Connect™: Using the DCM mounting bracket as a template at the optimal Wi-Fi location. Mark and drill 2-3/32” pilot holes and mount bracket to wall using supplied screws. If mounting to drywall, use anchors provided in kit or if mounting to perforated angle at opener location, use nuts, washers and screws provided.
- Page 8 STEP 6 Mount DPS Module to Garage Door: The DPS should be mounted on the TOP door panel only. Mount to steel reinforced end stile on the far left or right under the top hinge. DO NOT mount to unreinforced door panel. Clean door where DPS will mount.
- Page 9 Restore power to the garage door opener. Follow the on screen prompts to complete the set-up and test the OHD Anywhere™ system. NOTE: This kit includes one DPS sensor for use with one door only. Additional DPS sensors can be purchased separately from your local Overhead Door Distributor.
- Page 11 Solo para ser usado en puertas de garaje modulares (2) This device must accept any interference, estándar. including interference that may cause NO instale OHD Anywhere™ en abridores de puerta de undesired operation of this device. garaje sin fotoceldas de seguridad. Declaración de FCC/ICS: NO instale OHD Anywhere™ en puertas que abren Este dispositivo cumple con las reglas de la Parte hacia afuera o en puertas de una pieza.


Need help?
Do you have a question about the ohd anywhere and is the answer not in the manual?
Questions and answers