
Summary of Contents for Vision techconnect control 3
- Page 1 TECHCONNECT CONTROL OWNERS MANUAL www.visionaudiovisual.com/techconnect/tc2-ctl3 TC2-CTL3_manual_en...
-
Page 2: Declaration Of Conformity
WARNING: TO REDUCE THE RISK OF FIRE OR ELECTRIC SHOCK, DO NOT EXPOSE THIS APPLIANCE TO RAIN OR MOISTURE. All products are designed and imported into the EU by ‘Vision’ who is wholly owned by ‘Azlan Logistics Ltd.’, Registered in England Nr. 04625566 at Lion House, 4 Pioneer Business Park, Clifton Moor, York, YO30 4GH. -
Page 3: Place Of Installation
WARNING SIGNS If you detect an abnormal smell or smoke, turn this product off immediately and unplug the power cord. Contact your reseller or Vision. PACKAGING Save all packing material. It is essential for shipping in the event the unit ever needs repair. -
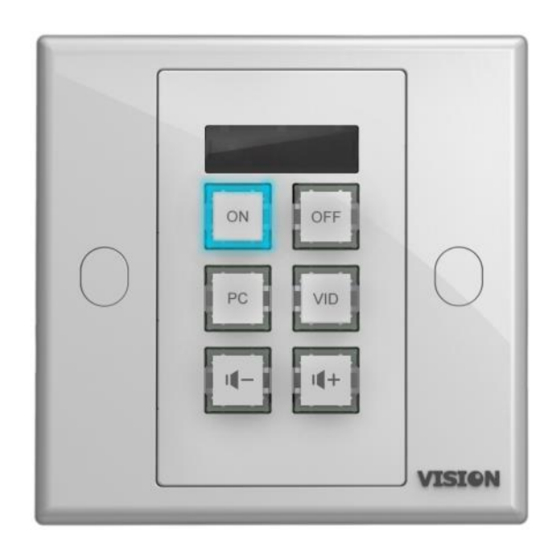
Page 4: Front And Rear Panels
FRONT AND REAR PANELS 1. Learn Confirmation LED (green) 6. RS-232 2. Learn Mode LED (red) 7. PWR in (12V 0.5A) 3. IR Receiver 8. 12V Trigger out 4. Internal IR Blaster / Emitter 9. RS-485 5. Function Buttons 10. IR out BUTTONS TC2-CTL3_manual_en... -
Page 5: Control Options
CONTROL OPTIONS Techconnect Control learns and replicates codes sent from a device’s infrared remote control. An IR emitter integrated into the front panel is adequate for small rooms. For larger rooms three external wired IR emitters are included – one with a 10m cable, and two without cables. - Page 6 Note: Tx is normally wired to Rx. Extron requires you to wire Tx to Tx. TC2-CTL3_manual_en...
-
Page 7: Installation
INSTALLATION FIT LABELS Use flat-head screwdriver to unclip clear button covers, then apply labels as shown: SELECT POWER SOURCE The control module is set to be powered by mains power by default. If you choose to power with 2 x AAA batteries (not included) move switch inside the battery compartment to BATT. - Page 8 SIMPLE MODE PROGRAMMING Appropriate for controlling one IR device only, e.g. projector. PUT DEVICE INTO LEARN MODE Press and hold buttons 3 and 4 (middle buttons). The learn LED on the front panel will turn red and stay on. PRESS BUTTON TO ASSIGN CODE TO Press function button on the front panel which the incoming code will be assigned to.
- Page 9 Program scheduled actions Duplicate to multiple devices LOAD SOFTWARE ONTO PC Download from Vision’s website: www.visionaudiovisual.com/techconnect/tc2-ctl3 CONNECT CONTROL MODULE VIA USB In the battery compartment there is a standard USB-B mini connector. (USB cable not included) The software can be used without a control module connected, but if learning IR codes you will need to connect a control module.
- Page 10 START BY ASSIGNING CODES click a button on the image. This window allows you to set the codes for that button 1. Repeat: when you hold the button down the codes are repeatedly sent Sequential: 1 press sends command 1, 2 press sends command 2, etc.
- Page 11 SET UP NEW CODES select “Add New” in any of the device columns. A new window appears: Type over existing text in Device / Brand / Model fields. RS-232 only: Baud Rate and Parity settings are normally unchanged. The projector manual will advise if they need to be changed. Type over existing text in Function fields and enter code.
- Page 12 If adding IR codes a learn button will be to the right of each code. Connect a TC2-CTL3 to PC with a USB cable. Press learn then wait until the red LED lights on the module iii. Point original remote at front of module and press and hold button Once you have finished the button will be blue to show codes are allocated.
- Page 13 232, 3 x 12v. EDIT CODES Click on edit. You can only edit codes that have been created by users. The preset library Vision includes cannot be modified. SCHEDULE LAST If setting up the scheduling function do this last. All of the codes have been learnt first.
-
Page 14: Troubleshooting
TROUBLESHOOTING If your system is not operating properly, please refer to the following information. If the problem persists, disconnect from power and contact your AV reseller immediately. Problem Correction No LED when buttons pressed If powered by batteries make sure switch under batteries set to BATT or PWR as appropriate ... -
Page 15: Specifications
SPECIFICATIONS PRODUCT DIMENSIONS: 71 x 42 x 31mm (length x width x height) PRODUCT WEIGHT: 63 grams CONSTRUCTION MATERIAL: Plastic COLOUR: White POWER SUPPLY: 100-240v AC 50/60Hz 12 volt / 0.5 amp Transformer integrated into plug. Includes interchangeable plugs: UK/EU/US/AU. DC tail length: 4m.