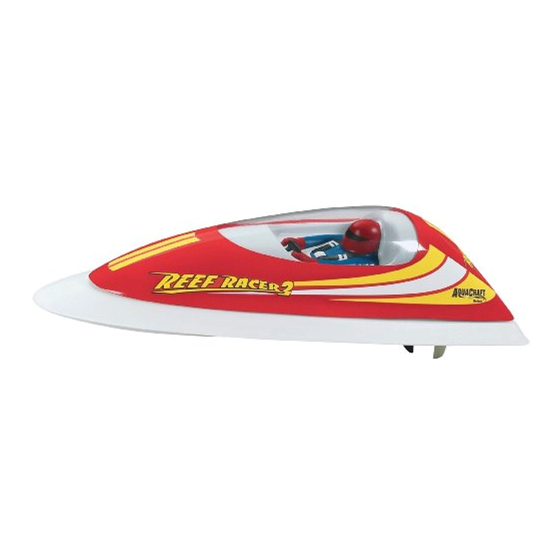
Table of Contents
Advertisement
Quick Links
ASSEMBLY AND OPERATION MANUAL
•
AquaCraft
will warrant this kit for 90 days after the purchase from defects in materials or workmanship. AquaCraft will
™
either repair or replace, at no charge, the incorrectly made part.
•
Make sure you save the receipt or invoice you were given when you bought your model! It is your proof of purchase
and we must see it before we can honor the warranty.
•
To return your Reef Racer 2
Thank you for purchasing the Reef Racer 2! This manual contains the instructions you need to safely operate and maintain
your boat. We want the operation of this boat to be a success so BEFORE preparing the Reef Racer 2 for action please read
this manual thoroughly. If for any reason you think that this model is not for you, return it to your local dealer immediately.
PLEASE NOTE: Your hobby dealer cannot accept a return on any model after final assembly sequence has begun.
Entire Contents © Copyright 2004
™
by
Warranty
™
for repairs covered under warranty, you should send your boat to:
Hobby Services
3002 N. Apollo Drive, Suite 1
Champaign, Illinois 61822
Attn: Service Department
Phone: (217) 398-0007 9:00 am - 5:00 pm Central Time M-F
E-mail: hobbyservices@hobbico.com
Before Building:
™
HCAZ3025 for HCAB14**
Advertisement
Table of Contents

Subscribe to Our Youtube Channel
Summary of Contents for AquaCraft Reef racer 2
- Page 1 Thank you for purchasing the Reef Racer 2! This manual contains the instructions you need to safely operate and maintain your boat. We want the operation of this boat to be a success so BEFORE preparing the Reef Racer 2 for action please read this manual thoroughly.
-
Page 2: Safety Precautions
After the 90-day warranty, you can still have your Reef Racer TRANSMITTER ASSEMBLY 2 repaired for a small charge by the experts at AquaCraft’s authorized repair facility, Hobby Services, at the address Important Note: The transmitter is not water-resistant and listed on the front page of this manual. - Page 3 Use only the battery pack and charger intended for use from the outlet and allow the battery to cool completely with the Reef Racer 2. In the event that you use a before attempting to use. different battery charger, charge this pack at a maximum charge rate of 1.2 amps.
-
Page 4: Check Operation
CHECK OPERATION: 5. The canopy is held to the deck of the Reef Racer 2 with hook & loop material. Open the battery compartment of the Reef Racer 2 by gently lifting the canopy as shown. 1. Turn the power “ON” to the transmitter and then the boat (in that order). -
Page 5: Maintenance
It is important to make sure that all hardware is If your Reef Racer 2 should happen to stall, water currents will secure before operating your model. slowly carry it to shore. The bad news is that the boat could be carried to the opposite shore. -
Page 6: Ordering Replacement Parts
2. Loosen the 1.5mm set screw located at the rear of the drive coupler assembly, and pull the shaft out as shown. Although it is very enjoyable to go out and run the Reef Racer 2 3. After applying lubricant to the shaft, re-insert the shaft... - Page 7 CHECK OUT THESE OTHER SENSATIONAL AQUACRAFT BOATS! AquaCraft Paradise ™ ™ Length: 26 in (660mm) Its high-quality fiberglass hull • For “drag racing” place the buoys similar to the above sketch. sets it apart from other entry- level boats - quick and easy...
- Page 8 (610mm) long, the Nitro Hammer requires 20% glow fuel, a 6- or 7-cell battery, charger and 8 “AA” cells. HCAB10** glow starter and 12 “AA” batteries. HCAB26** Check us out on the web at www.aquacraftmodels.com and watch for more exciting AquaCraft releases coming soon!
- Page 9 PERFORMANCE ISSUE During recent testing it was observed that after several consecutive hours of running the Reef Racer 2, the driveshaft seal begins to rub on the driveshaft and the friction creates a Pull the driveshaft build-up of heat accompanied by an irritating noise.


Need help?
Do you have a question about the Reef racer 2 and is the answer not in the manual?
Questions and answers