Epson TM-T20II User Manual
Hide thumbs
Also See for TM-T20II:
- User manual ,
- Technical reference manual (140 pages) ,
- Software user manual (87 pages)

Related Manuals for Epson TM-T20II


Summary of Contents for Epson TM-T20II
- Page 1 VIF - Maintenance of computer systems infrastructure Epson TM-T20II User Guide VIF-NA-EN-115, V2.0...
- Page 2 © IZUM, 2015 COBISS, COMARC, COBIB, COLIB, IZUM are registered trademarks owned by IZUM.
-
Page 3: Table Of Contents
CONTENTS 1 Printer description ....................1 2 Connecting the printer ..................2 3 Printer use ......................3 3.1 Installing roll paper ......................3 3.2 Cleaning the thermal head ....................4 4 Technical specifications ..................5 5 Driver installation and printer settings ..............5 5.1 Driver installation...................... - Page 4 Figure 6: Closing the roll paper cover .................... 4 Figure 7: Thermal head ........................4 Figure 8: Technical specifications of the printer ................5 Figure 9: Epson TM-T20II software ....................6 Figure 10: Installation type ......................6 Figure 11: Installation confirmation ....................7 Figure 12: Checking printer connection ..................
-
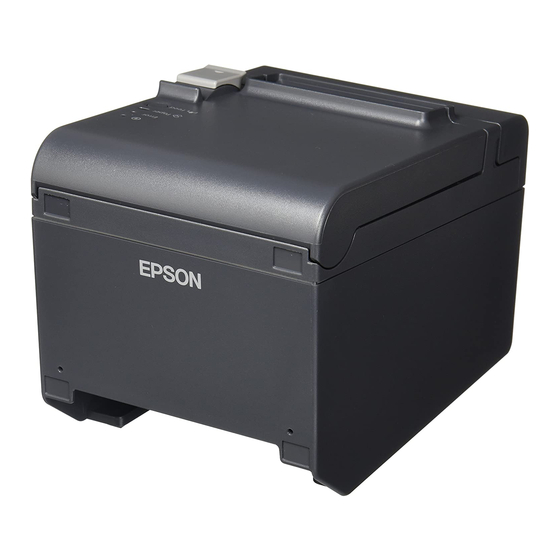
Page 5: Printer Description
Epson TM-T20II User Guide Printer description The following items are included in the printer package: 1. printer 2. installation disc 3. AC adapter 220V 4. AC cable 220V 5. USB interface cable 6. accessories for wall mounting and vertical installation... -
Page 6: Connecting The Printer
Epson TM-T20II User Guide 3. power switch 4. cover open lever 5. control panel Figure 2: Printer parts Connecting the printer The printer can have the following interfaces: 1. RS-232 serial interface 2. USB interface 3. 10BASE-T/100BASE-TX Ethernet interface 4. drawer kick-out connector Figure 3: Interface types ©... -
Page 7: Printer Use
Epson TM-T20II User Guide Connect the AC cable to DC24V (see Figure 3 and Figure 4). Figure 4: Power supply connection Printer use Installing roll paper How to install the roll paper correctly: 1. Use the cover open lever to open the roll paper cover. Insert the roll paper facing in the right direction (see Figure 5). -
Page 8: Cleaning The Thermal Head
Epson TM-T20II User Guide 2. Pull out some paper and close the roll paper cover. When the printer power is on, the roll paper is automatically cut. Figure 6: Closing the roll paper cover Cleaning the thermal head The manufacturer recommends cleaning the thermal head periodically every three months of regular daily use. -
Page 9: Technical Specifications
Epson TM-T20II User Guide Technical specifications Figure 8: Technical specifications of the printer Driver installation and printer settings Driver installation For printer driver installation, use the enclosed CD and follow the steps below: 1. Start the TMInstallNavi.exe installation software (if it doesn't run automatically once you insert the CD in the computer). -
Page 10: Figure 9: Epson Tm-T20Ii Software
Epson TM-T20II User Guide Figure 9: Epson TM-T20II software 2. Confirm the Licence Agreement by reading it, select I accept the terms in the licence agreement and press Next. 3. The Select Installation Type screen will be displayed. Click Easy Install. -
Page 11: Figure 11: Installation Confirmation
Epson TM-T20II User Guide Usually you can choose between USB and network connection. If you select USB, the installation software will offer to finish the installation. Confirm by clicking the Install button. Figure 11: Installation confirmation 5. The Connect Printer screen will be displayed. -
Page 12: Setting Up The Printer Ip Address Via The Network Connection
Epson TM-T20II User Guide Figure 13: Installation finished To finish installing the USB driver, click the Finish button. The printer is installed in the WIN system under the following name: EPSON TM-T20II Receipt. Setting up the printer IP address via the network connection The printer IP address (Only possible for the version with network interface!) can be set up by using the EpsonNet Config tool on the enclosed CD. -
Page 13: Figure 14: Epson Net Config Tool
Epson TM-T20II User Guide Figure 14: Epson Net Config tool 2. Select the printer from the list and click Configuration. Select Network Interface – TCP/IP – Basic. Select the options Manual and Set using PING. Set up the IP address, the subnet mask and the default gateway. -
Page 14: Printer Settings
Figure 16: Printer dialogue window 4. Close the EpsonNet Config software. Printer settings Printer settings are managed with the TM-T20II Utility tool. Run Start – All Programs – EPSON – TM-T20II Software – TM-T20II Utility. The TM-T20II Utility tool window will be displayed:... -
Page 15: Figure 18: Current Settings Window
Epson TM-T20II User Guide Figure 18: Current settings window Under Font settings, the settings should be as follows: Code page: PC852 (Latin 2) International character set: Slovenija / Hrvaška If the displayed settings are different, click the Font button. Set the parameters in the window... -
Page 16: Using The Printer Within The Cobiss3 System
Epson TM-T20II User Guide By clicking the Set button, the settings are reflected to the printer. A dialogue window will open and you will hear the printer click. Close the application. Using the printer within the COBISS3 system COBISS2 To use the printer in the COBISS2 system, use driver number 23. -
Page 17: Cobiss3
Loan: [default local printer] and click the Edit button. The User destinations window will open. Click the Add printer button. In the new window, select the Epson TM-T20II printer, which you intend to use for printing lending forms, from the drop-down list. - Page 18 Epson TM-T20II User Guide When you define the settings, confirm every selection by clicking the OK button. When you are finished, click Refresh settings in the System menu. If that option is not available, refresh the new settings by logging out and the re-logging into the COBISS3 software.
Need help?
Do you have a question about the TM-T20II and is the answer not in the manual?
Questions and answers