Table of Contents
Advertisement
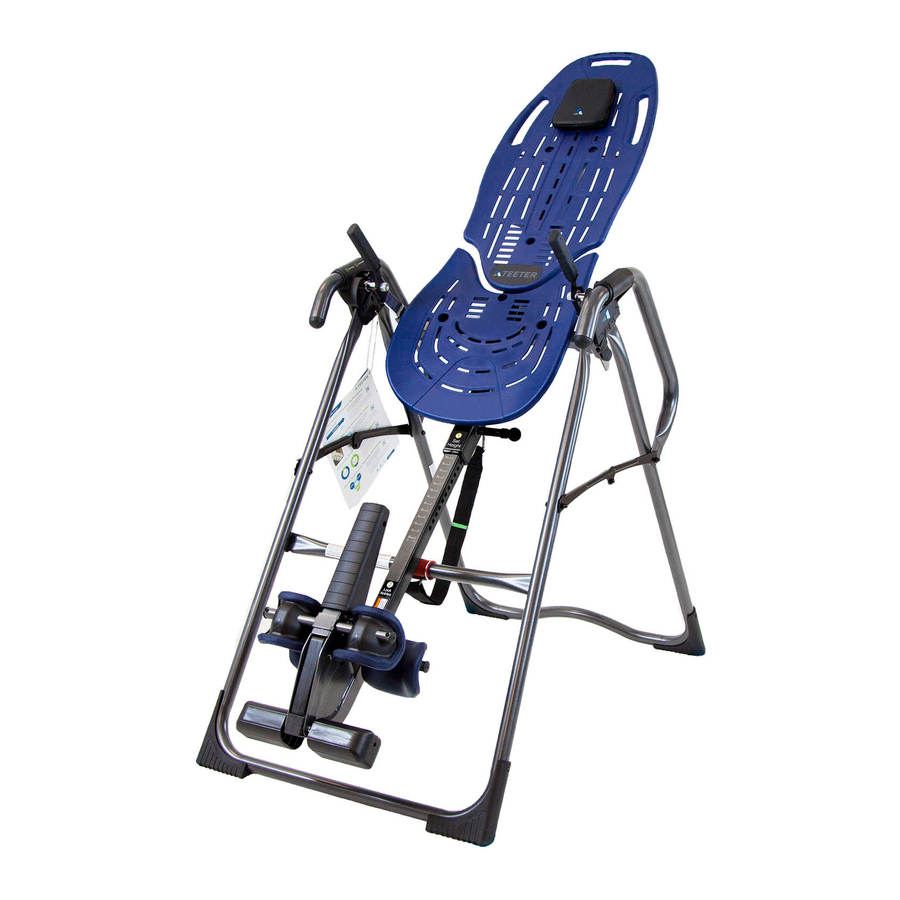
ComforTrak
Assembly Instructions
EP-960™ & EP-970™ Inversion Tables
Pour télécharger et imprimer les instructions de
montage du dossier ComforTrak™ en français,
rendezvous sur teeter-inversion.com
Para descargar e imprimir las instrucciones
de montaje de ComforTrak™ en español, visite
5
teeter-inversion.com
FULL
YEAR
R
Series
TM
* Inversion Table images may
vary slightly from your model.
The EP-960 is shown here.
Advertisement
Table of Contents


Need help?
Do you have a question about the EP-960 and is the answer not in the manual?
Questions and answers