Subscribe to Our Youtube Channel
Summary of Contents for Fisher-Price W9497
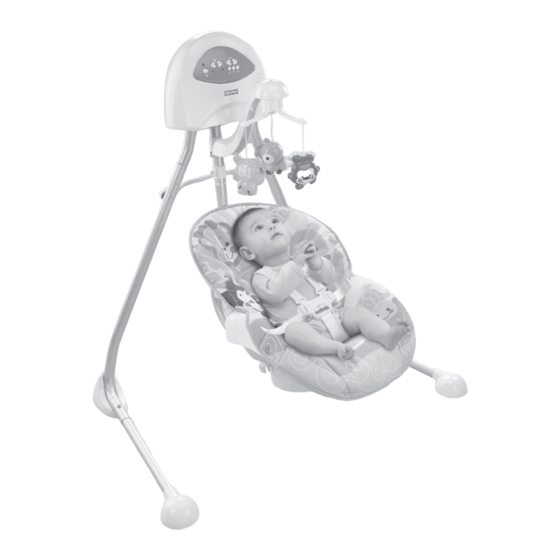
- Page 1 W9497 Quick Start Turn power Select swing Push seat Select speed to start music swinging sounds PUSH IMPORTANT! Read the instructions carefully before use and keep them for future reference. www.fisher-price.co.uk...
- Page 2 Consumer Information Parts IMPORTANT! Please remove all parts from the package and identify WARNING them before assembly. Some parts may be packed inside the pad. To prevent serious injury or death from falls and being strangled in the restraint system: • Never leave the child unattended. • A lways use the restraint system. • D o not use this product once your child can sit up unaided or weighs more than 9 kg. • T his product is not intended for prolonged periods of sleeping. • N ever use this product on an elevated surface, e.g., a table. • T o avoid injury ensure that children are kept away when unfolding and folding this product.
- Page 3 Assembly IMPORTANT! Before assembly or each use, inspect this product for damaged hardware, loose joints, missing parts or sharp edges. DO NOT use if any parts are missing or broken. Contact Mattel for replacement parts and instructions if needed. Never substitute parts. Motor Assembly Frame Support Bar PRESS Upper Legs • Pull apart the legs. • Lift the free end of the frame support bar. • Fit the hole in the frame support bar over the peg on the opposite leg. Push to "snap" the frame support bar in place. • While pressing the buttons on the motor assembly tubes, fit it onto Seat Back Hubs the straight end of each upper leg. Hint: You may need the help of another adult.
- Page 4 Assembly Seat Back Tube Seat Back Hubs • Fit the ends of the seat back tube into the seat back hubs. • Push the seat back tube into the hubs until you hear a "click" on each side. • Pull up on the seat back tube to be sure it is secure. Hint: The seat back tube is designed to only fit one way. If it comes out of the seat when you pull on it, turn it around and try again. • Insert the M5 x 40 mm bolt through the hole in the the upper seat Frame Tube tube.
- Page 5 Assembly • Fit the elastic loops on the pad down through the holes on the seat bottom. Waist Belts Pegs • Fit the waist belts on the seat bottom up through the slots in the pad. Lower Slots BOTTOM VIEW • Fit the elastic loops to the pegs under the seat bottom. Smaller Baby • Insert the ends of the shoulder belts through the lower slots in the seat pad back. Upper Slots Larger Baby • Fit the pad clips around the edge of the seat bottom. • Insert the ends of the shoulder belts through the upper slots in the seat pad back.
- Page 6 Battery Installation Setup and Use Hint: We recommend using alkaline batteries for longer battery life. WARNING To prevent serious injury or death from falls and being strangled in the restraint system: 1,5V x 4 “D” (LR20) • Never leave the child unattended. • A lways use the restraint system. • D o not use this product once your child can sit up unaided or weighs more than 9 kg.
- Page 7 Setup and Use Swing, Music and Sounds! Adjusters TIGHTEN LOOSEN • To tighten the shoulder belts: Hold the adjuster A and pull the front shoulder strap down B. • To loosen the shoulder belts: Slide the adjuster down. Adjusters LOOSEN TIGHTEN Swing Speed Volume • To tighten the waist belts: Feed the anchored end of the belt up Power L.E.D. through the buckle to form a loop A. Pull the free end of the belt B.
- Page 8 Storage Care • The pad is machine washable. Wash it separately in cold water on the gentle cycle. Do not use bleach. Tumble dry separately on low heat and remove promptly. • The frame and mobile may be wiped clean using a mild cleaning solution and a damp cloth. Do not use bleach. Do not use harsh or abrasive cleaners. Rinse clean with water to remove residue. BOTTOM VIEW To remove the pad: • Remove the elastic loops from the pegs and the pad clips on the seat bottom. • Push the tab on the frame support to release it. • Pull the restraints down through the slots in the pad. Lift the pad off the seat. To replace the pad, follow the assembly instructions. • Pull the end of the frame support bar off the leg and lower it.


Need help?
Do you have a question about the W9497 and is the answer not in the manual?
Questions and answers