Advertisement
Contour Crimp
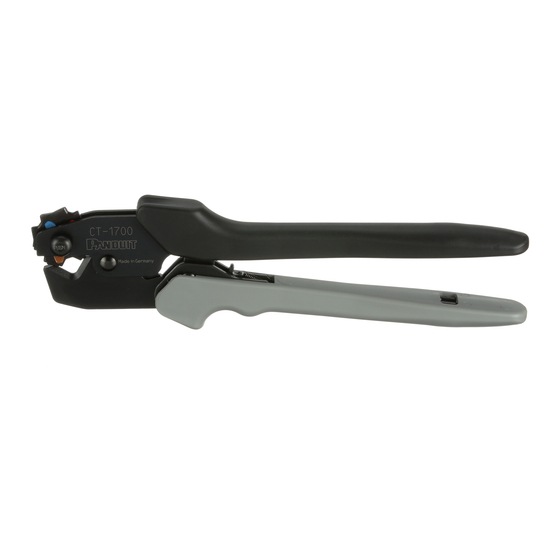
CONTROLLED CYCLE
CRIMPING TOOL
Crimps Panduit #8 - #1 AWG
copper lugs and splices, #6 - #4
AWG aluminum lugs and splices,
#8 - #2 AWG non-insulated S series
tubular terminals; and #16 AWG -
#3 AWG copper CTAPF taps.
Provides UL Listed and CSA Certified terminations
with applicable Panduit terminals.
Part No. CT-1700
OPERATION INSTRUCTIONS
DIE INDEX NUMBER
EMBOSSED FOR
INSPECTION
Email:
techsupport@panduit.com
EU Website: www.panduit.com/emea
EU Email: emeatoolservicecenter@panduit.com
CT-1700
© Panduit Corp. 2015
Figure 2
CAUTION: Verify power is "OFF" before
working on wiring with this tool. The
cushioned grips are for the user's
comfort, and are not intended to insulate
against shock while working on live
electrical circuits.
OPERATION INSTRUCTIONS
Figure 1
Rotating Crimp
Die Wheel
Crimp Die Release Push Button
CRIMP POCKETS FOR
Panduit Compression
Connectors. Refer to product
packaging for wire range and
proper crimp pocket. Crimp
pockets are identified with
applicable die index number
and color code.
Controlled cycle mechanism
prevents tool from opening
before crimp cycle is
complete.
Manual release lever, push
forward in the event that
controlled cycle mechanism
must be released.
Cushioned Handle Grips
www.panduit.com
Page: 1 of 2
COPPER AND ALUMINUM COMPRESSION
CONNECTOR CRIMPING INSTRUCTIONS
1. With the handles in the op n position,
depress die release and rotate die to desired
pocket. The pocket will lock in place when an
audible "click" is heard (Die index number and
color appear to the left of corresponding
pocket).
CAUTION: Do not cycle tool unless the die
release button has seated and the die has
locked in place.
Refer to product packaging for selection of the
proper crimp pocket. Place the desired
compression connector in the crimp pocket
(See Fig. 2).
2. Close handles until the connector is held
snugly in position—do not deform the barrel.
3. Remove
end
plug(s)
compression connectors only]. Insert the
stripped wire into the connector until the wire
stops. Refer to product packaging for wire strip
length.
4. Crimp the connector by closing the handles
until the controlled cycle mechanism releases.
Repeat this operation for the compression
connectors that require more than one
compression.
Upon
release,
the
handles
automatically and the crimped connector can
be removed.
After crimping, inspect that the crimp is
centered on the barrel in order to achieve
optimal pullout performance. Also, inspect die
index number embossed in connector by crimp
die.
Technical Support
Tel: 1-800-777-3300
Panduit Europe • EMEA Service Center
Tel: +31 546 580 452 • Fax: +31 546 580 441
PA23614A01
Rev.: 04 9-2015
[for
aluminum
will
open
Advertisement
Table of Contents

Related Manuals for Panduit CT-1700


Summary of Contents for Panduit CT-1700
-
Page 1: Operation Instructions
Crimp Die Release Push Button pocket. The pocket will lock in place when an Crimps Panduit #8 - #1 AWG audible “click” is heard (Die index number and CRIMP POCKETS FOR copper lugs and splices, #6 - #4... - Page 2 ® Molykote BR2 Plus is the Registered Trademark of DOW CORNING Table 1 DIE CLOSURE GO / NO GO GAGE MEMBERS - TOOL NO. CT-1700 DIE CLOSURE INSPECTION Die closure is measured by using GO/NO GO gage members (dimensions listed in Table 1).
Need help?
Do you have a question about the CT-1700 and is the answer not in the manual?
Questions and answers