Thermador T30 Series Manuals
Manuals and User Guides for Thermador T30 Series. We have 7 Thermador T30 Series manuals available for free PDF download: Installation Instructions Manual

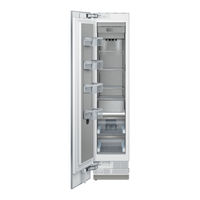
Thermador T30 Series Installation Instructions Manual (118 pages)
Built-in freezer column model T18 Series, T24 Series, T30 Series
Brand: Thermador
|
Category: Refrigerator
|
Size: 38.76 MB
Table of Contents
Advertisement
Thermador T30 Series Installation Instructions Manual (119 pages)
Side-by-Side Refriferator-Freezer
Brand: Thermador
|
Category: Refrigerator
|
Size: 39.45 MB
Table of Contents

Thermador T30 Series Installation Instructions Manual (94 pages)
Installation Manual
Table of Contents
Advertisement
Thermador T30 Series Installation Instructions Manual (118 pages)
Installation Instructions
Brand: Thermador
|
Category: Refrigerator
|
Size: 18.82 MB

Thermador T30 Series Installation Instructions Manual (118 pages)
Brand: Thermador
|
Category: Refrigerator
|
Size: 19.29 MB
Thermador T30 Series Installation Instructions Manual (94 pages)
Built-In Freezer and Refrigerator Column
Brand: Thermador
|
Category: Refrigerator
|
Size: 6.79 MB
Advertisement