Dimplex DWF3651 Owner's Manual
Hide thumbs
Also See for DWF3651:
- Service manual (14 pages) ,
- Service manual (14 pages) ,
- Owner's manual (17 pages)
Table of Contents
Advertisement
Quick Links
IMPORTANT SAFETY INFORMATION: Always read this manual first
before attempting to install or use this fireplace. For your safety, always
comply with all warnings and safety instructions contained in this manual
to prevent personal injury or property damage.
To view the full line of Dimplex products, please visit
www.dimplex.com
Owner's Manual
Model
DWF3651
7214040100R01
Advertisement
Table of Contents

Related Manuals for Dimplex DWF3651


Summary of Contents for Dimplex DWF3651
- Page 1 For your safety, always comply with all warnings and safety instructions contained in this manual to prevent personal injury or property damage. To view the full line of Dimplex products, please visit www.dimplex.com 7214040100R01...
-
Page 2: Table Of Contents
CAUTION: Procedures and techniques which, if not carefully followed, will result in damage to the equipment. WARNING: Procedures and techniques which, if not carefully followed, will expose the user to the risk of fire, serious injury, or death. www.dimplex.com... -
Page 3: Welcome & Congratulations
Welcome & Congratulations Thank you and congratulations for purchasing an electric fireplace from Dimplex. Please use our convenient online registration page to record your model and serial numbers for future reference at www.dimplex.com/register Rating Label with Model Number and Serial Number Please carefully read and save these instructions. -
Page 4: Important Instructions
When using electrical appliances, the electric fireplace has been basic precautions should always dropped or damaged in any man- be followed to reduce the risk of ner, contact Dimplex Technical fire, electric shock, and injury to Service at persons, including the following: 1-888-346-7539. -
Page 5: Save These Instructions
IMPORTANT INSTRUCTIONS exhaust in any manner. Do not cian should new circuits or outlets use on soft surfaces, like a bed, be required. where openings may become ㉓ Always use properly grounded, blocked. fused and polarized outlets. ⑰ All electrical heaters have ㉔... -
Page 6: Quick Reference Guide
Figure 1. customer service. Figure 1 43.0” 1092 mm 36.0” 915 mm 5.7” 144 mm 31.4” 796 mm 6.0” 152 mm 43.0” 1092 mm 9.1” 230 mm NOTE: The use of feet are optional. www.dimplex.com... -
Page 7: Fireplace Installation
WARNING: The supplied • Wall mounting, Surface mounting bracket is designed • Support feet, table top for use with Dimplex wall ! NOTE: A 15 Amp, 120 Volt cir- mounted fireplaces only. Im- cuit is required. A dedicated circuit proper use, or use for purpos-... - Page 8 2 wall- the location of 1 of the mount- bracket holes in one of the ing holes. following combinations: A&F, 4. Place the bubble level onto B&D, or C&E (Figure 2). the top of the wall-mounting www.dimplex.com...
- Page 9 Fireplace Installation bracket. Figure 5 5. Adjust the wall-mounting bracket so the bubble on the level is centered between the two black lines. 6. Mark 3 other mounting screw locations, on the wall, ensur- ing that the wall bracket stays level.
- Page 10 (Figure 7) 7. Excess electrical cord can be Cover Plates inserted back into the bottom of the unit, into the cord stor- age area. www.dimplex.com...
-
Page 11: Operation
Operation Figure 9 Figure 10 Floating Display The unit can be controlled by same functions that it was set either the manual controls which to when it was turned Off and are located on the right side of the the intake temperature will be fireplace or the remote (Figure 9 indicated on the On Screen &... - Page 12 2 seconds will disable occur again. and enable the heater. D & E. Thermostat Controls ! NOTE: When the heater has Adjusts the temperature set point been disabled and either the to your individual requirements. www.dimplex.com...
- Page 13 Operation • Indicated by the second or the is pressed the On digit on the Floating Display™ Screen Display will indicate "--". changing to show: "H" (high), and "L" (low). Color Themes Sleep Timer Different presets of ambient light- ing color combinations contained The Sleep Timer can be set to in the unit.
-
Page 14: Maintenance
To remove fingerprints or other marks, the Partially Reflective Glass can be cleaned with www.dimplex.com... -
Page 15: Warranty
Limited warranty service requires a defect the purchaser assumes the entire proof of purchase of the product. cost of all necessary servicing or repair. What Dimplex will do in the event of a What this limited warranty covers and for defect? how long... - Page 16 COSTS, OR DAMAGES THAT EXCEED practicable or cannot be timely made, THE PURCHASE PRICE OF THE Dimplex may, in lieu of repair or PRODUCT. replacement, choose to refund the SOME JURISDICTIONS DO NOT ALLOW purchase price for such product or THE EXCLUSION OR LIMITATION OF part.
-
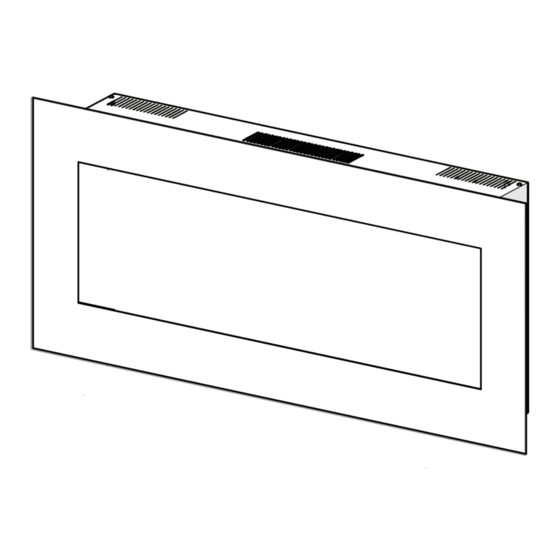
Page 17: Replacement Parts
Flame LED Light Assembly (RGB) ..... .3001570200RP Dimplex North America Limited 1367 Industrial Road Cambridge ON Canada N1R 7G8 © 2015 Dimplex North America Limited...