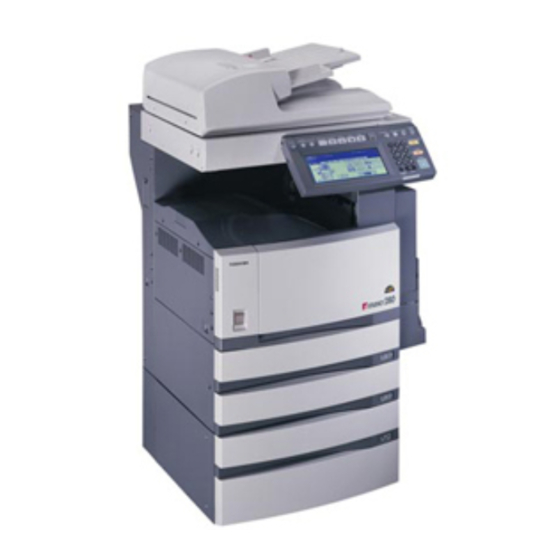
Toshiba e-studio 350 User Manual
Key features
Hide thumbs
Also See for e-studio 350:
- Printing manual (382 pages) ,
- User functions manual (164 pages) ,
- Quick start manual (70 pages)

Related Manuals for Toshiba e-studio 350


Summary of Contents for Toshiba e-studio 350
- Page 1 FASTstart FASTstart FASTstart User Guide Key Features Toshiba America Business Solutions, Inc. © 2004 Training and Dealer Development...
-
Page 3: Key Features
KEY FEATURES BASIC Window Reduce/Enlarge/Zoom Duplexing Finishing/Stapling Exposure Settings Store to e-Filing EDIT Window Page Numbering PROGRAM Window Mixed Sized Originals Setting the Date and Time BASIC Window Reduce/Enlarge/Zoom Using Automatic Magnification Selection (AMS): 1. Place paper in the drawer(s). 2. - Page 4 BASIC Window (Cont’d.) Reduce/Enlarge/Zoom (Cont’d.) Specifying Both Original Size and Copy Size 1. Place paper in the drawer(s). 2. Place the original(s). 3. Press the desired drawer, and then the ZOOM button. 4. Press the ORIGINAL SIZE button that represents the size of the original.
- Page 5 BASIC Window (Cont’d.) Duplexing 1-Sided Originals 2-Sided Copies 1. Place paper in the drawer(s). 2. Place the originals. 3. On the basic menu, press the highlighted button on the right. 4. Press the 1 2 DUPLEX button. Select other copy modes as required. 5.
- Page 6 BASIC Window (Cont’d.) Finishing/Stapling When the finisher (optional) is installed, you can perform automatic stapling for every set. Three staple positions can be selected when installing the saddle-stitch finisher (MJ-1024) or multi-staple finisher (MJ-1023). Example of selecting the FRONT STAPLE-1 button 1.
-
Page 7: Exposure Settings
BASIC Window (Cont’d.) Exposure Settings There are two types of image density adjustments: automatic mode and manual mode. In the automatic mode, the density of each original is detected automatically and the optimum image density is selected. In the manual mode, you can select the desired level of image density. -
Page 8: Store To E-Filing
BASIC Window (Cont’d.) Store to e-Filing In this function, the copied original data can be stored in the e-Filing. During copying, you can print it at the same time, as required. After storing the original data, you can print it at any time. - Page 9 BASIC Window (Cont’d.) Store to e-Filing (Cont’d.) 5. Select the box in which you want to store the data, and then press the ENTER button. Select either the “Public box” or the “User box”. 6. The document list in the selected box is displayed. When you want to store the original(s) in an existing folder, select the folder and press the OPEN FOLDER button.
- Page 10 BASIC Window (Cont’d.) Store to e-Filing (Cont’d.) 9. When “PRINT THIS DOCUMENT?” appears, press the YES button to store and print the document. If you want to store the document without printing, press the NO button. 10. Press the START button. Storing of the original starts. 11.
-
Page 11: Page Numbering Copying
EDIT Window Page Numbering Copying This feature allows numbers to be added at specified positions on copies. 1. Page number printed at the bottom center on the portrait copy. 2. Page number printed at the top right on the landscape copy. 1. -
Page 12: Program Window
PROGRAM Window Mixed Size Originals When the optional reversing automatic document feeder is used, different size originals can be copied at a time in this mode if the widths of the originals are the same. Do not set originals whose widths are different. Bypass copying is not available. 1. -
Page 13: Setting The Date And Time
PROGRAM Window (Cont’d.) Setting the Date and Time The clock built in to this equipment can be set by entering the date, day of the week and time using the digital keys. Also, you can easily change the clock to and from the daylight saving system at the touch of a button. - Page 14 PROGRAM Window (Cont’d.) Setting the Date and Time (Cont’d.) 4. Highlight the section that you want to edit using the arrow buttons, and enter the number using the digital keys. The “DAY” section describes the day of week with a number. The numbers corresponding to the days of week are as follows: Sunday.....
- Page 15 Notes Page 13...