Monarch Pathfinder Ultra Silver 6032 Quick Start Manual
Hide thumbs
Also See for Pathfinder Ultra Silver 6032:
- Brochure (2 pages) ,
- Operating instructions (4 pages)
Table of Contents
Advertisement
QUESTIONS?
Ask the experts at POSMicro.com.
1.800.241.6264
Live Chat Now
support@POSMicro.com
Monday - Friday 6 AM to 5 PM Pacific Time
1.800.241.6264
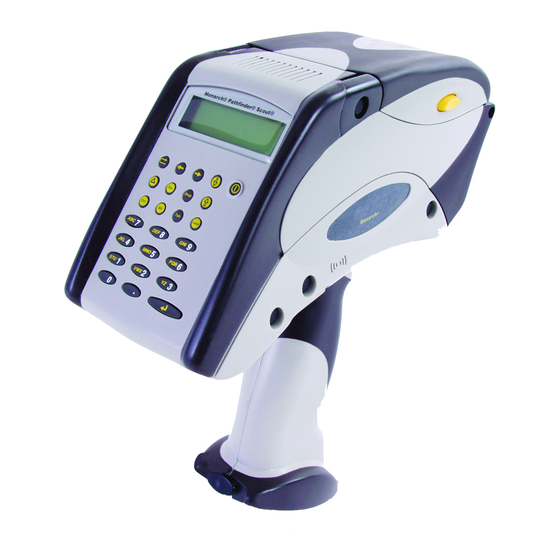
Monarch Pathfinder
6032 Quick Start
More information available at
BULk DISCOUNTS
FREE SHIPPING*
*Free ground shipping to the continental USa on orders over $100.
For Help Call
POSMicro.com
SE HaBLa
ESpañOL
Advertisement
Table of Contents

Related Manuals for Monarch Pathfinder Ultra Silver 6032


Summary of Contents for Monarch Pathfinder Ultra Silver 6032
- Page 1 For Help Call 1.800.241.6264 Monarch Pathfinder 6032 Quick Start More information available at POSMicro.com QUESTIONS? BULk DISCOUNTS SE HaBLa Ask the experts at POSMicro.com. ESpañOL FREE SHIPPING* 1.800.241.6264 Live Chat Now support@POSMicro.com Monday - Friday 6 AM to 5 PM Pacific Time...
-
Page 2: Quick Reference
5. Load supplies in the printer. 6. Turn on the printer. Monarch®, Pathfinder®, Ultra®, 6032, 9462, and 9465 are trademarks of Paxar Americas, Inc. Paxar® is a trademark of Paxar Corporation. Avery Dennison® is a trademark of Avery Dennison Corporation. - Page 3 A t t a c h i n g t h e S a f e t y S t r a p 1. Turn the printer upside down so the top rests on a table or other flat surface. 2.
-
Page 4: Changing The Battery
Changing the Battery Remove the battery when you are not using the printer for a month or more. Recharge it immediately upon discharge. 1. Turn the printer over and press the button on the battery compartment door (at the bottom of the printer’s handle) and slide it open. Batter y Compartment Door Button Note:... - Page 5 L o a d i n g S u p p l i e s 1. Turn on the printer. 2. If a date prompt appears, press LOAD. Otherwise, choose a format, and then press LOAD. Load supplies 3. Press the latch buttons and open the supply cover. Supply Co ver Latch Buttons...
-
Page 6: Loading For Peel Mode
6. Press the supply lock tab down to lock the supply holder in place. 7. Place a roll of supply in the supply holder so it unrolls from the bottom. 8. Load the supplies for the printing mode you want: Peel or Non-Peel. Loading for Peel Mode 1. -
Page 7: Loading For Non-Peel Mode
6. Pull the backing paper over the guide roller, down to the pinch and feed rollers. Guide Roller (behind suppl y) Feed Roller (behind Pinch Roller) Pinch Roller 7. Hold the backing paper edge between the feed and pinch rollers and press the trigger. -
Page 8: Cleaning The Printhead
3. Clean any adhesive buildup from the supply holder. 4. Clean the printhead area of all adhesive and Printhead label particles using a Monarch® Cleaning Pen (#114226) or a soft cloth moistened with isopropyl alcohol. 5. Reload the supplies and close the supply cover. -
Page 9: Cleaning The Black Mark Sensor
Cleaning the Black Mark Sensor 1. Turn off the printer and open the supply cover. 2. Remove the supplies. 3. Use a dry cotton swab to clean the black mark sensor. 4. Reload the supplies and close the supply Black Mark cover. -
Page 10: Cleaning The Platen Roller
Cleaning the Platen Roller Clean the platen roller when you see significant adhesive buildup or a label is wrapped around the platen roller. 1. Turn off the printer and open the supply cover. 2. Remove the supplies. 3. Hold the printer upright and gently press down on the label deflector. - Page 11 T r o u b l e s h o o t i n g Following are some common problems and their solutions. Problem Solution Printer will not feed. Use a fully-charged battery. Close the supply cover completely. Load the supply correctly. Remove jammed supply.
-
Page 12: Error Codes
904 – 911 System error. See your System Administrator. SYSTEM System error. See your System Administrator. ERROR VECTOR ## Visit www.monarch.com for sales, service, supplies, information, and telephone numbers for our International locations. TOLL FREE: 1-800-543-6650 (in the U.S.A.) 1-800-387-4740 (in Canada)