Hilti PD 5 Operating Instructions Manual
Laser range meter
Hide thumbs
Also See for PD 5:
- Original operating instructions (246 pages) ,
- Operating instructions manual (234 pages) ,
- Operation instruction manual (17 pages)

Related Manuals for Hilti PD 5


Summary of Contents for Hilti PD 5
- Page 1 PD 5 Operating instructions Mode d’emploi Manual de instrucciones Manual de instruções Printed: 07.07.2013 | Doc-Nr: PUB / 5145343 / 000 / 00...
-
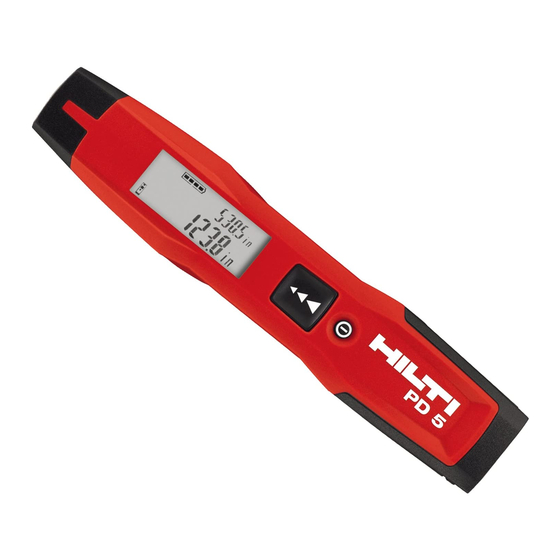
Page 2: Product View
Printed: 07.07.2013 | Doc-Nr: PUB / 5145343 / 000 / 00... -
Page 3: Table Of Contents
The illustrations can be found on the fold-out cover pages. Keep these pages open while studying the operating instruc- tions. In these operating instructions, the designation “the tool” always refers to the PD 5 laser range meter. Parts, operating controls and indicators Laser emitting and receiving lens On/off button... -
Page 4: Description
The type designation and serial number can be found on the rating plate on the back side of the range meter. Make a note of this data in your operating instructions and always refer to it when making an enquiry to your Hilti representative or service department. Type: Serial no.:... -
Page 5: Accessories
Begins distance measurement. Activates the laser beam. Activates continuous measuring mode (long press, approx. 2 sec.). Stops continuous measuring mode. 2.6 Items supplied 1 PD 5 laser range meter 2 Batteries 1 Soft pouch 1 Operating instructions 1 Manufacturer’s certificate 3. Accessories Not supplied with the tool. -
Page 6: Safety Instructions
Failure to follow the correct procedures when opening the tool may cause emission of laser radiation in excess of class 2. Have the tool repaired only at a Hilti ser- vice center. d) Modification of the tool is not permissible. - Page 7 5.4 General safety rules a) Check the condition of the tool before use. If the tool is found to be damaged, have it repaired at a Hilti ser- vice center. b) The user must check the accuracy of the tool after it has been dropped or subjected to other mechanical stresses.
-
Page 8: Before Use
d) Do not solder the batteries into the tool. e) Do not discharge the batteries by shortcircuiting. This may cause them to overheat and present a risk of per- sonal injury (burns). f) Do not attempt to open the batteries and do not sub- ject them to excessive mechanical stress. -
Page 9: Operation
The tool is switched off and all the settings shown will be saved. 6.5 Measuring references All measurements taken with the PD 5 have the bottom end of the tool as the default reference setting. 6.6 Measuring distances Distances can be measured from all stationary targets with- out a highly reflective surface, i.e. -
Page 10: Care And Maintenance
NOTE If measuring errors occur during continuous measuring, and continuous measuring mode is canceled by pressing the “Measure” button again, the last valid measurement will be displayed. 7.2 Single distance measurement 1. Switch on the laser beam by pressing the “Measure” key. 2. -
Page 11: Calibration And Adjustment
Monitoring of measuring equipment for users certified in accordance with ISO 900X: As specified in ISO 900X, you may carry out the inspection and testing of the PD 5 laser range meter yourself (see ISO 17123-4: Field procedures for testing geodetic and surveying instruments: Part 4, Elec- tro-optical distance meters). -
Page 12: Troubleshooting
1.1 Replace the batteries. 1.2 Insert the batteries correctly and close the battery compartment cover. 1.3 Return the tool to Hilti for repair. 2.1 Press the “Measure” button. 2.2 Return the tool to Hilti for repair. 3.1 Measure from the other direction – sun from behind. -
Page 13: Disposal
Dispose of the batteries in accordance with national regulations. 11. Manufacturer’s warranty – tools Hilti warrants that the tool supplied is free of defects in mate- rial and workmanship. This warranty is valid so long as the tool is operated and handled correctly, cleaned and serviced properly and in accordance with the Hilti Operating Instruc- tions, and the technical system is maintained. -
Page 14: Fcc Statement / Ic Statement
Hilti marketing organization provided. This constitutes Hilti's entire obligation with regard to war- ranty and supersedes all prior or contemporaneous com- ments and oral or written agreements concerning warranties. - Page 15 LI-9494 Schaan Tel.: +423 / 234 21 11 Fax: +423 / 234 29 65 www.hilti.com Hilti = registered trademark of Hilti Corp., Schaan W 3917 0613 00-Pos. 3 1 Printed in Germany © 2013 Right of technical and programme 2008240 / A2 changes reserved S.
- Page 16 Printed: 07.07.2013 | Doc-Nr: PUB / 5145343 / 000 / 00...