
Related Manuals for Summit B41601


Summary of Contents for Summit B41601
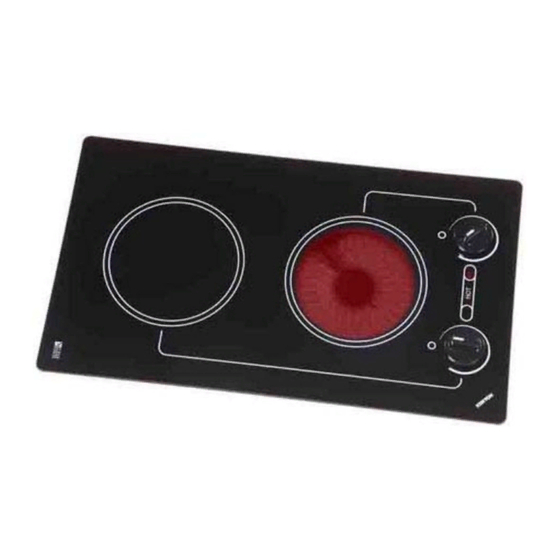
- Page 1 Page 1 INSTRUCTION MANUAL for 2-Burner Cook Top Model B41601 Felix Storch, Inc. Summit Appliance Division 770 Garrison Avenue Bronx, NY 10474 www.summitappliance .com...
-
Page 2: Table Of Contents
Cookware ....................11 Heating Elements..................11 Knobs & Indicator Lights ................12 Cleaning ....................12 Warranty ......................13 Technical Information Model Number: B41601 Description: 2-burner ceramic glass cook top Electrical Requirements: 120V AC, 60Hz Power Rating: 1200 watts (each burner) Diameter of each burner: 6"... -
Page 3: Installation Instructions
Verify and identify the package contents. The following should be included in the carton. If any components are missing or damaged, call SUMMIT immediately. Ceramic glass cook top Mounting brackets ... - Page 4 Page 4 STEP #2 Check the Electrical Supply Requirements This product must be installed in accordance with national, state and local electric codes. Here are the electrical requirements for Model B41601: Maximum Connected Load: 2400 watts Required Power Supply Input:...
- Page 5 Page 5 STEP #3 Countertop Preparation Please read this section prior to making cutout for cook top. It is important to plan ahead for installation of the cook top, keeping the following dimensions in mind. (Please refer to Figure A.) A - 13 inches maximum depth of overhead cabinets B - 36 inches is minimum height of...
- Page 6 Page 6 Before making the countertop cutout, check for clearance. Check to see if the cook top will clear the front and side walls of the base cabinet. It is also important to provide enough ventilation. Adequate ventilation of the space below the countertop must be provided to ensure proper operation of the cook top.
- Page 7 Page 7 STEP #4 Installing the Cook Top (Figure D below) There are two mounting brackets supplied with the glass ceramic cook top. These brackets are designed to hold the cook top firmly in place. The cook top does not have a metal frame and should be bedded to the countertop using a soft bedding compound that will prevent damage if later removal for service is necessary.
- Page 8 Page 8 STEP #5 Electrical Connection Before proceeding further, verify that the power supply is disconnected. Verify that the appropriate electrical supply requirements have been met. Please refer to the table on page 4 for appropriate electrical requirements. The cook top is supplied with a 48-inch long conduit for a connection to an accessible junction box.
-
Page 9: Safety Instructions
USER SERVICING Do not repair or replace any part of the appliance. If service ever becomes necessary, this appliance should be serviced by AUTHORIZED PERSONNEL ONLY or call SUMMIT Customer Service at 1-800-932-4267. Keep flammable materials away from cook top. - Page 10 Do not cook on broken cook top. If cook top should break, cleaning solutions and spillovers may penetrate the broken cook top and create a risk of electric shock. Immediately contact an authorized service center or call SUMMIT Customer Service at 1-800-932- 4267. ...
-
Page 11: Operation
Page 11 Operation READ SAFETY INSTRUCTIONS BEFORE OPERATING YOUR APPLIANCE. The cooking surface areas of your glass ceramic cook top are identified by permanent patterns in the cook top. The appliance is easy to maintain and easy to clean. Keeping the cook top at top performance can be achieved by following the simple guidelines for use and cleaning below: Cookware Chances are that your existing cookware will work just fine with your glass... -
Page 12: Knobs & Indicator Lights
Page 12 Knobs & Indicator Lights The cooking area controls are known as “infinite” controls. This type of control has an infinite selection of heat settings. The control settings begin at low and increase heat output by cycling the heating elements between “off” and full power as you turn the knob clockwise. -
Page 13: Warranty
Page 13 ONE YEAR LIMITED WARRANTY Within the 48 contiguous United States, for one year from the date of purchase, when this appliance is operated and maintained according to instructions attached to or furnished with the product, warrantor will pay for factory-specified parts and repair labor to correct defects in materials or workmanship.