Table of Contents
Advertisement
Quick Links
Download this manual
See also:
Instruction Manual
Advertisement
Table of Contents

Related Manuals for Summit CR424


Summary of Contents for Summit CR424
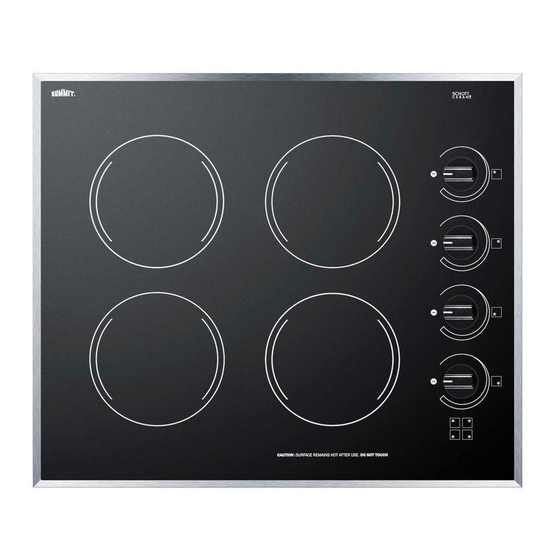
- Page 1 INSTRUCTION MANUAL for 4-Burner Electric Cooktop Model CR424 Felix Storch, Inc. Summit Appliance Division 770 Garrison Avenue Bronx, NY 10474 www.summitappliance .com...
-
Page 2: Table Of Contents
Heating Elements ................9 - 10 Controls & Indicators ................10 Cleaning ....................10 Warranty ......................11 Technical Information Model Number CR424 Description 4-burner ceramic glass electric cooktop Electrical Requirements 230V AC, 21A, 60Hz Power Rating of Burners 4 @ 1200W: Total of 4800W Diameters of Burners 4 burners @ 6.5"... -
Page 3: Safety Instructions
User Servicing Do not repair or replace any part of the appliance. If service ever becomes necessary, this appliance should be serviced by AUTHORIZED PERSONNEL ONLY or call SUMMIT Customer Service at 1-800-932-4267. • Keep flammable materials away from the cooktop. - Page 4 Do not cook on a broken cooktop. If your cooktop should break, cleaning solutions and spillovers may penetrate the broken cooktop and create a risk of electric shock. Immediately contact an authorized service center or call the SUMMIT Customer Service at 1-800- 932-4267. •...
-
Page 5: Installation Instructions
Verify the package contents. If the ceramic glass cooktop appears to be damaged or parts are missing, call SUMMIT immediately. Important ! Do not remove the clear plastic covering film on the ceramic glass until the cooktop is ready to be installed. -
Page 6: Preparing The Countertop
Page 5 3. Preparing the countertop Please read this section prior to making a cutout in your counter for the cooktop. It is important to plan ahead for installation of the cooktop, keeping the following dimensions in mind. (Please refer to Fig. A.) A. - Page 7 Page 6 Before making the countertop cutout, check for clearance. See if the cooktop will clear the front and side walls of the base cabinet. It is also important to provide enough ventilation. Adequate ventilation of the space below the countertop must be provided to ensure proper operation of the cooktop.
-
Page 8: Installing The Cooktop
Page 7 4. Installing the Cooktop The cooktop should be bedded to the countertop using a soft bedding compound that will prevent damage if later removal for service is necessary. A very small bead of silicone sealant should be laid around the edges of the cutout. Installation of the cooktop into the countertop... -
Page 9: Electrical Connection And Wiring Diagram
(black and red insulated-tinned copper) and one insulated ground conductor (green insulated-tinned copper). (See Wiring Diagram for model CR424 below and on bottom of cooktop.) Wiring Diagram Attach conductor wires to residence wiring in accordance with national, state and local electric codes. -
Page 10: Final Preparations Prior To Use
Page 9 Final Preparations Prior to Use Remove the plastic film from the cooktop. Clean the cooktop before you use it for the first time. A thorough cleaning with a recommended cooktop cleaner will provide a clean, shiny coating on the cooktop surface. The next sections of the manual cover cooktop use, maintenance and service information. -
Page 11: Operation
Page 10 temperature limiter will cycle the radiant element on and off to prevent exceeding the maximum safe surface temperature. Hottest Controls & Indicators Each of the cooking area controls has an infinite selection of heat settings. The control settings begin at low and increase heat output by cycling the heating elements between OFF and full power as you turn the knob counter- clockwise. -
Page 12: Warranty
Page 11 ONE-YEAR LIMITED WARRANTY Within the 48 contiguous United States, for one year from the date of purchase, when this appliance is operated and maintained according to instructions attached to or furnished with the product, warrantor will pay for factory-specified parts and repair labor to correct defects in materials or workmanship.