Husqvarna Auto Mower Operator's Manual
Hide thumbs
Also See for Auto Mower:
- Technical manual (136 pages) ,
- Operator's manual (86 pages) ,
- Quick installation manual (6 pages)

Related Manuals for Husqvarna Auto Mower


Summary of Contents for Husqvarna Auto Mower
-
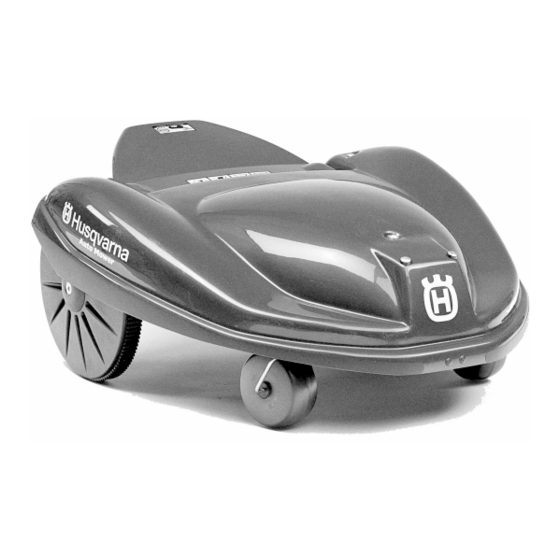
Page 1: Auto Mower
Auto Mower Operator's Manual Please read through this Operator's Manual carefully and understand its contents before using the Auto Mower. 101 91 46-95... - Page 2 The Auto Mower is in many ways a revolutionary product. It allows you to have a well-kept lawn throughout the season with a minimum of inspection and maintenance.
-
Page 3: Table Of Contents
Read through the Operator’s Manual Symbols on the Auto Mower ..........1 carefully and make sure you understand it Symbols in the Operator’s Manual ........1 before you start to use the Auto Mower. Safety guidelines and information Use ..................2 Transport ................2 WARNING! Care .................. -
Page 4: Use
Pack away the Auto Mower in the original packaging or in the • Do not allow the Auto Mower to be used if any part is seen to Husqvarna Auto Mower storage bag when transporting over be defective or faulty. This includes the cutting disc, blades, long distances. -
Page 5: Tilt Sensor
SPECIAL SAFETY FEATURES Tilt Sensor Collision Sensors The tilt sensor is located in the rear chassis of the mower. In the The collision sensors are located adjacent to the rear wheels event that the mower is not properly shut down by raising the and is the attaching point of the body to the frame. -
Page 6: What Is What
PARTS OF THE AUTO MOWER STOP STOP What is what? Handle and cover rest 12. LEDs (light-emitting diodes) Box containing computer, battery and wheel motors 13. Keypad Cutting disc 14. Power switch Protective disc 15. Charging station Loop sensor 16. Transformer with mains power cable Hinged cover 17. -
Page 7: Technical Data
After this it returns to the random principle. Initially the Auto Mower works for a few hours to get an idea of the average length and thickness of the grass. Only then does it start working systematically. -
Page 8: Planning The Installation
Planning the installation front of the charging station. It reduces wear to the lawn and gives the Auto Mower a firm base to ensure reliable charging. See the To get a good mowing result, you must install the charging illustrations below for examples of search wire installations. -
Page 9: Installation Of The Charging Station
The Auto Mower must then be moved by hand between the various working areas, since automatic battery charging can only be carried out while the Auto Mower is in the main area. To Fig.2 facilitate the manual work see the chapter, “Settings” (Mowing secondary areas). -
Page 10: Installation Of Boundary Wire
Where a path has been laid at the same level as the lawn, it is possible to allow the Auto Mower to drive a little way on to the path and cut the grass right up to the edge. In this case, lay the boundary wire about 10 cm (4”) from the edge of the path. -
Page 11: Installation Of Search Loop
Installation of search loop staples so that there is no risk of the blades cutting the cable. Allow the Auto Mower to work for a week and then decide whether any When it’s time to charge the battery, the Auto Mower begins to adjustments to the wire routing are necessary. - Page 12 (13”) (13”) (13”) (40”) Since the Auto Mower follows the path of the search wire, it must be laid at least 40 cm (16”) away from any obstacle to prevent the Auto Mower from bumping into anything on its way to the charging station.
-
Page 13: Installation, Step By Step
Wait to connect the cable ends. installation instructions are performed. If the Auto Mower is in the charging station – lift up the rear, Use the tool supplied to enter the first digit of the code and move the mower from connect the six wires to the the charging station. -
Page 14: Start And Stop
Operator’s Manual before you start the first code digit of the code and switching off the switch. Auto Mower. • Turn the Auto Mower upside down and place it on a soft surface. Starting the Auto Mower • Unscrew and loosen the height adjustment knobs to adjust The battery must be charged before starting when the Auto the cutting height. -
Page 15: Charging An Empty Battery
These instructions apply when Auto Mower is new, or after a long period of storage. If the Auto Mower has been used recently it does not need to be started in the charging station, see the chapter “Start and stop”. -
Page 16: Settings
“down-trodden”. In addition, component wear increases and the battery life may be shortened. You have to enter a code into your Auto Mower for it to start working. On delivery the code is set to 0000 #. It is possible... - Page 17 ) results in 7 hours. After you have immediately in front of the charging station when it is fully used the Auto Mower for a few weeks you will be able to judge charged. whether the mowing time should be lengthened or shortened.
-
Page 18: Sound And Lamp Indications
Sound and lamp indications This table shows the Auto Mower’s sound and lamp signal indications. When the mower cover is opened and the alarm has been switched off, the LEDs on the keypad panel will light for 12 seconds. A green LED indicates an information message and a red LED an error message. -
Page 19: Replacing The Blades
Remove corrosion from the Auto Mower charging pins and charging station contact plates if necessary, e.g. after winter • During the winter the Auto Mower should be stored in a dry storage or if there is a problem with charging. Use a fine place, preferably in the Husqvarna storage case. -
Page 20: Trouble Shooting Chart
Trouble shooting chart Refer to “Sound and lamp indications” for explanations of the Auto Mower indications. Before trouble shooting, first charge the Auto Mower battery in the charging station to eliminate faults due to low battery charge. Read through the entire Operator’s Manual to make sure that the fault cannot be easily solved by using the keypad commands or the power switch. -
Page 21: Trouble Shooting
Uneven mowing result The Auto Mower is cutting too few hours Lengthen the working time, see “Set- each day. tings”. The working area is too large. -
Page 22: Owner Information
We, Husqvarna AB, S-561 82 Huskvarna, Sweden, tel +46 36-146500, declare under sole responsibility that the automatic lawn mower Husqvarna Auto Mower from 1998’s serial numbers and onwards (the year is clearly stated in plain text on the type plate with subsequent serial number), is in conformity with the following standards or other normative documents following the provisions in the COUNCIL’S DIRECTIVES:... - Page 23 English –...
- Page 24 ´*3.e¶5c¨ 2000W49...