Table of Contents
Advertisement
Available languages
Available languages
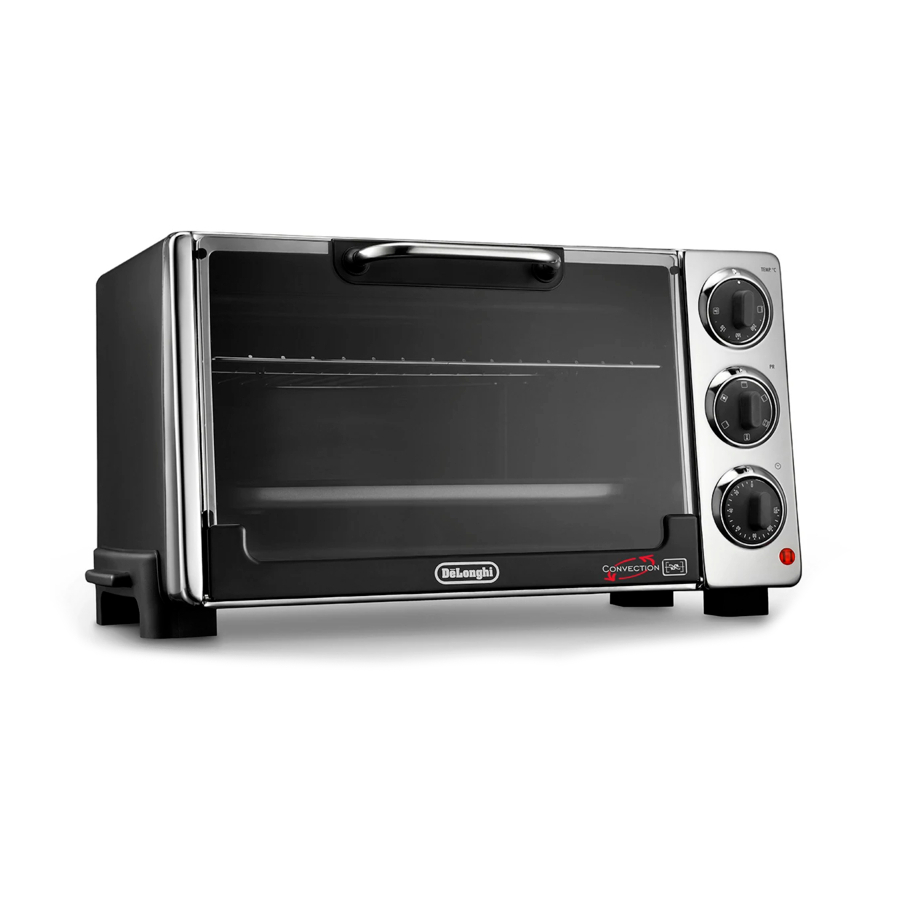
ELECTRIC OVEN
FOUR ÉLECTRIQUE
HORNO ELÉCTRICO
FORNO ELETTRICO
EO2058/EO2060/RO2050/RO2058
Register this product on-line and receive a free trial issue of Cook's Illustrated.
Visit www.delonghiregistration.com.
Visit www.delonghi.com for a list of service centers near you. (U.S. and
Canada Only)
Enregistrez ce produit en ligne et recevez un numéro gratuit de Cook's
Illustrated. Visitez www.delonghiregistration.com.
Visitez www.delonghi.com pour y voir une liste des centres de réparation
proches de chez vous. (É.-U. et Canada uniquement)
Registre este producto en línea y reciba un
ejemplar gratis de Cook's
Illustrated. Visite www.delonghiregistration.com.
Visite www.delonghi.com para ver la lista de centros de servicios cercanos
a usted. (Solamente en los Estados Unidos y Canada)
Registra questo prodotto "on-line" per ricevere una copia omaggio della rivi-
sta Cook's Illustrated. Visita www.delonghiregistration.com.
Visita www.delonghi.com per una lista dei centri di servizio a te piu vicini.
(Solo negli Stati Uniti e Canada)
Instructions for use
Keep these instructions
Mode d'emploi
Conservez cette notice
Instrucciones para el uso
Repase y guarde estas instrucciones
Lea cuidadosamente este instructivo antes de usar su aparato.
Istruzioni per l'uso
Leggere e conservare queste istruzioni
ELECTRONIC CHARACTERISTICS: CARACTÉRISTIQUES ÉLECTRIQUES:
CARACTERISTICAS ELECTRICAS: CARATTERISTICHE ELETTRICHE:
120V~60Hz - 1300 W
Advertisement
Table of Contents

Related Manuals for DeLonghi EO2058


Summary of Contents for DeLonghi EO2058
-
Page 1: Electric Oven
(Solamente en los Estados Unidos y Canada) Registra questo prodotto "on-line" per ricevere una copia omaggio della rivi- sta Cook's Illustrated. Visita www.delonghiregistration.com. Visita www.delonghi.com per una lista dei centri di servizio a te piu vicini. (Solo negli Stati Uniti e Canada) Instructions for use... -
Page 2: Electrical Connection
ELECTRICAL CONNECTION • Your product is equipped with a polarized alternating current line plug (a plug having one blade wider than the other). This plug will fit into the power outlet only one way. This is a safety feature. If you are unable to insert the plug fully into the outlet, try reversing the plug. -
Page 3: Description Of The Appliance
DESCRIPTION OF THE APPLIANCE A Thermostat knob Crumb tray B Timer knob M Top heating element C Indicator light N Interior light (if supplied) D Function selector knob O Turnspit mount (if supplied) Glass door Broil rack Bottom heating element Q Spit handle (if supplied) G Wire rack H Bake pan... -
Page 4: Important Warnings
IMPORTANT WARNINGS When using electrical appliances, a number of fundamental safety rules must be observed, including the fol- lowing: 1. READ ALL THE INSTRUCTIONS 2. Do not touch the hot surfaces. Only use the knobs or handles to operate the appliance. 3. - Page 5 SUMMARY TABLE Thermostat knob Wire rack and Function selector Program Notes/Tips knob position position accessory position Place the food direc- Defrost ( only on • tly on the wire rack DEFROST inserted in the guide some models ) Use the bake pan 250°F - Delicate cooking inserted directly in...
-
Page 6: Using The Controls
USING THE CONTROLS Thermostat knob (A) Select the desired temperature, as follows: • To defrost ( only on some models ) (see page 7): ..Thermostat knob in the “•” position. • To keep food warm (see page 7): ....Thermostat knob in the “KEEP WARM” position. •... -
Page 7: Using The Oven
USING THE OVEN General tips • When cooking with the convection oven, traditional oven and grilling, always preheat the oven for 5 minutes to the set temperature. • The cooking times depend on the quality of the products, on the temperature of the food and on perso- nal tastes. - Page 8 wire rack/ Thermostat Program Times bake pan Comments and tips knob position Quiche 700 g/1.5 lb. 400°F 30-35 min. Use the bake pan. Chicken 1 kg/2.2 lb 400°F 60-70 min. Use the bake pan, turn after around 38 min. Roast pork 900 g/2 lb 400°F 50-60 min.
- Page 9 Toast • The dimensions of the wire rack (G) allow six slices of bread to be toasted at the same time. Best results are achieved, however, with four slices at a time. • To toast the bread, place the slices as shown below: Toasting one slice Toasting two slices Toasting four slices...
- Page 10 Broil • Place the food to be grilled on the broil rack (P) inserted on the bake pan (H), and place them together in the guide 1. • Close the door until you hear a “click” (see figure 1). • Turn the function selector knob (D) to the BROIL or BROIL & ROTIS position.
-
Page 11: Cleaning And Maintenance
For information on the cooking times, refer to the instructions in the table below. FOOD WEIGHT APPROX. TIME 3-4 lbs. Chicken 120 min. 90 min. Rost pork 2-3 lbs. For larger foods, we recommend the FAN & BAKE mode. CLEANING AND MAINTENANCE Frequent cleaning prevents the formation of smoke and bad odors during cooking. -
Page 12: Limited Warranty
If repairs become necessary, see contact information below: U.S. Residents: Please contact our toll free hotline at 1-800-322-3848 or log onto our website at www.delonghi.com. For all accessories, spare parts or replacement parts, please contact our parts division at 1-800-865-6330. -
Page 13: Instalación
INSTALACIÓN • Su producto está dotado de una clavija polarizada para corriente alternada (una clavija con un diente más largo). Dicha clavija se adapta a la toma sólo en un sentido. Se trata de una característica de seguridad. Si no consiguen introducir completamente la clavija en el enchufe, den la vuelta a la clavija. -
Page 14: Descripción Del Aparato
DESCRIPCIÓN DEL APARATO A Perilla del termostato Charola para recoger migajas B Perilla para ajustar el tiempo M Resistencia superior C Lámpara indicador luminoso N Luz interna (si prevista) D Perilla para la selección de funciones O Base del asador (si prevista) Puerta de cristal Charola ligera Resistencia inferior... -
Page 15: Lea Todas Las Instrucciones
LEA TODAS LAS INSTRUCCIONES Cuando use aparatos eléctricos, debe respetar algunas normas de seguridad fundamentales, entre las que se incluyen las siguientes: 1. LEA TODAS LAS INSTRUCCIONES. 2. No toque las superficies calientes. Utilice los mandos o las asas para manipular el aparato. 3. - Page 16 Posición de la peril- Posición de la Posición la perilla Programa la para la selección parrilla y de los Notas/Consejos del termostato de funciones accesorios Descongelación Coloque el alimento • (solamente en DEFROST directamente sobre la parrilla en la guía 2. algunos modelos) Utilice charola...
- Page 17 USO DE LAS PERILLAS Perilla del termostato (A) Seleccione la temperatura de la forma siguiente: • Para descongelar ( solamente en algunos modelos ) (consulte la pág. 29): ..... . .Perilla del termostato en la posición “•”. •...
-
Page 18: Uso Del Horno
USO DEL HORNO Consejos generales • En las cocciones con horno ventilado, horno tradicional y grill, le aconsejamos calentar antes siempre el horno durante 5 minutos con la temperatura elegida. • Los tiempos de cocción dependen de la calidad de los productos, de la temperatura de los alimentos y del gusto personal de cada uno. - Page 19 Posición de Perilla del Programa Tiempos la parrilla/ Observaciones y consejos termostato charola Quiche 700 g/1.5 lb. 400°F 25-30 min. Utilice la charola. Pollo 1 kg/2.2 lb 400°F 60-70 min. Utilice la charola, dé la vuelta después de 38 min. aproximadamente. Asado de cerdo 900 g/2 lb 400°F 50-60 min.
- Page 20 Tostar (Toast) • Las dimensiones de la parrilla (G) permiten tostar seis rebanadas de pan al mismo tiempo. Aunque podrá obtener los mejores resultados tostando cuatro rebanadas cada vez. • Para tostar, coloque las rebanadas de pan según las indicaciones siguientes: Tostar una rebanada Tostar dos rebanadas Tostar cuatro rebanadas...
- Page 21 Cocción con grill (Broil) • Sitúe los alimentos a asar sobre la charola ligera (P) colocada en la charola (H) y póngalo todo en la guía 1. • Cierre la puerta (con la puerta ligeramente entreabierta como se muestra en la figura 1). •...
-
Page 22: Limpieza Y Mantenimiento
Para más información sobre el tiempo de cocción, consulte las indicaciones de la siguiente tabla. TIEMPO APROX. COMIDA PESO Pollo 120 min. 1-2 Kg (3-4 lbs.) Cerdo asado 90 min. 0,8-1,7 Kg (2-3 lbs.) En el caso de pesos superiores, le aconsejamos que utilice el modo ventilado. LIMPIEZA Y MANTENIMIENTO Una limpieza frecuente evita la formación de humos y malos olores durante la cocción. - Page 23 Residentes de los Estados Unidos: Por favor contactar a nuestra línea telefónica gratuita, al 1-800-322-3848 o ingrese a nuestro sitio en el Internet www.delonghi.com. Para todos los accesorios, piezas de repuesto o de reemplazo, por favor contactar a nuestra división de piezas, al 1-800-865-6330.
- Page 24 Internet www.delonghi.com <http://www.delonghi.com/>. Residentes de México: Por favor contactar a nuestra línea telefónica gratuita, al 01-800-711-88-05 (lada sin costo) / 56-62-53-68 y 69 (D.F.) o ingrese a nuestro sitio en el Internet www.delonghi.com <http://www.delonghi.com/>.
-
Page 25: Branchement Electrique
BRANCHEMENT ELECTRIQUE • Si votre produit est muni d’une fiche polarisée de courant alternatif (à savoir une fiche ayant une dent plus large que l’autre). Cette fiche ne peut être enfoncée dans la prise que dans une seule position. Il s’agit d’une mesure de sécuri- té. - Page 26 DESCRIPTION A Bouton thermostat Broche (selon le modèle) Ramasse-miettes B Bouton minuterie M Résistance supérieure C Lampe témoin N Éclairage intérieur (selon le modèle) D Bouton sélecteur fonctions O Logement du tournebroche (selon le modèle) Porte en verre Grille diététique Résistance inférieure Q Poignée extraction broche (selon le modèle) G Grille...
-
Page 27: Consignes Importantes
CONSIGNES IMPORTANTES Lorsque vous utilisez un appareil électrique quel qu’il soit, il est impératif de respecter quelques règles fon- damentales. En particulier: 1. LISEZ TOUT LE MODE D’EMPLOI 2. Évitez de toucher les surfaces chaudes. Utilisez les poignées et les boutons. 3. - Page 28 TABLEAU RÉCAPITULATIF Position bouton Position grille et Position bouton Programme Notes/Conseils sélecteur fonctions thermostat accessoires Placer les aliments Décongélation directement sur la • (seulement sur DEFROST grille inserée certains modèles) dans la glissière 2. 250°F - Insérer la lèchefrite Cuisson délicate SLOW BAKE dans la glissière 3 TOAST/BROIL...
-
Page 29: Utilisation Des Commandes
UTILISATION DES COMMANDES Bouton thermostat (A) Sélectionnez la température désirée de la façon suivante: • Pour décongeler (seulement sur certains modèles) (voir page 18): ......Bouton thermostat sur “•”. •... -
Page 30: Utilisation Du Four
UTILISATION DU FOUR Conseils • Pour les cuissons chaleur tournante, four traditionnel et gril, il est conseillé, de préchauffer le four pen- dant 5 minutes à la température désirée. • Les temps de cuisson dépendent de la qualité des produits, de la température des aliments et du goût per- sonnel. - Page 31 Grille/ Bouton Programme Temps lèchefrite Observations et conseils thermostat position Quiche 700 g/1.5 lb. 400°F 30-35 min. Utilisez la lèchefrite. Poulet 1 kg/2.2 lb 400°F 60-70 min. Utilisez la lèchefrite, tournez après 38 min environ. Rôti de porc 900 g/2 lb 400°F 50-60 min.
- Page 32 Toast • Les dimensions de la grille (G) permettent de griller six tranches de pain en même temps. Mais on obtient les meilleurs résultats en grillant 4 tranches à la fois. • Pour griller le pain, placez les tranches comme ci-dessous: Griller une tranche Griller deux tranches Griller quatre tranches...
- Page 33 Cuisson au gril (Broil) • Posez l’aliment à griller sur la grille diététique (P) insérée sur la lèchefrite (H) et posez le tout dans la glissière 1. • Refermez la porte, jusq’à entendre an “déclick” (voir figure 1). • Tournez le bouton du sélecteur de fonctions (D) sur BROIL ou BROIL &...
-
Page 34: Nettoyage Et Entretien
Pour les temps de cuisson consulter les indications figurant dans le tableau ci-dessous POIDS TEMPS APPROX. ALIMENT 3-4 lbs. (1-2 Kg) 120 min. Poulet Rôti de porc 2-3 lbs. (0,8-1,7 Kg) 90 min. Pour poids supérieures est conseillé d’utiliser la fonction cuisson chaleur tournante. NETTOYAGE ET ENTRETIEN Un nettoyage fréquent évitera la formation de fumées et de mauvaises odeurs pendant la cuisson. -
Page 35: Garantie Limitée
Résidents des États-Unis : Veuillez appeler notre ligne d’assistance sans frais au 1-800-322-3848 ou con- nectez-vous à notre site Web à www.delonghi.com. Pour tous les accessoires, les pièces détachées et les pièces de rechange, veuillez contacter notre service des pièces détachées au 1-800-865-6330.