Table of Contents
Advertisement
Quick Links
Operator's
Manual
I I:RRFTSMRN°I
flEXTEC
HAMMERHEAD
TM
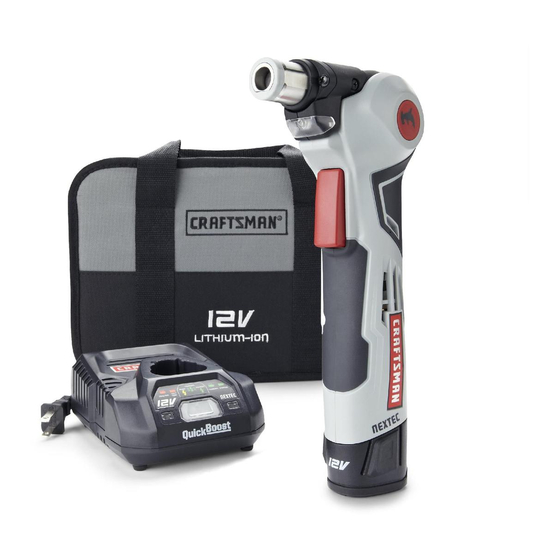
12.0-VOLT
LITHIUM-ION
CORDLESS
ARTICULATING
AUTO-HAMMER
Model No. 320.30261
c °s
LISTED
Powered by an
ENERGY STAR_
qualified battery
charger for a
better environment
WARNING:
To reduce the risk of
injury, the user must read and
understand
the operator's
manual
before using this product.
• WARRANTY
• SAFETY
• ASSEMBLY
• DESCRIPTION
• OPERATION
• MAINTENANCE
• ESPANOL
Sears Brands Management
Corporation
Hoffman
Estates, IL 60179
U.S.A.
www.craftsman.com
Advertisement
Table of Contents

Related Manuals for Craftsman NEXTEC HAMMERHEAD 320.30261


Summary of Contents for Craftsman NEXTEC HAMMERHEAD 320.30261
- Page 1 • DESCRIPTION WARNING: To reduce the risk of • OPERATION injury, the user must read and • MAINTENANCE understand the operator's manual • ESPANOL before using this product. Sears Brands Management Corporation Hoffman Estates, IL 60179 U.S.A. www.craftsman.com...
- Page 2 For warranty coverage details to obtain free replacement, visit the web site: www.craftsman.com This warranty does not the cover the pry bar, which is an expendable part that can wear out from normal use within the warranty period. This warranty is void if this product is ever used while providing commercial services or if rented to another person.
-
Page 3: Safety Symbols
The purpose of safety symbols is to attract your attention to possible dangers. The safety symbols and the explanations with them deserve your careful attention and understanding. The symbol warnings do not, by themselves, eliminate any danger. The instructions and warnings they give are no substitutes for proper accident prevention... - Page 4 SAVE THESE INSTRUCTIONS Some of the following symbols may be used on this tool. Please study them and learn their meaning. Proper interpretation of these symbols will allow you to operate the tool better and more safely. SYMBOL NAME DESIGNATION/EXPLANATION Volts Voltage Amperes...
-
Page 5: Power Tool Safety Warnings
GENERAL POWER TOOL SAFETY WARNINGS WARNING: Read all safety warnings and instructions. Failure to follow the warnings and instructions may result in electric shock, fire and/or serious injury. Save all warnings and instructions for future reference. The term "power tool" in the warnings refers to your mains-operated (corded) power tool or battery-operated... -
Page 6: Work Area Safety
• Keep the Auto=Hammer dry, clean, and free from oil and grease. Always use a clean cloth when cleaning. Never use brake fluids, gasoline, petroleum- based products or any strong solvent to clean the hammer. • Do not expose the Auto=Hammer to rain or wet conditions. - Page 7 • Use personal protective equipment. Always wear eye protection. Protective equipment such as dust mask, non-skid safety shoes, hard hat, or hearing protection, used for appropriate conditions, will reduce personal injuries. • Prevent unintentional starting. Ensure that the switch is in the off- position before connecting to a power source...
- Page 8 BATTERY TOOL USE AND CARE • Recharge only with the charger specified by the manufacturer. A charger that is suitable for one type of battery pack may create a risk of fire when used with another battery pack. • Use power tools only with specifically designated battery packs.
-
Page 9: Unpacking
WARNING: Always remove the battery from the auto-hammer before assembling parts, making adjustments, installing or removing bits, cleaning, when it is not in use. This will prevent accidental starting, which could cause serious personal injury. When unpacking the box, do not discard any packing materials until all of the contents... - Page 10 I D] _]_II]_IIIEe]_] KNOW YOUR AUTO-HAMMER (Fig. 1) Fig. 1 Magnetic sleeve Hammerhead (Recessed within magnetic sleeve) Hammerhead rotation lock button LED worklight Trigger switch PRODUCT SEPCIFICATIONS Motor 12.0 Volt DC Clamp 7/16 inch Hammerhead adjustment angles 0°, 45°and 90 ° Hammer Weight (without battery) 1.1 Ibs...
-
Page 11: Fuel Gauge
WARNING: The safe use of this product requires an understanding of the information on the tool and in this operator's manual as well as knowledge of the project you are attempting. Before using this product, familiarize yourself with all operating features and safety rules. -
Page 12: Operation
LOW BATTERY CAPACITY iNDiCATOR • If the FuelGauge shines red when the trigger switch on the auto-hammer depressed it means that the battery pack power has run out and the battery pack should be recharged. • Unlike other battery-pack types, Lithium-Ion battery packs deliver fade-free power for their entire run time. -
Page 13: Led Worklight
CAUTION: When placing the battery pack in the tool, be sure that the raised rib on the battery pack aligns with the groove inside the auto-hammer and that the battery snaps into place properly. Improper assembly of the battery pack can cause damage to internal components. - Page 14 HAMMERHEAD ARTICULATION (Fig. 7) Fig. 7 The hammerhead rotation lock button allows you to set the head at 0% 45°and 90 °. Depress the hammerhead lock button to release the hammerhead. Tilt the head at the appropriate angle for your operation and then release the lock button.
- Page 15 _1, CAUTION: Be especially careful when driving shorter nails, such as brads, that you remove your hand as soon as the nail stands on its own in the workpiece. Resume pushing down on tool and pressing the trigger switch to continue hammering until the nail is fully driven into the workpiece.
-
Page 16: Maintenance
To avoid serious personal injury, always remove the battery pack from the tool when cleaning or performing any maintenance. _1, WARNING: When servicing, use only identical craftsman replacement parts. Use of any other parts may create a hazard or cause product damage. WARNING: The use of compressed... - Page 17 BATTERY PACK REMOVAL AND PREPARATION FOR RECYCLING To preserve natural resources, please recycle or dispose of batteries properly. This product contains lithium-ion batteries. Local, state, or federal laws may prohibit disposal of lithium-ion batteries in ordinary trash. Consult your local waste authority for information regarding...
- Page 18 t- u) _) .£z w" ",Z f¢ ,9_00 o,.,...
- Page 19 liIat [,,.',]ili 2770153000 5120 Power Pack 2823066000 Impact Block Assembly 2823067000 Motor&Gear Assembly 2823092000 Top Cover Assembly 2823097000 Gear Set 3125764000 Switch Trigger 3125765000 Push Button 3125766000 Right Gear Case 3125767000 Left Gear Case 3125847000 Spindle Bush 3125848000 Support 3125849000 LED Cover 3125850000 Light Guide Pole...
- Page 20 3704923000 Connecting Piece 3704997000 Hoop 3705046000 Handle Hoop 3705097000 Connecting Plate 4360225000 4860004000 Inner Wire 4860007000 Inner Wire 4870064000 Switch 4890789000 6503 PCB Assembly 4920154000 Shrinkable Tube 5610004000 Tapping Screw 5610010000 Tapping Screw 5610012000 Tapping Screw 5610013000 Tapping Screw 5610024000 Tapping Screw 5620176000...
- Page 21 I_[e]li_l 30261 manual_Revised_11-0303 Page 21...
- Page 22 I_[e]li_l 30261 manual_Revised_11-0303 Page 22...
- Page 23 I_[e]li_l 30261 manual_Revised_11-0303 Page 23...
-
Page 24: Troubleshooting
Your Home For troubleshooting, product manuals and expert advice: managemylife www,rnanagemylife,com For repair - in your home - of all major brand appliances, lawn and garden equipment, or heating and cooling systems, no matter who made it, no matter who sold it! For the replacement parts, accessories and owner's manuals that you need to do-it-yourself.