
Related Manuals for VDO CD 2604 MP3


Summary of Contents for VDO CD 2604 MP3
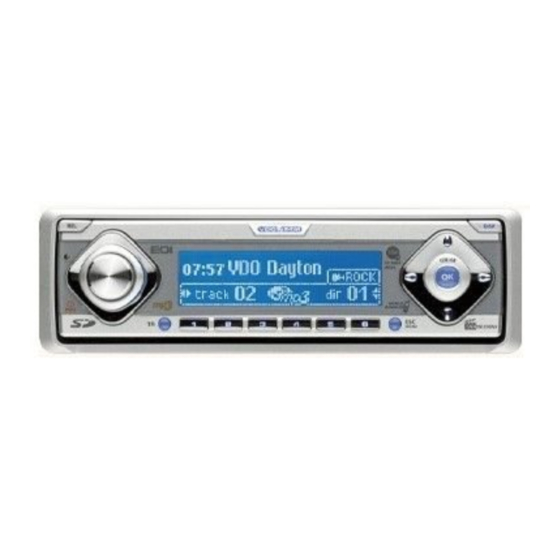
- Page 1 CD 2604 MP3X User manual Mode d’emploi Bedienungsanleitung Gebruiksaanwijzing Istruzioni d’uso Instrucciones de manejo Modo de emprego Bruksanvisning Betjeningsvejledning Käyttöohje www.vdodayton.com...
- Page 2 pg3_class1.p65 6/12/02, 10:23 AM...
- Page 4 This page is a blank page.
-
Page 5: Table Of Contents
INTRODUCTION BEFORE STARTING INSTALLATION Thank you for purchasing this product which If your car is equipped with ISO connectors, has been designed and manufactured simply insert them in the connectors of the according to applicable Safety Regulations, car radio. If not, you can use an adaptor cable following the highest standards and subjected (Refer to the table on the separate installation to rigorous testing. - Page 6 You are entirely responsible for deciding This can only be accomplished by whether it is safe to continue driving. persons familiar with automotive electrical and mechanical systems. Wired Remote Control Use the Pins 8 & 9 to connect wired remote After connection, see “SPECIAL FUNCTIONS”...
- Page 7 the mounting bracket and the screw holes MOUNTING of the radio become aligned and tighten the METAL SLEEVE (fi g. 11 ) screws at 2 places on each side. Install the metal sleeve (dimension 182x53 - Only use M5 screws that are not longer than mm) in the dashboard.
-
Page 8: Security
SECURITY HOME PAGE FRONT Switching On/Off • Short press (left) rotary knob to switch REMOVING THE FRONT 1- Press the REL key. on the set. • Long press rotary knob for more than 2 2- Pull the front towards you. Follow the diagram mounted on the back of the seconds to switch off the set. -
Page 9: Setup
DISPLAY Key • Short press on the DISP key will bring you to different display modes of animation and nature of information. Four Display modes are available: Mode 1: detailed audio info Mode 2: no status or clock Mode 3: no action box, no status, only feedback fi eld shown, animation by default Mode 4: action box is shown and the feedback fi... - Page 10 Arrow up Usage /down SYSTEM ON, OFF Enable/Disable the blinking LED when ignition is OFF. LOGIC ON, OFF Allows the use of the headunit when the vehicle ignition is not turn on. (only if the A7 wire is connected to a permanent supply).
- Page 11 Arrow up Usage /down VOLUME SMART VOL SVOL OFF, 1, 2, 3, 4 Select the SMART volume (Speed Dependent Volume Control) compensation level (only when connected and calibrated, see ‘SMART volume’ in connectors and ‘SPECIAL FUNCTIONS’). Level 1 gives a smaller increase while level 4 gives a greater increase with respect to the car’s speed.
- Page 12 Arrow up Usage /down TUNER ON, OFF Select ‘OFF’ to prevent the radio from returning to Alternative Frequencies for the current station. NEWS ON, OFF Activate/deactivate News feature. TA EON DX, LOCAL With local only strongest EON-TA stations are selected. With DX only stations with a lower fi...
- Page 13 Arrow up Usage /down SET DATE 01/01/2005 To set date display, COMP Press OK button to start function Use ( / ) button to select day, month, year, ( / ) button to change digits. Press OK to confi rm settings. SVC ALERT ON, OFF Activate/deactivate CAR...
-
Page 14: Audio
AUDIO You can set the audio options after enter the SOUND mode. 1. Press the HOME key to select SOUND source. 2. Press OK to enter SOUND mode. 3. Press ESC/HOME to go back to previous menu or HOME page. You can adjust the sound characteristics to your preference by pressing ( / ) or ( / ) buttons. -
Page 15: Tuner
TUNER STORE Storing preselected stations (PRESET) You can select the radio stations options after You can manually store 20 FM stations, 20 MW enter the tuner source. stations and 10 LW stations and 10 SW stations in the preset. Listening to radio •... - Page 16 NAME STATION Use this function to name a radio station with With this function, you can view all preset maximum of 8 characters (Only apply to non stations in a list, scroll and select the station RDS stations). from the list. 1.
- Page 17 Country codes for the countries in the European Broadcasting Area. Country Country Code Country Country Code Albania Macedonia Algeria Madeira (Portugal) Andorra Malta Austria Moldova Azores (Portugal) Monaco Belgium Morocco Belarus Netherlands Bosnia Herzegovina Norway Bulgaria Palestine Canaries (Spain) Poland Croatia Portugal Cyprus...
-
Page 18: Cd/Mp3 Player
RADIO DATA SYSTEM (RDS) ON FM Note: Many FM stations broadcast RDS information. You can switch off RDS features if not required. This set uses the RDS information to offer you 1. Go to SETUP, TUNER and select many advantages including: option RDS to OFF. - Page 19 Changing directory in MP3 Fast Backward/Forward 1. Press ( / ) button to select desired 1. Press and hold the ( / ) buttons for fast directory. backward and fast forward. • Playback begins on the fi rst fi le in the •...
-
Page 20: Cd/Mp3/Dvd Changer
4. Press OK again to confi rm the name. Add playlist (for MP3 disc only) This function is to add the song you desired to DELETE the play list. 1. Press OK to delete the name. To add playlist of MP3. 1. -
Page 21: Telephone
Playing a CD-R or CD-RW SCAN TRACK Depending on the type of CD-R/CD-RW CD, Use this function to activate the track scan to surface condition of the disc, as well as the listen to the fi rst few seconds of each track. performance and condition of the CD writer, 1. - Page 22 Headunit, CIM Box and Handsfree Kit connectivity / Setup: Depends on the connectivity and setup, headunit will response differently. 1) Headunit and Handsfree car kit Headunit Setup menu Receive incoming call HFREE OFF Headunit no action, continue playing current source. CIM OFF HFREE HI Display shows ‘Phone’, ready to receive...
-
Page 23: Auxiliary
INCOMING SMS SOFTWARE 1. Screen shows incoming message and 1. Use ( / ) button to select SOFTWARE telephone number. UPDATE or BLUETOOTH PAIRING. 2. Press ( / ) to select READ or QUIT. 2. Press ( / ) and OK button to select the 3. -
Page 24: Car Computer
RANDOM BATTERY VOLTAGE To activate or deactivate the random track, disc 1. Use ( / ) button to select and view on directory play BATTERY voltage. 1. Press OK to enter SD/MMC menu. 2. Press ( / ) button to select. CLOCK/DATE a. -
Page 25: Troubleshooting
SMART VOLUME (SDVC- Signal dependent SERVICE DISTANCE UNIT - See ‘SETUP’ option ‘DISTANCE’. volume control) See ‘INSTALLATION’ for connection instructions. INTERVAL DISTANCE OF SERVICE To compensate for surrounding noise, this - See ‘CAR COMPUTER’, option ‘SERVICE function automatically increases the volume ALERT’... - Page 26 There is no sound from the loudspeakers (front CDC ERROR Verify: and rear), either for radio or for CD. > The display shows CDC ERR the link There is no sound from the loudspeakers after between the CD changer and the amplifi er is having connected a telephone.