Visioneer PaperPort Strobe 500 Getting Started Manual
Desktop color scanner for macintosh
Hide thumbs
Also See for PaperPort Strobe 500:
- User manual (200 pages) ,
- Started manual (17 pages) ,
- Getting started manual (17 pages)
Table of Contents
Advertisement
Quick Links
W
ELCOME
Welcome to PaperPort Strobe, a desktop color scanner with which you
can quickly scan paper documents and photographs into your computer.
This guide explains how in just a few steps you can connect the scanner,
install the PaperPort software that works with the scanner, and scan your
first item. It also tells you how to correctly adjust and maintain your
scanner. In addition to this guide, you can get more information about
the scanner and software from a variety of sources:
E
P
P
XPLORE
APER
ORT
If you need additional help, contact Visioneer Technical Support as
described on the Technical Support card that came with your scanner.
One-Minute Guide
An online tour of PaperPort features.
Help
Everything you want to know about the
PaperPort software—"how-to" procedures,
dialog box reference, and troubleshooting
advice. From the Visioneer menu, choose
Help.
PaperPort CD
Your source for installing additional software that works
with the PaperPort software and printing additional docu-
mentation including the PaperPort User's Guide. From the
Visioneer menu, choose PaperPort User's Guide.
PaperPort Strobe for Macintosh Installation Guide
Getting Started Guide
The fastest way to get acquainted
with the PaperPort software and
start using it.
1
Advertisement
Table of Contents

Related Manuals for Visioneer PaperPort Strobe 500


Summary of Contents for Visioneer PaperPort Strobe 500
- Page 1 PaperPort User’s Guide. From the Visioneer menu, choose PaperPort User’s Guide. If you need additional help, contact Visioneer Technical Support as described on the Technical Support card that came with your scanner. PaperPort Strobe for Macintosh Installation Guide One-Minute Guide An online tour of PaperPort features.
-
Page 2: What You Need
• A color monitor (recommended, set to the highest number of colors possible in the Control Panel Monitors dialog box) Before you connect the scanner and install the software, make sure you have all the necessary hardware, software, and written information, shown in the following figure. -
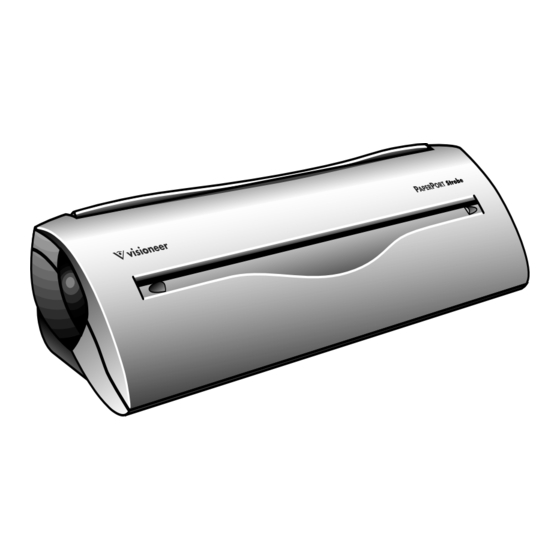
Page 3: Front View
Front view Scanner button Top view Rear view CANNER Page feed Page markers Paper-return settings Pass straight through Return to front Paper return PaperPort Strobe SCSI cable port The Scanner... - Page 4 The Scanner (Continued) Scanner button. Press the button before scanning as a shortcut for choosing new scan settings. Press the button to cancel a scan in progress. If the paper jams, press the button to back the paper out. Page markers. Insert items to scan between these two elevated tabs.
- Page 5 1. Shut down your Macintosh computer. 2. Turn off the power to any devices connected to the Macintosh computer. If you have already plugged the scanner into a power outlet, unplug it now. CAUTION: Always turn off the power to a connected device and your computer before you connect or disconnect a device.
- Page 6 5. Plug the 9-pin end of the cable into the larger, round port on the back of the scanner. 6. Plug the narrow end of the power adapter into the PaperPort Strobe SCSI cable. The connected scanner and cables should look like the following figure. PaperPort Strobe for Macintosh Installation Guide...
-
Page 7: Step 2: Installing The Paper Port Software
NOTE: If your computer does not have a CD-ROM, request installation disks from Visioneer, as described by the information on the CD-ROM envelope. To install the PaperPort software from the CD: 1. -
Page 8: Step 3: Calibrating The Scanner
PaperPort software. Be sure to check the CD for other applications after you complete the PaperPort software installation. Calibrating the scanner fine-tunes the grays and colors that appear on the scanned item. To calibrate the scanner: 1. -
Page 9: Step 5: Trying I T Out
One-Minute Guide icon located in the PaperPort Folder. 5: T RYING To try out the scanner and software, insert a test page, face up, into the page feed. With its unique paper-driven technology, the scanner starts as soon as you insert the page. -
Page 10: Scanner Button
SING THE Use the button located on the left side of the scanner for various tasks, such as displaying the PaperPort Scan Settings dialog box, backing a page out of the scanner if the scanner jams, and canceling a scan. - Page 11 APER Before scanning an item, adjust the paper return to determine how the page feeds through the scanner. You can have the page return toward you or be fed straight through, as shown in the following figure. Passes the item straight through. This setting is useful for scanning business cards and photographs.
-
Page 12: Scan Settings
To select a target application and scan settings: 1. From the Visioneer menu (located below the Visioneer icon on the Macintosh desktop menu bar), choose Scan Settings. The Scan Settings dialog box appears. - Page 13 TIP: There are two other ways to display the Scan Settings dialog box: (1) press the button on the left side of the scanner to display the settings; (2) press the F11 function key (if ScanDirect Function keys are enabled in the Link Bar preferences).
-
Page 14: Cleaning The Paper Port Scan Mechanism
2. Select the options you want to use and then close the dialog box. LEANING THE If you scan items that have excessive amounts of dirt or dust, the scanner can get dirty. To clean the scan mechanism, purchase a good-quality paper-cleaner page that is used for cleaning copy machines and fax machines. -
Page 15: Specifications
50 –104 F (10 –40 C) 20%–80% 100 Vac, 50/60 Hz (Japanese), 120 Vac, 60 Hz (North American), 230 Vac, 50 Hz (European) 17 V DC, 1A GS, FCC Class B, VCCI Class 2, CE One-year limited warranty PaperPort Scanner Specifications... -
Page 16: Declaration Of Conformity
Class B Personal Computers and Peripherals; and / or CPU Boards and Power Supplies used with Class B Personal Computers: Visioneer, Inc. Located at: 34800 Campus Drive Fremont, CA 94555 Declare under sole responsibility that the product identified herein, complies with 47CFR Parts 2 and 15 of the FCC rules as a Class B digital device.