Visioneer PaperPort Strobe 500 Getting Started Manual
Desktop scanner for windows
Hide thumbs
Also See for PaperPort Strobe 500:
- User manual (200 pages) ,
- Getting started manual (17 pages) ,
- Started manual (17 pages)
Table of Contents
Advertisement
Quick Links
Download this manual
See also:
User Manual
PaperPort Strobe scanner
Software CD
Power adapter
W
ELCOME
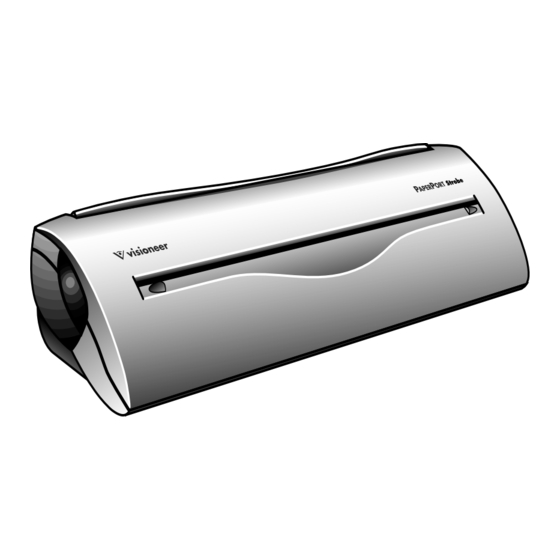
Congratulations on your purchase of PaperPort Strobe, a desktop scanner
with which you can quickly scan paper documents and color photos to get
their electronic images on your computer.
W
'
HAT
S IN THE
Before you start the installation, check the contents of the box to make sure
that all parts are included. If any items are missing or you notice any
damage, contact the dealer where you purchased the scanner.
PaperPort Strobe cable
W
Y
N
HAT
OU
EED
To use the scanner and software, you need the following:
IBM PC (or 100-percent compatible) 486 or higher.
Microsoft Windows 95.
16 megabytes (MB) or more of internal memory (RAM).
P
B
OX
Installation Guide and
Getting Started Guide
P
S
W
APER
ORT
TROBE FOR
Calibration
page
I
G
INDOWS
NSTALLATION
UIDE
1
Advertisement
Table of Contents

Related Manuals for Visioneer PaperPort Strobe 500


Summary of Contents for Visioneer PaperPort Strobe 500
- Page 1 ELCOME Congratulations on your purchase of PaperPort Strobe, a desktop scanner with which you can quickly scan paper documents and color photos to get their electronic images on your computer. Before you start the installation, check the contents of the box to make sure that all parts are included.
-
Page 2: Getting Help
A CD-ROM drive to install the software; if your computer does not have a CD-ROM drive, please see the card included with your scanner for ordering the software on disks from Visioneer. ETTING The PaperPort software includes a complete help system that answers questions about the scanner and its software. -
Page 3: The Scanner ' S Features
Front view Scanner button Top view Rear view ’ CANNER EATURES Page feed Page markers Paper return Paper return settings Return to front Pass straight through Cable jack... -
Page 4: Connecting The Scanner To Your Computer
INDOWS CANNER Scanner button. Press to cancel a scan in progress. If the paper jams, press to back the paper out. Press before scanning to select new scan settings. Page feed. Insert an item to scan face up into the page feed. The feed mechanism will grab the item and pull it through the rest of the way. - Page 5 “If All Parallel Ports Are in Use,” on page 7. 3. Plug the other end of the PaperPort Strobe cable into the round port on the back of the scanner. For the plug to fit correctly, the arrow symbol on the plug must be facing upward.
- Page 6 This is what the connections should look like when you’re finished. 6. Put the scanner at a convenient place on your desk such as between your keyboard and monitor. A pedestal is also available for your PaperPort Strobe scanner. See the...
-
Page 7: Restart Your Computer
RE IN If your computer’s parallel ports are all in use by other devices, such as printers, you can “daisy-chain” the scanner and up to four other devices so they share the port. To achieve the best scanner performance when daisy-... -
Page 8: Installing The Software
CD’s sleeve for ordering the software on disks. 3. Follow the instructions on the screen to install the PaperPort Software on your computer. Later, after the scanner is working, you can install the other applications on the CD. - Page 9 DJUSTING THE APER ETURN The position of the paper return on the top of the scanner determines the paper return path. The alignment markers indicate the return path. TROBE CANNER Rotate the paper return to set the return path.
- Page 10 To test the scanner and software: Insert a test page, face up, into the page feed slot. The scanner starts as soon as you insert the page. An image of the page appears as it is being scanned. NSTALLATION...
- Page 11 file, or copy. To scan in color, you reset the scanner’s scan settings to scan photos. As you can see, the Scan Settings dialog box has several other settings for various types of scanning tasks.
- Page 12 2. To scan in color, click Storing Color Photos. You can also use this 3. Click OK. Your PaperPort Strobe scanner is now set to scan in color. When you’re finished scanning the color items, remember to change the scan setting back to one of the other black-and-white settings (such as Faxing, Filing, or Copying).
-
Page 13: Scanner Button
The scanner button is located on the left side of the scanner. You can use the button to do three different things: Back a page out of the scanner if it jams. Press the button while the scanning is in progress. -
Page 14: Technical Information
The PaperPort Strobe scanner is designed for a long life of continuous use. You need to clean the scanner only if images begin to lose their quality when scanned. This chapter tells you how to clean the scanner and lists the scanner specifications. - Page 15 APER TROBE CANNER Scanning resolution Item sizes Maximum Minimum Scanner dimensions Height Width Length Weight Operating temperature Relative humidity Power supply Input voltage/frequency Output voltage/current Safety and agency certifications Hardware warranty PECIFICATIONS Optical resolution: Horizontal 300 dpi Vertical 600 dpi...
-
Page 16: Declaration Of Conformity
Class B Personal Computers and Peripherals; and / or CPU Boards and Power Supplies used with Class B Personal Computers: Visioneer, Inc. Located at: 34800 Campus Drive Fremont, CA 94555 Declare under sole responsibility that the product identified herein, complies with 47CFR Parts 2 and 15 of the FCC rules as a Class B digital device.