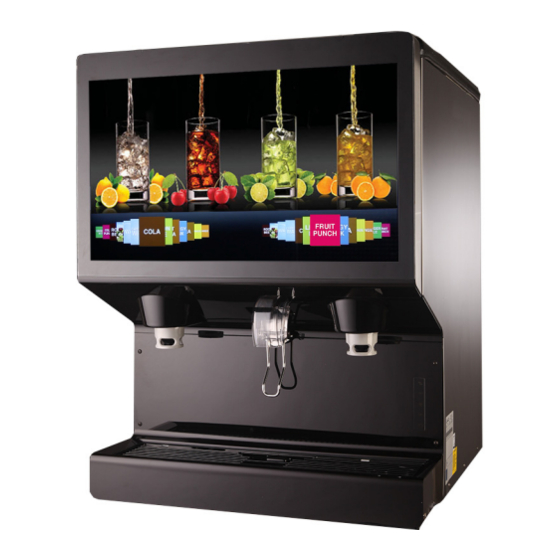
Cornelius IDC PRO 255 Service Manual
Splash panel installation and removal
Hide thumbs
Also See for IDC PRO 255:
- Service manual (50 pages) ,
- Operator's manual (46 pages) ,
- Installation manual (43 pages)
Advertisement
Quick Links
Advertisement

Related Manuals for Cornelius IDC PRO 255


Summary of Contents for Cornelius IDC PRO 255
- Page 1 Cornelius IDC PRO 255 Splash Panel Installation and Removal...
- Page 2 Removing the Upper Splash Panel • Remove the thumb screw behind the door • Pull the panel up and forward to release. Guide the panel down making sure to clear ice dispense lever and nozzles • NOTE: Re-insert thumb screw to avoid losing it.
- Page 3 Lower Splash Panel Removal • Loosen 2 screws; one on each side of lower splash panel. You may have to completely remove the screw on the right side due to the ADA panel. • Slide splash panel up & pull forward and out from the bottom •...
- Page 4 Lower Splash Panel Installation (standard and Z-Style) • Slide the splash panel keyholes over the screws. • Apply slight pressure on the frond side of the splash panel (one side at a time) and push down to seat the lower tabs. Starting on the left side simplifies the installation.
- Page 5 Installing the Upper Splash Panel • Guide the upper splash panel up around the ice dispense lever and the dispensing nozzles. • Align the two hooks on each side of the upper splash panel with the two slots on the right side and left side of the cladding.