Table of Contents
Advertisement
Quick Links
Day One+
SRX380
IN THIS GUIDE
Step 1: Begin | 1
Step 2: Up and Running | 6
Step 3: Keep Going | 10
Step 1: Begin
IN THIS SECTION
Meet the SRX380 | 2
Install the SRX380 | 2
Power On | 4
In this guide, we provide a simple, three-step path, to quickly get you up and running with your new SRX380. We've
simplified and shortened the installation and configuration steps, and included how-to videos. You'll learn how to install
the SRX380 in a rack, power it up, and deploy it on your network using the CLI.
NOTE:
We think you'll want to check out our
up where this Day One+ ends, providing step-by-step instructions on how to easily secure and validate your
branch location.
Are you interested in getting hands-on experience with the topics and operations covered in this guide? Visit
Juniper Networks Virtual Labs
sandbox in the stand alone category.
Guided Setup: SRX300 Line
and reserve your free sandbox today! You'll find the Junos Day One Experience
Firewalls. Our Guided Setup picks
Advertisement
Table of Contents

Related Manuals for Juniper Day One+ SRX380


Summary of Contents for Juniper Day One+ SRX380
- Page 1 Are you interested in getting hands-on experience with the topics and operations covered in this guide? Visit Juniper Networks Virtual Labs and reserve your free sandbox today! You’ll find the Junos Day One Experience sandbox in the stand alone category.
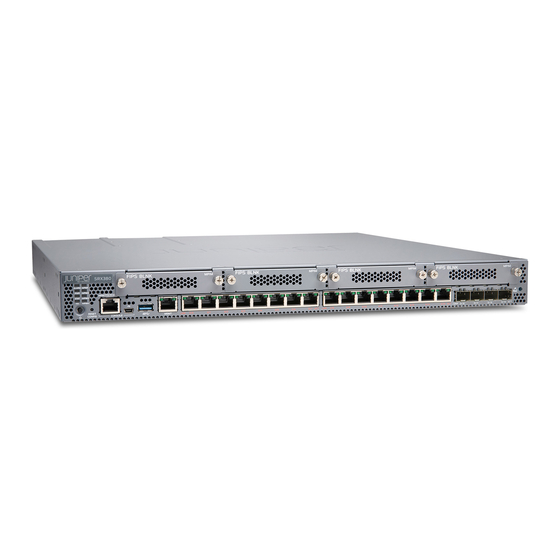
- Page 2 Meet the SRX380 ® The Juniper Networks SRX380 Services Gateway is a high-performance, all-in-one secure SD-WAN gateway. It provides your network with superior and reliable WAN connectivity while consolidating security, routing, and switching for distributed enterprise offices. With sixteen 1-Gigabit Ethernet PoE+ ports and four 10-Gigabit Ethernet ports, the SRX380 provides greater port density than other models in the SRX300 line of devices, all in a 1-U form factor.
- Page 3 Two mounting rails Two mounting blades What Else Do I Need? You’ll also need: Someone to help you do the installation Eight rack mount screws appropriate for your rack A number two Phillips (+) screwdriver Rack It Here’s how to install the SRX380 in a rack: 1.
- Page 4 6. While you’re holding the SRX380 in place, have a second person insert and tighten the rack mount screws to secure the mounting brackets to the rack rails. Make sure they tighten the screws in the two bottom holes first and then tighten the screws in the two top holes.
- Page 5 1. Wrap and fasten one end of the electrostatic discharge (ESD) grounding strap around your bare wrist, and connect the other end to a site ESD point. 2. Attach a grounding cable to earth ground and then attach the other end to the SRX380’s grounding points. 3.
-
Page 6: Step 2: Up And Running
Juniper Sky™ Enterprise, Juniper Networks-hosted public cloud-based Software as a Service (SaaS) solution. NOTE: You’ll need to have a Juniper Sky Enterprise subscription service before you can use it to configure the SRX380. For more information, check out the Juniper Sky Enterprise Getting Started Guide. -
Page 7: Initial Configuration Using The Cli
Initial Configuration Using the CLI IN THIS SECTION Connect to the Serial Console Port | 7 Perform Initial Configuration | 8 Congratulations! Your SRX is Up and Running | 9 You can use the console port on the SRX to do the initial configuration. This section assumes you start from a factory default configuration. -
Page 8: Perform Initial Configuration
Baud rate—9600 Parity—N Data bits—8 Stop bits—1 Flow control—none NOTE: You can also connect to the SRX380 using a mini-USB console port. See the SRX380 Hardware Guide. Perform Initial Configuration 1. Login as the root user and start the CLI. You don't need a password if you're running the factory default. login: root root@%cli root>... - Page 9 [edit] root# commit 4. Enable root login over SSH, and allow SSH access over the WAN interface (ge-0/0/0). [edit] root# set system services ssh root-login allow root# set security zones security-zone untrust interfaces ge-0/0/0.0 host-inbound-traffic system-services ssh 5. Configure the hostname. [edit] root# set system host-name host_name 6.
- Page 10 A few things to keep in mind about your new SRX380 branch network: You access the SRX CLI or J-Web user interface locally using the 192.168.1.1 address. To access the SRX remotely, specify the IP address assigned by the WAN provider. Simply issue a show interfaces ge-0/0/0 terse CLI command to confirm the address in use by the WAN interface.
-
Page 11: What's Next
Log in to J-Web and use the wizard. Alternatively, you can use the device up and running, or both more advanced configuration features offered by Juniper Contrail Service Orchestration (CSO) and Juniper Sky Enterprise. To use these services, you’ll need an account and activation code. Check out the... - Page 12 Juniper Portal Juniper Networks, the Juniper Networks logo, Juniper, and Junos are registered trademarks of Juniper Networks, Inc. in the United States and other countries. All other trademarks, service marks, registered marks, or registered service marks are the property of their respective owners. Juniper Networks assumes no responsibility for any inaccuracies in this document. Juniper Networks reserves the right to change, modify, transfer, or otherwise revise this publication without notice.