Table of Contents
Advertisement
Quick Links
Quick Start Guide
SRX380 Services Gateway
IN THIS GUIDE
Plug and Play | 9
Next Steps | 11
SRX380 Services Gateway Overview
The Juniper Networks SRX380 Services Gateway consolidates security, routing, switching to provide an all-in-one
networking platform for SD-WAN and NGFW deployments. The services gateway is designed for enterprise (large branch
offices, small campus, SD-WAN) and service provider (managed WAN CPE, SD-WAN) deployments. For more information
on the SRX380 hardware, see the
Register the Product
Register product serial numbers on the Juniper Networks website and update the installation base data if there is any
addition or change to the installation base or if the installation base is moved. Juniper Networks will not be held accountable
SRX380 Services Gateway Hardware
Guide.
Advertisement
Table of Contents

Summary of Contents for Juniper SRX380
-
Page 1: Table Of Contents
Register product serial numbers on the Juniper Networks website and update the installation base data if there is any addition or change to the installation base or if the installation base is moved. Juniper Networks will not be held accountable... -
Page 2: Srx380 Front Panel And Rear Panel
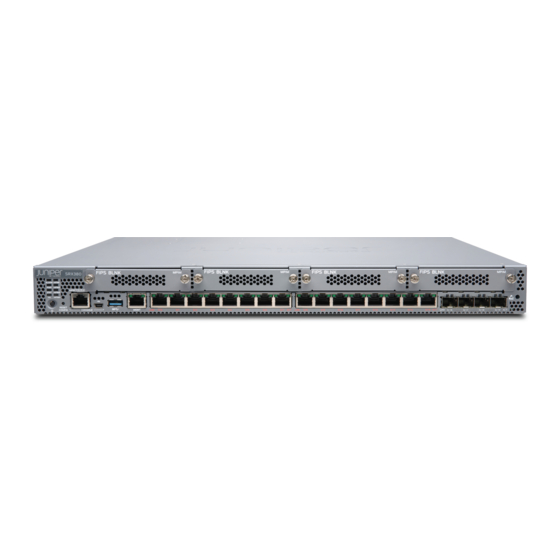
Register your product at https://tools.juniper.net/svcreg/SRegSerialNum.jsp. Update your installation base at https://www.juniper.net/customers/csc/management/updateinstallbase.jsp. SRX380 Front Panel and Rear Panel Figure 1: SRX380 Front Panel Components ALARM mPIM1... -
Page 3: Srx380 Services Gateway Physical Specifications
17.36 in. (44.09 cm) Height 1.72 in. (4.37 cm) Weight (with single power supply unit) 15 lb (6.80 kg) Factory-Default Settings The SRX380 device is shipped with the with the factory-default settings listed in Table Table Table 4, and Table... -
Page 4: Install The Srx380 In A Rack
To provide secure traffic, a basic set of screens are configured on the untrust zone. Install the SRX380 in a Rack You can install the SRX380 in a four-post rack. The rack mounting kit is shipped with the device. Before you start: Review the... - Page 5 2. Secure the mounting rails to the sides of the SRX380 using the M4x6-mm Phillips flat-head mounting screws. 3. Lift the SRX380 and position it in the rack. Line up the bottom hole in each mounting bracket with a hole in each rack...
-
Page 6: Connect To Ground
4. While you’re holding the SRX380 in place, have a second person insert and tighten the rack mount screws to secure the mounting brackets to the rack rails. Make sure they tighten the screws in the two bottom holes first and then tighten the screws in the two top holes next. -
Page 7: Connect Power To The Device
Figure 3: Connecting the Grounding Cable to the SRX380 Services Gateway 5. Secure the grounding cable lug to the grounding point with the washers and screws. 6. Dress the grounding cable and verify that it does not touch or block access to the services gateway components and that it does not drape where people could trip on it. -
Page 8: Configure Root Authentication
2. Connect the other end of the Ethernet cable to the management device. Figure 5: Connecting the SRX380 to a Management Device The SRX380 functions as a DHCP server and automatically assigns an IP address to the laptop. 3. Ensure that the laptop acquires an IP address on the 192.168.1.0/24 network. -
Page 9: Plug And Play
Plug and Play The SRX380 already has factory-default settings configured to make it a plug and play device. So all you have to do to get the SRX380 up and running is connect it to your LAN and WAN networks. -
Page 10: Configure The Srx380 Using J-Web
Configure the SRX380 Using J-Web You can modify the configuration using J-Web. Have the following information ready before you start the configuration process: Hostname Root authentication password IP address for the NTP server IP address for the DNS server IP address for the management interface 1. -
Page 11: Next Steps
Click Next. 5. Configure the management interface: a. Select the management port. b. Type the IP address for the management interface and the static route if it is needed to reach the SRX380 via the management interface. c. Click Next.


