Trane CGAF-C20 Installation Manual
Remote human interface, air-cooled cold generator
Hide thumbs
Also See for CGAF-C20:
- Programming, troubleshooting manual (68 pages) ,
- Installation & operation manual (64 pages)
Table of Contents
Advertisement
Remote Human Interface
Air-Cooled Cold Generator
Models
"H" and Later Design Sequence
CGAF-C20
CGAF-C40
CGAF-C25
CGAF-C50
CGAF-C30
CGAF-C60
With 3-D
TM
Scroll Compressors
2003 American Standard Inc. All rights reserved
http://www.trane.com
Installation
Library
Product Section
Product
Model
Literature Type
Sequence
Date
File No.
Supersedes
Trane has a policy of continuous product and product
data improvement and reserves the right to change de-
sign and specifications without notice. Only qualified
technicians should perform the installation and servic-
ing of equipment referred to in this publication.
CG-SVN02A-EN
Hermetic Scroll Liquid Chillers, Air Cooled
SV-RF-CG-SVN02A-EN 3/03
Note: The installation of this equipment must
comply with all National, State, and Local
Codes.
Service Literature
Unitary
CG
Installation
02A
March 2003
CGAF-IN-1
Advertisement
Table of Contents

Related Manuals for Trane CGAF-C20


Summary of Contents for Trane CGAF-C20
- Page 1 Codes. CGAF-C30 CGAF-C60 With 3-D Scroll Compressors Trane has a policy of continuous product and product data improvement and reserves the right to change de- sign and specifications without notice. Only qualified technicians should perform the installation and servic- 2003 American Standard Inc.
-
Page 2: Table Of Contents
About the Manual Step-by-step instructions for programming and/or viewing Literature Change History the; SETUP information, DEFAULT setpoints, DIAGNOSTIC system failures, and checking OPERATING status are given CG-SVN02A-EN March 2003 in the latest edition of the appropriate Programming, Original Kit Installation manual for mounting and wiring the Troubleshooting Guide that shipped with the unit. -
Page 3: General Information
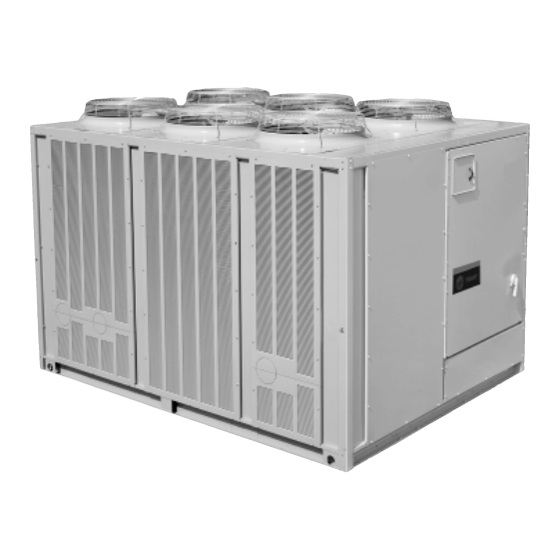
General Information Unit Description The Remote Panel is identical to the Unit mounted Human Interface Module with the exception of the “Unit Select” key. This key allows the operator to switch from one unit to the The optional Remote Human Interface is illustrated in Fig- next in order to program or view status information regard- ure 1. -
Page 4: Installation
Installation Mounting Location Recommendations Note: Place the microprocessor in a clean dry location during the enclosure mounting The microprocessor module is mounted inside a molded procedures. plastic enclosure for surface mounting. It is not weather- proof making it applicable for indoor use only. 3. -
Page 5: Field Installed Power Wiring
Installation 5. Place the enclosure back onto the surface and secure it with the appropriate screws. 6. Follow step 5 in the previous discussion, “Mounting on a 4” by 4" Electrical Box”, to replace the microprocessor within the enclosure. Figure 2 Remote Panel Dimensional Data &... -
Page 6: Controls Using Dc Communication Links
Installation Field Power Wiring Connections the connection diagram that shipped with the unit for the To access the wire entry locations at the remote panel; electrical access and connection locations provided on the unit. 1. Open the door and remove the two (2) screws on the right hand side of the Key pad. -
Page 7: Multiple Unit Operation
Installation Communication Link Connections Figure 4 1. As illustrated in Figure 4, trim the outer covering of the Dressing Shielded Twisted Pair Cable shielded cable back approximately 1 inch. Do not cut the bare shield wire off. 2. Strip approximately 1/2 inch of insulation from each insu- lated wire in order to connect them to the terminal strip at the Remote Panel. - Page 8 Installation Figure 6 Dip Switch Settings and Daughter-board Configurations. Default Configuration Fig. 7a Fig. 7b Fig. 7c IPCB TCI/COMM4 TCI/COMM3 IPCB Non-Isolated Com3 or Com4 Non-Isolated Com3 or Com4 Isolated Com3 Dip Switch – Off, Off, On Dip Switch – On, Off, Off Dip Switch –...