Table of Contents
Advertisement
Quick Links
Advertisement
Table of Contents

Related Manuals for A.O. Smith aosbath MAX4


Summary of Contents for A.O. Smith aosbath MAX4
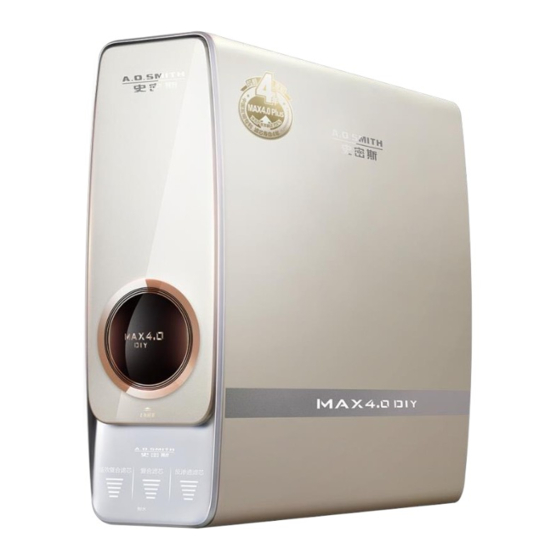
- Page 1 Instruction Manual Domestic RO Water Purifier, MAX4...
- Page 2 1. IMPORTANT Please read this manual carefully before using the product and store it for future reference. If the user installs the water filter by themselves or does it by using the self-prepared installation materials, AOS Bath will not be liable for any adverse effects on the normal operation and service performance of the system. The maintenance of this appliance requires the use of approved parts and the problems caused by the use of unauthorized parts (degradation of performance or property damage) are not covered by the manufacturer's limited warranty.
-
Page 3: Product Information
2. PRODUCT INFORMATION FEATURES The water filter system is fully automated. • Self cleaning internal flush function, activated each time system is powered on or reset. • Automatically prompt users if a cartridge change is required. • RFID anti-counterfeit cartridge with intelligent identification microchip. •... -
Page 4: Installation And Initial Setup
3. OPERATION GUIDE INSTRUCTIONS 1. System Display The indicator lights correspond to the remaining service life of each filter. White : Product and filter life is normal Orange : The filter life is down to 5%, order Particle Carbon Reverse replacement filters. - Page 5 INSTALLATION OF HOSE, 3-WAY VALVE, WATER INLET 1. Installation of metal hose and 3-way valve Metal hose 1. Fix the water inlet valve at ‘close’ position and unscrew the metal hose. Washer 2. Attach the base end of the three-way valve to the inlet valve.
-
Page 6: Installation Of Faucet
INSTALLATION OF FAUCET Drill a hole of 20-30mm in diameter to begin the installation. 1. Insert the power cord though the rubber pad 1. Base installation and gasket. The rubber washer and gasket are designed to have protrusions that should align well against each other and with the center hole. -
Page 7: Fixing The System
Tip: Before insertion of water pipe into the faucet body, draw a line 16mm away from the end of the water pipe as a guide. After the water pipe is inserted, the marking line should not be visible. To prevent internal damage, do not force the main body while it rotates into the base. Note: When cleaning the surface of the faucet, use a soft sponge. -
Page 8: Initial Setup
INITIAL SETUP Proceed to activate the system after checking that the pipe connections are secure and that the system is connected to a water source and power supply. • Ensure the stop valve on the incoming water pipe is ‘on’. Turn on the filter faucet and wait for the first flow of water. -
Page 9: Maintenance
5. MAINTENANCE RECOMMENDED FILTER REPLACEMENT CYCLE • The recommended filter replacement cycles of this water purifier are based on statistics of international average indicator. • Local water quality and water consumption will affect the lifespan of each filter. • If you notice a fault of blockage of the filter, please contact the authorised after-sales service department immediately. - Page 10 4. When successfully installed, the 3. Remove packaging from the new filter relevant filter indicator light display will and insert it into the slot until you hear a click. turn white. Proceed to close the cover, aligning the magnets at the top first. NOTE: 1.
-
Page 11: Installation Diagrams
6. INSTALLATION DIAGRAMS WATERFLOW DIAGRAM Combination & stop valve Faucet Waste water Pressure pump Backflow valve Inlet valve Particle Carbon Incoming water supply filter filter filter 3-way valve ELECTRICAL COMPONENTS Stop valve Main circuit board Power Controls the entire water filtration process Inlet Combination supply... -
Page 12: Troubleshooting
7. TROUBLESHOOTING Malfunction Possible cause Solution Unable to switch on Power is not connected Check the power supply or power plug The water inlet is blocked, or power Check incoming water supply and water supply is disconnected pressure Wires are damaged Replace wires Circuit board faulty Replace circuit board... -
Page 13: Warranty Service Procedure
8. WARRANTY AND PACKING LIST WARRANTY AOS Bath Pte Ltd (the warrantor) will cover defects or manufacturing faults of the AOS water purifier with components or models of equivalent size and compatibility. The warranty covers all components and labour charges for replacement of faulty parts for 1 year from date of installation. The water purifier is designed for household use and the warranty will not apply should the system have been used for commercial purposes. - Page 14 HAZARDOUS SUBSTANCES (CONTENTS) Parts Harmful Substance Lead Mercury Cadmium Hexavalent Polybrominated Polybrominated (Pb) (Hg) (Cd) Chromium Biphenyls (PBB) Diphenyl Ether (Cr(VI)) (PBDE) Filter components Metallic parts Plastic parts Rubber parts Electronic assembly (device) Label printing materials Marked ‘o’: The content of the hazardous substances in all materials of the part is below the limit requirement specified in GB/T 26572 Marked ‘x’: The content of the hazardous substances in at least one of the materials of the part exceeds the limit requirement of GB/T 26572.
- Page 15 AOS Bath Service Hotline 68420030 For filter replacements 68420030 AOS Bath Pte Ltd 178 Paya Lebar Road #06-11, Singapore 409030 ww.aosbath.com...