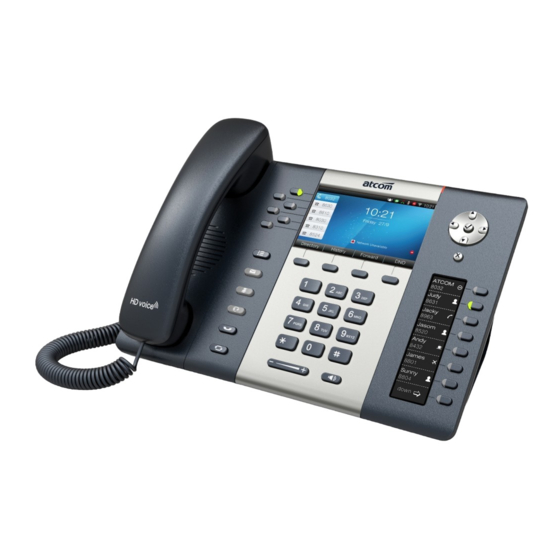
Summary of Contents for ATCOM Rainbow4
- Page 1 Rainbow4(s) Quick Start Guide Version:1.0 2014-10-17 http://arttel.ru/shop/ip-telefony/ip-telefon-atcom-rainbow-4s...
-
Page 2: Table Of Contents
1、 Installation and access ...........................3 1.1 Connection .............................3 1.2 Stand bracket installation instruction .....................3 1.3 Interface description ........................4 1.4 Check IP address ..........................5 1.5 Enter the Setting of telephone ......................5 2、 Quick Configuration..........................6 2.1、 Network Configuration........................6 2.2、 Account Configuration ........................8 http://arttel.ru/shop/ip-telefony/ip-telefon-atcom-rainbow-4s... -
Page 3: 1、 Installation And Access
A. Put the bottom side of the IP phone upside and press one-side joints of stand bracket into the slot, please refer the picture as below: B. Press the other side joints into the slot according to the direction of the arrow: http://arttel.ru/shop/ip-telefony/ip-telefon-atcom-rainbow-4s... -
Page 4: Interface Description
C. It is the right picture after fixing the stand bracket below: D. Disassemble the stand bracket: Push the spring joint of stand and pull the stand according to the direction of the arrow. When the joints are pulled out of the slot, you can take off the stand bracket: http://arttel.ru/shop/ip-telefony/ip-telefon-atcom-rainbow-4s... -
Page 5: Check Ip Address
After stand bracket fixed, please plug in all wires or cables as below: Check IP Rainbow4(s) uses DHCP mode by default, and you can review its current IP address by pressing key when it is powered on and connected to the network. -
Page 6: 1.5 Enter The Setting Of Telephone
After log in the webpage, you’re able to set the telephone by quick configuration. Configure the telephone quickly via Web:Basic→Wizard User should set the below two parts in turn, 1. Network——LAN Port; 2. Account——SIP。 、 Network Configuration There is 3 options for network access, http://arttel.ru/shop/ip-telefony/ip-telefon-atcom-rainbow-4s... - Page 7 After the username/password of PPPoE filled manually, click the button “Next” to enter the web page of “Account Configuration”, or click the button “Back” to back to web page of “Network Configuration”. Network Configuration can be completed in below webpage, http://arttel.ru/shop/ip-telefony/ip-telefon-atcom-rainbow-4s...
-
Page 8: Account Configuration
Rainbow 4(s) Quick Start Guide 、 Account Configuration The account configuration info will be saved to Line 1. Click the buttom “Finish” to save network configuration and account configuration, and click “Back” back to the previous web page. http://arttel.ru/shop/ip-telefony/ip-telefon-atcom-rainbow-4s... - Page 9 Rainbow 4(s) Quick Start Guide Account Configuration can be completed in below webpage, http://arttel.ru/shop/ip-telefony/ip-telefon-atcom-rainbow-4s...


