Table of Contents
Advertisement
Quick Links
Advertisement
Table of Contents

Related Manuals for CDA VK703


Summary of Contents for CDA VK703
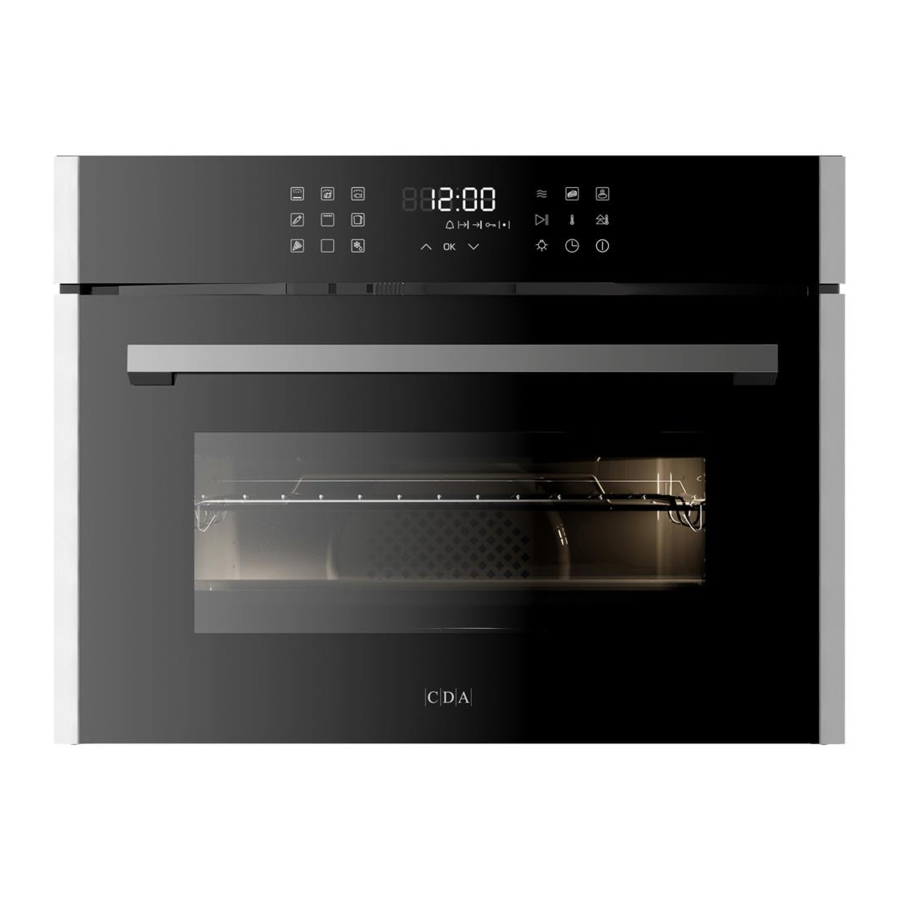
- Page 1 VK703 Compact steam oven and grill Use and maintenance...
- Page 2 Contents Important information Before first use Filling the water tank Control panel Using the touch controls Switching the appliance on and off Setting the clock Setting the minute minder Functions Selecting a function Pausing and altering functions Stopping functions Auxiliary functions and settings Safety key lock Interior lighting Operating time limiter...
- Page 3 • Keep the oven door closed whilst grilling. Appliance information: Please enter the details on the appliance rating plate below for reference, to assist CDA Customer Care in the event of a fault with your appliance and to register your appliance for guarantee purposes.
- Page 4 Important information EU Declarations of Conformity: This oven has been designed, constructed and marketed in compliance with safety requirements of EU Directive 2014/35/EU (LVD) and requirements of EU Directive 2014/30/EU (EMC). Parts intended to come into contact with food conform to 1935/2004/EC.
- Page 5 Important information Read the user instructions carefully before using the • oven for the first time. Follow the instructions for first use of the oven. • Clean the oven regularly. • Remove spills as soon as they occur. • Always use oven gloves when removing shelves and •...
-
Page 6: Before First Use
Before first use First use Before using the oven for the first time we recommend that, with the power supply off, you clean the oven with soapy water. Once done, rinse carefully, remove all accessories from the appliance and then heat on the below programme at maximum temperature for the specified time. -
Page 7: Filling The Water Tank
Filling the water tank Before using the steam functions for the first time we recommend that you remove and clean, thoroughly, the water tank in the appliance. The water tank can be found on the right hand side of the appliance when the door is open (circled below). Fig. -
Page 8: Control Panel
Control panel Function Sensors Time/Temperature display Auxiliary Functions Function Indicators Adjustment Sensors On/Off sensor Plus sensor Time sensor Minus sensor Interior light sensor Confirm sensor Start/Pause sensor Minute minder indicator Temperature sensor Duration indicator Rapid preheating End of cooking indicator sensor Safety key lock indicator Function active... -
Page 9: Using The Touch Controls
Using the touch controls The touch controls should be used with the flat of your finger, rather than the fingertip. Switching the appliance on and off To switch the appliance on Touch and hold the ‘On/Off’ sensor for approximately 3 seconds and until the appliance beeps. -
Page 10: Setting The Clock
Setting the clock • In standby mode, press and hold the timer sensor until the minutes of the display flash. • to set the minutes. Touch the sensor to confirm the setting. • The hours of the display will now be flashing. Use set the hours. - Page 11 Functions Below is a table of functions for the appliance including any adjustable settings Preset Preset Adjustable Time temperature Minute minder Power Icon Function temperature range (min) ( ℃) Steam 50 - 100 ° C 1190 W Steam - - 100 ° C 1190 W Meat Steam -...
-
Page 12: Selecting A Function
Selecting a function • Touch a sensor on the control panel to enter that function’s settings. The display will show the default temperature setting if a cooking function is selected. If a defrost function is selected the display will show the default time. •... -
Page 13: Auxiliary Functions
Auxiliary functions This appliance features a number of preset functions which create the ideal cooking environment (time, temperature etc.) for certain dishes. Below is a table of these functions and their adjustable settings. Preset Preset temperature Adjustable temperature Minute Icon Function time (°C) -
Page 14: Interior Lighting
Interior lighting The interior lighting will come on automatically when the oven is in use and will turn itself off automatically after 1 minute but can be turned on and off as you wish. The light will also turn on after opening the oven door. -
Page 15: Semi Automatic Cooking
Semi automatic cooking This function allows for a cooking time to be set. When the set time elapses the oven will switch the set function off and an acoustic signal will sound to alert the user. The cooking time available ranges from between 1 minute and 10 hours. -
Page 16: Automatic Cooking
Automatic cooking This function allows for a delay to be set for cooking and an automatic end time. For example, if you set the cooking duration to 1 hour, and the end time to 15:00, then the oven will activate the function at 14:00. -
Page 17: Care And Maintenance
Care and maintenance It is important, before carrying out any cleaning or maintenance, that you disconnect or switch off the appliance at the power supply. If the oven has been in use, let the cavity and any elements cool down sufficiently before attempting any cleaning or maintenance. - Page 18 Important Do not use any other tool, except for a screwdriver, to remove the protective cover as this may damage the lamp assembly or the oven. Removing the appliance door In order to allow for easier access into the oven cavity for cleaning, it is possible to remove the door.
- Page 19 Replacing the appliance door • Hold the door to the appliance in the closed position and manoeuvre the hinges so that the part of the hinge, highlighted by the star in Fig. 4, inserts into the hinge slot in the cavity frame.
- Page 20 Removing the inner door glass On the upper edges of the door assembly there are two plastic clips (C in Fig. 6). These must be removed by pressing the arrow symbol inwards and then pulling them firmly away from the door assembly in the same direction as the arrows.
- Page 21 Cleaning IMPORTANT • Before any maintenance is started involving electrical parts, the appliance must be disconnected from the power supply. • If the oven has been in use, let the oven cavity and the heating elements cool down before attempting any maintenance.
- Page 22 Grill When used regularly, the grill element does not need cleaning as the intense heat will burn off any splashes. The interior ceiling may need regular cleaning, which should be done with warm water, detergent and a sponge. If the grill is not used regularly, it should be run for 10 minutes every month to burn off any splashes, in order to reduce the risk of fire.
-
Page 23: Installation
Installation The appliance can be installed under a worktop or in a wall unit (open or closed) with the appropriate dimensions for recessed installation. Centre the oven in the unit, ensuring that there is as much of a gap as possible, for ventilation purposes, between the appliance and the surrounding unit. - Page 24 Min 3 Min 458 Min 450 Min 3 >520 >570 Fig. 4 Min 460 >520 >570 Fig. 5 24 | Instruction Manual...
-
Page 25: Mains Electrical Connection
Mains electrical connection Warning! This appliance must be earthed This appliance is supplied with a 3 core mains cable; the wires are in accordance with the following code: Green and Yellow = Earth Blue = Neutral Brown = Live Output L Input L Input N Output N... - Page 26 Please note: • The mains cable must only be replaced by a qualified electrician or service engineer and must be of equivalent or better rating (i.e. 1.5mm HO5RR-F). DOUBLE POLE SWITCHED FUSED SPUR OUTLET • The current rating of the fuse or circuit breaker protecting this appliance should be marked on the...
- Page 27 Notes Instruction Manual | 27...
- Page 28 The CDA Group Harby Road Langar Nottinghamshire NG13 9HY Sales Department Phone: 01949 862010 Email: sales@cda.eu CDA Customer Care Phone: 01949 862012 Email: customer.care@cda.eu ©2021 CDA Group Ltd...