
Related Manuals for Graco DISPENSIT 1206


Summary of Contents for Graco DISPENSIT 1206
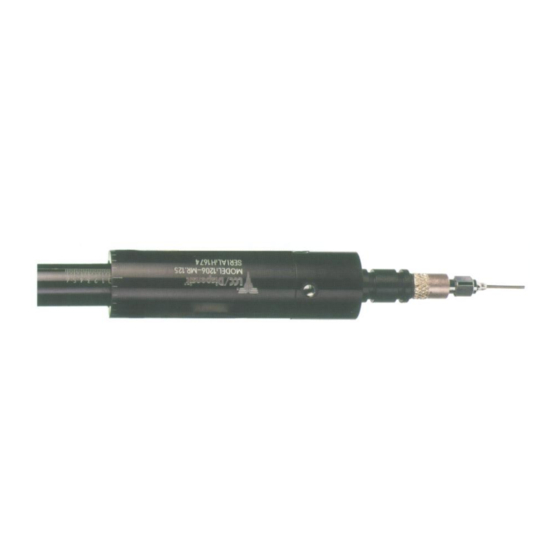
- Page 1 Instructions 332091A Dispensit 1206 Dispense Valve Important Safety Instructions Read all warnings and instructions in this manual. Save these instructions.
-
Page 2: Table Of Contents
® DISPENSIT MODEL 1206 DISPENSE VALVE OPERATING AND MAINTENANCE MANUAL General Information ................ 3 Safety Information ................3 Illustration References ..............3 Description of Operation ..............4 Setup Procedure ................4 Mounting Dispense Valve ............. 4 Air Controller ................. 4 Operating Procedures .............. -
Page 3: Operating And Maintenance Manual
GENERAL INFORMATION The Model 1206 Dispense Valve is engineered for applications which require volumetric consistency. The 1206 allows operation with material supply pressures up to 100 psi (6.9 bar). Material viscosity dispensing capabilities range from very thin material to high-viscosity epoxies and metal filled pastes with viscosities above 1,000,000 cps (1000 Pa•s). -
Page 4: Description Of Operation
DESCRIPTION OF OPERATION The 1206 Dispense Valve is a positive displacement valve that requires continuous material feed. The operation of the valve is as follows: Material enters the Dispense Valve through the material inlet port located on the metering rod/sleeve assembly and fills the dispense cavity. -
Page 5: Operating Procedures
OPERATING PROCEDURES DRY SYSTEM CHECKOUT This is an initial checkout to find if the system setup is complete. Conduct the dry system checkout without material in the system. Attach the pneumatic pressure lines from the dispense valve to the air supply controller. Turn on the electric and air supply. -
Page 6: Operation Adjustments
OPERATING PROCEDURES OPERATION ADJUSTMENTS Adjust the Dispense Valve for proper operation as follows. See step 4 for volume adjustment. 1. Make sure that all the Dispense Valve connections are in place. 2. Connect the material for dispensing. Position a container to catch the dispensed material. Cycle the Dispense Valve until you are getting consistent dispensing (no inconsistencies in the dispensed material, symmetrical deposit shape). -
Page 7: Model 1206 General Illustration
MODEL 1206 GENERAL ILLUSTRATION ALTERNATE NEEDLE ADAPTER Stroke Adjustment Collar O-Ring Piston Check Valve Poppet Retaining Ring Posipak Seal O-Ring U-cup Seal Seal Separator Block Washer Seal Separator Rod Top Cylinder Block Metering Rod/Sleeve Assembly Socket Head Set Screw O-Ring O-Ring Plastic Washer (.188 rod models) Posipak Seal... -
Page 8: Assembly
PERIODIC MAINTENANCE ASSEMBLY Refer to the illustration above and the drawings in the back of this manual for your exact model. Note: Clean all valve parts with an appropriate solvent prior to reassembly. Always install new, lubricated O-rings and seals when assembling the valve. Use Krytox 203GPL (part number 84/0200-K3/11) for lubricating valve parts including seals and o-rings. -
Page 9: Troubleshooting
TROUBLESHOOTING Review the symptoms below for operating difficulties. With each problem there are one or more possible causes to investigate. NOTHING HAPPENS - If absolutely nothing happens when trying to cycle the Dispense Valve, check the electric and pneumatic power. Check the foot switch or cycle start switch for proper connection. HEAD CYCLES, NOTHING DISPENSED - (1) Check to see that there is enough air pressure to the reservoir, and to the Dispense Valve 70 psi (4.8 bar). -
Page 10: Model 1206 Recommended Spare Parts
MODEL 1206 RECOMMENDED SPARE PARTS Note: These parts are routine supply items or wear parts not covered by warranty for normal wear. Quantity Description Part Number SEAL KIT,1206 see assembly drawing for part number 1206,METERING ROD/SLEEVE ASSY see assembly drawing for part number ASSY,CHECK VALVE/LUER LOCK OUTLET see assembly drawing for part number 1206,SPRING CAP,CHECK VALVE,SS... -
Page 11: Accessories
ACCESSORIES GENERAL ACCESSORIES Graco offers a full line of standard and custom accessories for your dispensing needs including: Valve Controllers Syringe Feed Systems Cartridge Retainers and Pressure Reservoirs Titan 200 High Pressure Cartridge Feed Systems Transfer Pump Feed Systems for 1, 5 and 55 gallon containers... -
Page 12: General Guidelines For O-Rings And U-Cup Seals
GENERAL GUIDELINES FOR O-RINGS AND U-CUP SEALS Sizes and materials of construction for O-rings and U-cup seals are selected by Graco Inc. based on compatibility with the chemicals to which they will be exposed. Solvents that may remove residual chemicals often have negative effects on the mechanical properties of O-rings and seals. - Page 14 With the exception of any special, extended, or limited warranty published by Graco, Graco will, for a period of twelve months from the date of sale, repair or replace any part of the equipment determined by Graco to be defective.