Advertisement
Quick Links
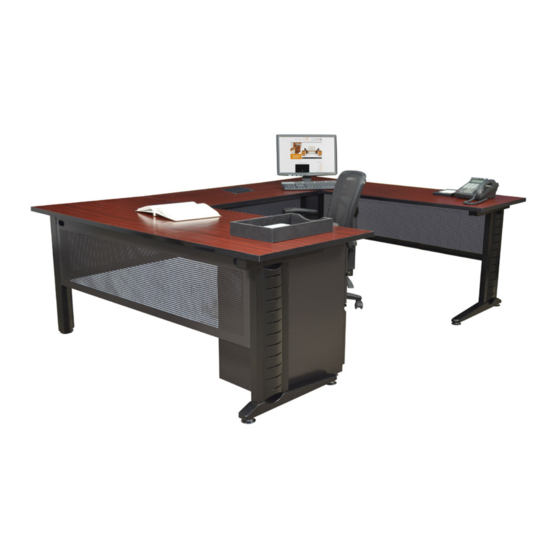
MUDS663042, MUDS663048, MUDS723042, MUDS723048 - INSTRUCTIONS
Organize your parts and hardware. You will need (2) people, a Phillips head screwdriver and a rubber mallet.
Parts:
A) Top Bracket(2) ● B) Foot Bracket(2) ● C) Back Support(2) ● D) Front Support(2) ● E) Exterior Leg Cover(2) ● F) Interior Leg
Cover(2) ● G) Corner Leg(2) ● H) Flat Bracket(2) ● I) Long Modesty ● J) Short Modesty(2) ● K) 30" Deep Long Table Top
L) Short Table Top ● M) 24" Deep Long Table Top
NOTE: Back Supports differ from Front Supports with additional holes for modesty attachment.
B
A
I
J
Hardware:
● N)
Q)
Screws(38)
Washers(12)
Q
IMPORTANT NOTICE:
● Place all wooden parts on a clean and smooth surface such as a rug or carpet to avoid the parts from being scratched.
● Check to be sure that you have all parts and hardware.
● Remove all wrapping materials, including staples & packing straps before you start to assemble.
● Do not tighten all screws/bolts until completely assembled.
● Keep all hardware parts out of reach of children.
C
D
● O)
● P)
Bolts(20)
N
O
Any problems or questions call Regency Office Furniture at 1-866-816-9822
F
E
K
M
Glides(6)
P
G
H
L
Advertisement

Related Manuals for Regency Fusion MUDS663042


Summary of Contents for Regency Fusion MUDS663042
- Page 1 ● Remove all wrapping materials, including staples & packing straps before you start to assemble. ● Do not tighten all screws/bolts until completely assembled. ● Keep all hardware parts out of reach of children. Any problems or questions call Regency Office Furniture at 1-866-816-9822...
- Page 2 Supports(D) and Back Supports(C). Finally, attach the Foot Brackets(B) and Top Brackets(A) to the Front Supports(D) and Back Supports(C)with 4 Bolts(O) per Leg. NOTE: Do not tighten bolts until all bolts have been started. Modesty Holes Figure 1 Left Leg Right Leg (interior side) (interior side) Any problems or questions call Regency Office Furniture at 1-866-816-9822...
- Page 3 Be sure there is no gap between the modesty and the top. If so, loosen Bolts(O) and adjust. DO NOT ATTACH TO THE TOPS. (N,O) Right Bridge Left Bridge Any problems or questions call Regency Office Furniture at 1-866-816-9822...
- Page 4 & left/right sides. Connect the End Legs and Corner Legs(G) to the tops as figure 1 and 2 depict. For extra support connect the Short Modesties(J) to the table top using 2 Screws(Q) each modesty. Bottom Figure 1 Right Left Figure 2 Any problems or questions call Regency Office Furniture at 1-866-816-9822...
- Page 5 STEP 10: Reconnect the Long Modesty(I) to the Corner Legs(G) using 2 Bolts(O) and 2 Washers(N) each leg. Place the Short Top(L) in position and attach to Flat Brackets(H) using 12 Screws(Q) 6 screws each bracket. For extra support connect the Modesty(I) to the table top using 2 Screws(Q). Any problems or questions call Regency Office Furniture at 1-866-816-9822...