Table of Contents
Advertisement
Quick Links
BEFORE YOU BEGIN
BEFORE YOU BEGIN
A. Introduction
!
Please read these instructions carefully to
familiarize yourself with the required tools, materials,
and installation sequences. Follow the sections that
pertain to your particular installation. This will help
you avoid costly mistakes. In addition to proper
installation, read all operating and safety instructions.
!
All information is based on the latest product
information available at the time of publication.
Kohler China Ltd. reserves the right to make
changes in product characteristics, packaging, or
availability at any time without notice.
!
These instructions contain important care, cleaning,
and warranty information-please leave these
instructions for the consumer.
B. Installer Hazard Notification
CAUTION!!
Risk of personal injury.
Cast iron baths are extremely heavy. Wear appropriate
safety equipment when installing these products.
NOTICE:
Observe all local plumbing codes.
PRODUCT REQUIREMENTS
PRODUCT REQUIREMENTS
A. Summary Of Key Requirements
!
Observe all local plumbing codes.
!
Install the unit to a level subfloor.
!
Provide properly-dimensioned framing.
!
Baths are designed for a variety of installations,
depending upon the model chosen.
B. Product Inspection
Uncrate and inspect bath for damage. Leave all
materials in the crate during construction to prevent
damage.
116867-T01-B
A.
!
!
!
B.
A.
!
!
!
!
B.
368
201419
ã
Copyright Kohler China Ltd., 2004
C
1
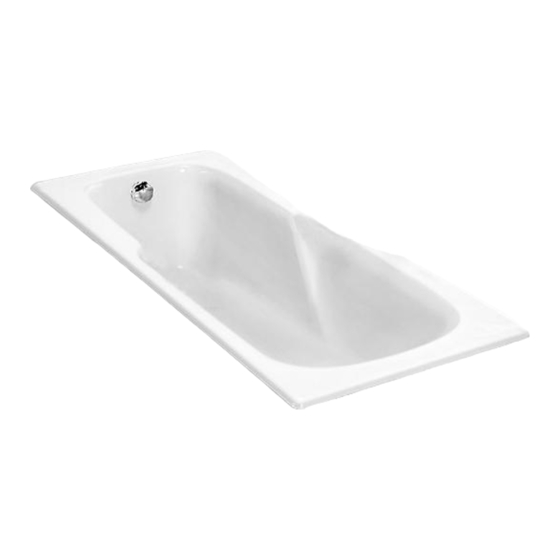
PRELUDE
K-8266T/K-8267T/K-8268T/K-8269T
K-8270T/K-8271T/K-8273T/K-8275T
QUIETUDE
K-8262T/K-8263T
INSTALLATION INSTRUCTIONS
ENAMELED CAST IRON BATH
, 2004
Advertisement
Table of Contents

Related Manuals for Kohler PRELUDE K-8266T


Summary of Contents for Kohler PRELUDE K-8266T
- Page 1 All information is based on the latest product information available at the time of publication. Kohler China Ltd. reserves the right to make changes in product characteristics, packaging, or availability at any time without notice.
-
Page 2: Installation Requirements
ROUGHING-IN A. Roughing-in Note Fixture dimensions are nominal and conform to tolerances in ASME/ANSI Standard A112.19.1M. A112.19.1M B. Determine Roughing-in Measure the height, width, and depth of the bath. Verify these dimensions with those on this page. Allow clearance at the drain hole location in the flooring. UNIT: mm 1500 K-8266T/7/8/9... -
Page 3: Site Requirements
C. Clearance Requirements Check the rough-in atnd room dimensions to provide adequate available space for the bath unit. SITE REQUIREMENTS SITE REQUIREMENTS A. Old Bath Removal (if necessary) Disconnect the drain at the trap. Remove the old wall material. Slip boards under the old bath feet to protect the floor, and slide the old bath out of the recess as illustrated. - Page 4 UNIT: mm bath bath silicone filler silicone filler bath wall tiling tiling wall silicone filler wall B. Partially Install Bath Drain Install the drain on the bath according to the drain manufactuer's instructions. INSTALL THE BATH INSTALL THE BATH A1. Installation of Bath with Adjustable Hlight Level Slide the new bath into position.
- Page 5 Use 25~30 Kg dry cement and sand mix. Add water to make a paste mortar. Remove the tub. Cover the Level installation area with the mortar starting from the middle of the tub as shown. The height of the mortar should reach the bottom of the tub.
- Page 6 C. Finish Bath Area Construction NOTE: An access panel is essential for future maintenance. Possible framing arrangements are illustrated below. Use the framing construction appropriate for your particular bath model. Some modifications may be needed for other types of construction, if preferred. If an apron wall without a ledge is desired, the finished apron wall surface must be 2 mm under the bath rim.
- Page 7 INSTALL THE GRIP RAIL INSTALL THE GRIP RAIL For baths with K-8645-CP. Place the gasket (6) onto the grip rail(7). Make sure the gasket is matching the contour of the grip rail. Position the grip rail with gasket so that the hole lines up with the hole on the nut pre-installed on the side of bath tub.
-
Page 8: Clean-Up After Installation
Kohler bathtubs. NOTICE: All housekeeping and maintenance employees must be trained in the proper cleaning of Kohler bathtubs. Post a copy of this notice in a readily-visible location. DO NOT use steel wool, wire brushes, metal scrapers or abrasive sponge pads to clean a Kohler bath tub. -
Page 9: Limited One-Year Warranty
This product is warranted for one year from date of purchase. Kohler China will be responsible for any problems caused by manufacturing defects provided with the invoice. Kohler China will, at its election, repair, replace or make appropriate adjustment where Kohler China inspection discloses any such defects occurring in normal usage within one year after purchase.