Advertisement
Quick Links
Subject :- Board Replacement
Procedure
Background
To assure correct MFPB replacement in the field this document has been created in collaboration with our
colleagues from BAU. We like to share with you. It provides a Step-by-Step type MFP board replacement
procedure. We hope it will help to minimize problems due to not clearly understandable information provided in
the Service Manual
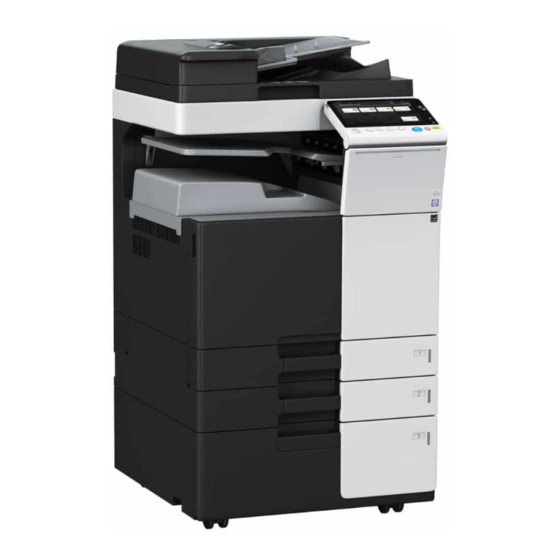
The products C368/C308/C258 are successors of C364e/C284e/C224e. They share much common functionality.
However, these models are new generation models, and the design is quite different from the previous models.
The structure of the electrical boards is one of main differences.
When a MFPB is replaced extra care is needed.
MFPB Replacement Procedure
1. Turn main power OFF
2. Remove the original (faulty) MFP board from the main body
3. Remove the original eMMC, 2 x EEPROMs, RAM module from the original board, and put those on the
new MFP board
2 x EEPROMs needed to be positioned correctly. The top one needs to put on the top of the MFP board.
The bottom one needs to put at the bottom. Also, the directions of those EEPROMs need to be correct.
Marking on EEPROMs before removing is recommended.
4. Install the new MFPB assembled with original eMMC, 2 x EEPROMs, RAM module
5. Install the original HDD back into the system
6. Plug a USB memory which contains firmware into the USB port near Control Panel
"FW0002" folder needs to be saved in the root directly of the USB memory.
7. Push and hold "Stop" button on the Control Panel while turning the main power ON
8. Hold it until a black dot appears at the top right corner of the touch panel
9. Wait until Firmware Update Screen appears (it would take about 2 minutes)
10. After Firmware Update Screen appears, touch [Machine Type] and input the correct value in [Machine]
and [Type]. Do not forget to touch [Fix] after inputting the values.
Refer to the table below for the values.
First 4 digits of S/N
[Machine]
[Type]
11. Touch "Start"
Wait until the firmware update process is completed (it would take 2-3 minutes)
12. Once it is completed (the "Start" button will be lit in blue), remove the USB memory and turn the main
power OFF/ON
13. Wait until the machine completes the boot up
14. The machine will detect a fault, and may re-boot itself several times Notes:
Although Service Manual describes "C-D390 code will appear", the code may not appear. Another fault
code (most likely C-FA14) would appear instead of C-D390.
Olivetti UK Tech Support
Notes:
Model:- MF254 /
MF304 / MF364
A7PU
A7PY
6
6
1
2
Date:- 08-03-2016
Notes:
A7R0
6
D
Advertisement

Related Manuals for Olivetti MF254


Summary of Contents for Olivetti MF254
- Page 1 Olivetti UK Tech Support Subject :- Board Replacement Model:- MF254 / Date:- 08-03-2016 Procedure MF304 / MF364 Background To assure correct MFPB replacement in the field this document has been created in collaboration with our colleagues from BAU. We like to share with you. It provides a Step-by-Step type MFP board replacement procedure.
- Page 2 Olivetti UK Tech Support Subject :- Board Replacement Model:- MF254 / Date:- 08-03-2016 Procedure MF304 / MF364 15. When C-FA14 or another fault code appears, enter the Service Mode, and perform [Logical Format] of [State Confirmation] [Memory/Storage Adjustment] 2/2 page [Format] ...