A&D UA-705 Quick Start Card
Hide thumbs
Also See for UA-705:
- Instruction manual (14 pages) ,
- Instruction manual (12 pages) ,
- Instruction manual (68 pages)
Advertisement
Available languages
Available languages
Quick Links
1. Slide cuff onto arm so that the bottom edge of cuff
is just above the elbow crease. Then position tube
off-center toward the inner side of arm in line with
the little finger
2. Fasten the cuff tight enough so you
can slide two fingers under it.
3. Sit comfortably with arm resting on
a flat surface, palm up.
4. Press START button. (Battery installation required.
Please see manual for instructions.)
5. Your average blood pressure
reading will appear followed
by a zero, indicating that
monitor is ready for mea-
surement.
6. Press the exhaust valve until the
mark is displayed. Squeeze bulb
repeatedly until the
appears.
7. Sit quietly during measurement.
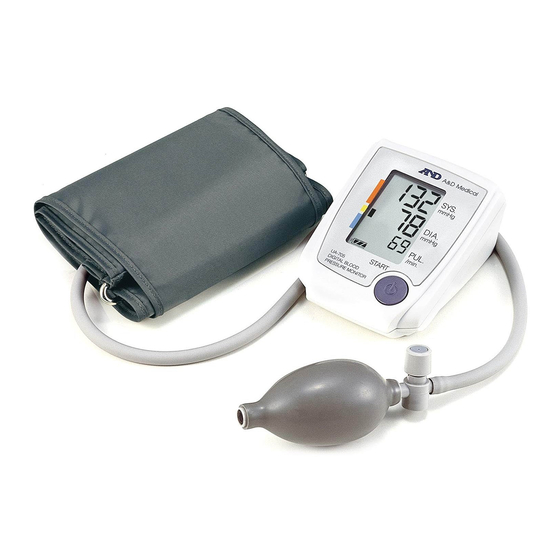
UA-705 QUICK START CARD
mark dis-
8. Your systolic and diastolic pressure and
pulse rate will appear in the digital dis-
play.
9. Press exhaust valve on the bulb to release
remaining air from cuff after measure-
ment is complete.
1-888-726-9966
www.LifeSourceOnline.com
LifeSource is a trademark of A&D Medical.
©2008 A&D Medical. All rights reserved. 8/08.
Advertisement

Related Manuals for A&D UA-705


Summary of Contents for A&D UA-705
- Page 1 UA-705 QUICK START CARD 1. Slide cuff onto arm so that the bottom edge of cuff 8. Your systolic and diastolic pressure and is just above the elbow crease. Then position tube pulse rate will appear in the digital dis- off-center toward the inner side of arm in line with play.
- Page 2 UA-705 TARJETA DE INSTRUCCIONES RÁPIDAS 1. Ponga el brazalete en el brazo de manera que la parte 7. Siéntese en silencio durante la medición. de abajo del brazalete quede un poco arriba del codo. 8. En la pantalla digital aparecen la presión Posicione la manguera de manera que esté...
- Page 3 UA-705 GUIDE DE DÉMARRAGE RAPIDE 1. Glissez le brassard sur le bras de manière à ce que le 7. Restez assis tranquillement pendant la prise rebord inférieur du brassard soit juste au-dessus du de la mesure. pli du coude. Ensuite, positionnez le tube un peu 8.