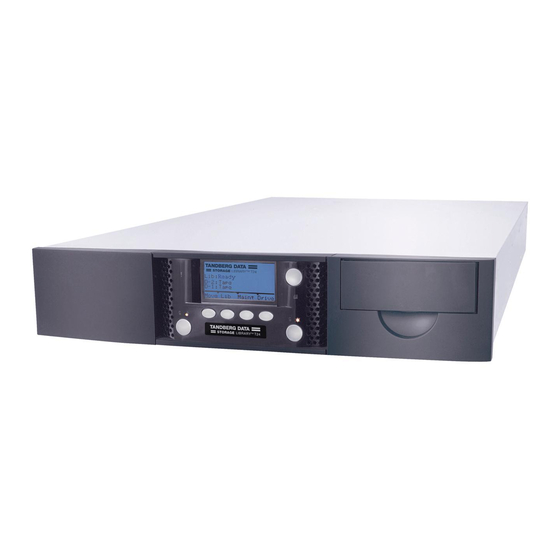
Summary of Contents for Tandberg Data Magnum 224
- Page 2 These instructions describe the Magnum 224 LTO library (224), the StorageLibrary T24 (T24), and the StorageLoader 2U LTO (2U). Please read the entire section that you are using prior to beginning the procedure. REPARING FOR NSTALLATION OR EPLACEMENT Note: If your library is installed in a rack, it is not necessary to remove the library from the rack to complete this procedure.
- Page 3 Most of the illustrations show SCSI configurations. Use the same steps to install Fibre Channel tape drives. Glossary of Abbreviations FH = Full Height (tape drive) TD = Tape Drive T24 = StorageLibrary T24 HH = Half Height 224 = Magnum 224 2U = StorageLoader 2U LTO EFERENCE LLUSTRATIONS Looking inside back of library...
- Page 4 ERIAL ABLE ONNECTIONS Serial cable Library Drive 2 Top serial connector Full Height Bottom serial connector Tape Drive Drive 1 Figure 2 Serial cable routing—full height tape drive Serial cable Library Drive 2 HH Tape Drive Top serial connector HH Tape Drive Bottom serial connector Drive 1 Figure 3...
- Page 5 NSTALLING DDITIONAL RIVES To install an additional tape drive, follow these steps: 1. 1. 1. 1. Preparing for replacement— a. a. a. a. Power off the host. b. b. b. b. Power off the library (press the 0 on the back of the unit). c.
- Page 6 a. a. a. a. Library connectors—Locate the serial cable ( ) that came in your replacement kit and attach it to the appropriate serial connector inside the library (see Figure 1 on page 3 Figure 3 on page Tape drive Quantity Install in this opening...
- Page 7 If your library has... Attach this SCSI cover plate... Library Tape drive configuration Quantity Location External drive label None 224, T24, or 2U Half height b. b. b. b. Reconfigure your library—You must reconfigure your library for your backup application to recognize the new tape drive.
- Page 8 3. 3. 3. 3. Installing the new tape drive— a. a. a. a. Library connectors—Locate the serial cable ( ) that came in your replacement kit and attach it to the appropriate serial connector inside the library (see Figure 1 on page Full height tape drive—see Figure 2 on page 4 Half height tape drive—see...
- Page 9 EPLACING A RIVE ALF HEIGHT TO ULL HEIGHT To replace a half height tape drive with a full height tape drive, follow these steps. 1. 1. 1. 1. Preparing for replacement— a. a. a. a. Power off the host. b. b. b. b. Power off the library (press the 0 on the back of the unit).
- Page 10 Serial—Route the serial cable ( ) under the tape drive carrier and connect as shown in Figure 2 on page Power—Route the power cable ( ) through the tape drive carriers and connect as shown in Figure 4 on page d.
- Page 11 3. 3. 3. 3. Press Modify. Press until the selection arrow ( ) points to the desired configuration. Press Select. Select Drive 1 HP LTO HalfHigh IBM LTO FullHigh Select Back Note: This menu option requires input for all of the tape drives installed in the library. If you press “Back” before configuring all the tape drives, the configuration selection will not change.
- Page 12 Copyright 2007 Tandberg Data Corporation: Tandberg Data, Exabyte, the Exabyte Logo, EZ17, M2, SmartClean, VXA, and VXAtape are registered trademarks; ExaBotics and MammothTape are trademarks; SupportSuite is a service mark. Linear Tape-Open, LTO, the LTO Logo, Ultrium and the Ultrium Logo are trademarks of HP , IBM, and Quantum in the US and other countries. All other product names are trademarks or registered trademarks of their respective owners.


