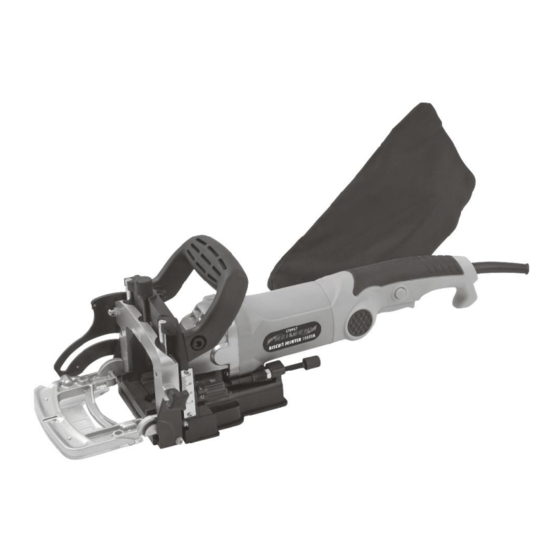
Summary of Contents for Neilsen CT0957
- Page 1 BISCUIT JOINTER 100MM CT0957 ORIGINAL INSTRUCTIONS SAVE THESE INSTRUCTIONS AND PRECAUTIONS. READ ALL PRECAUTONS AND INSTRUCTIONS BEFORE USE.
-
Page 2: Ec Declaration Of Conformity
Declare that the design and construction of the following machine, in the form supplied by us, comply with the requirements of the appropriate EC directives. Product description: BISCUIT JOINTER 100MM Model: CT0957 ●EC-Machinery Directive 2006/42/EC ●EC-Directive on electromagnetic compatibility(EMC)2014/30/EU Harmonized standards... - Page 3 FIG. A...
-
Page 4: Technical Data
1. DESCRIPTION ON – OFF switch 10 Scale for the height adjustment Auxiliary handle 11 Base plate Spindle lock 12 Dust bag connection Angle stop 13 Dust bag Scale for the fence angle 14 Motor base Cutting depth adjustment knob 15 Plate protection Clamping knob for angle adjustment 16 Lock-off button... -
Page 5: General Power Tool Safety Warnings
3. SYMBOLS The following symbols are used in this manual and/or on the machine: Denotes risk of Read manual before personal injury or damage to the tool In accordance with Class II- The essential safety machine is double standards of insulated;... - Page 6 Distractions can cause you to lose control of it. 4.2 Electrical safety Always check that the power supply corresponds to the voltage on the rating plate. Power tool plugs must match the outlet. Never modify the plug in any way. Do not use adapter plugs with earthed power tools.
- Page 7 Avoid accidental starts. Ensure the switch is in the off position before inserting the plug. Carrying power tools with your finger on the switch or plugging in power tools when the switch is in the on position makes accidents more likely. ...
-
Page 8: Specific Safety Warnings
Keep cutting tools sharp and clean. Properly maintained cutting tools with sharp cutting edges are less likely to jam and are easier to control. Use the power tool, accessories and cutting tools, etc., in accordance with these instructions and in the manner intended for the particular type of power tool, taking into account the working conditions and the work which needs to be done. - Page 9 6.3 Adjusting the height The correct height can be set by unlocking the clamping knob (8) and turning the knob for the height adjustment (9) to the desired height with aid of the scale (10) The height must corresponds to half of the material thickness of the work piece, the groove lot the biscuit dowel must always be in the middle of the working piece 6.4 Checking the cutting depth...
-
Page 10: Operation
7.1 Mounting saw blade Loosen your screws and open the top of the base plate Press the spindle lock and turn the spindle until it engages in the lock. Keep the spindle lock pressed during this procedure. Remove the flange nut from the spindle using the wrench. - Page 11 Never use the spindle lock to stop the motor. 8.2 Marking the workpieces. Before starling with the biscuit jointer the work pieces must be marked as following: Place the two work pieces which must be connected, on top of each other.
-
Page 12: Cleaning And Maintenance
8.7 Joining the workpieces When the grooves in both work pieces have been made the workplaces can be joined together Put glue in both grooves. Race the biscuit dowel in the groove of one work piece. Place the other work piece on the biscuit dowel. ... - Page 13 CANNON TOOLS LTD Add: 20 station road, Rowley Regis, west midlands,B65 0JU.U.K. Made in china...


