Advertisement
Quick Links
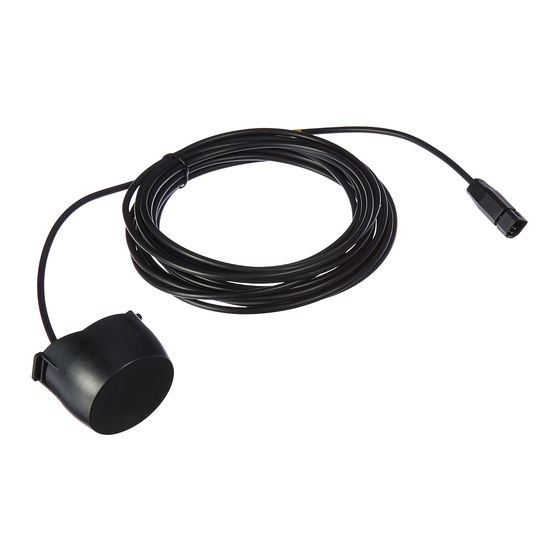
Inside the Hull Mounted Transducer
T
Y
HANK
OU
Thank you for choosing Humminbird, America's #1 name in depthsounders. Humminbird has built its reputation by manufacturing top-
quality, thoroughly reliable marine equipment. Genuine Humminbird accessories offer the opportunity to upgrade and expand the capabilities
of your Humminbird product.
Inside the hull mounting
A
I
BOUT
NSIDE
of
H
THE
ULL
generally produces good
M
OUNTING
results in single thickness
fiberglass hulled boats (Figures 1 and 2). Humminbird
cannot guarantee depth performance when
transmitting and receiving through the hull of the boat,
since some signal loss will occur. The amount of loss
depends on hull construction and thickness, and the
installation.
Note: This type of installation requires the
use of a slow-cure two-part epoxy
(included with your transducer). Do not use
silicone or any other soft adhesive material
to install the transducer, as this material
will reduce the sensitivity of the unit. Do
not use five-minute epoxy, as it has a
tendency to cure before all the air bubbles
can be purged, thus reducing signal
strength.
It is best to perform a test
T
EST
installation on this type of
I
NSTALLATION
transducer first, then run the
boat at high speed to determine the best mounting area.
1. Refer to your Control Head operation manual for
the proper operation of your depthsounder. The
Control Head must be installed and working
before the transducer installation can be tested.
Connect the transducer cable temporarily to
your Control Head. In water similar to your
regular fishing depths, hold the transducer over
the side of your boat, pointed straight down.
WARNING! Do not touch an active
transducer during operation, as this
may cause physical discomfort and
may result in personal injury in the
form of tissue damage. Handle the
transducer only when the power to
the depthsounder is off.
2. Power up your depthsounder and select a sonar
diagnostic mode if available; if not, select
regular sonar display. Adjust the sensitivity or
gain to obtain the best sonar information. Use
this information as a benchmark as you proceed
with the installation process.
3. Observe the outside of the boat hull if possible,
to determine the area which will be most free
from turbulent water (Figures 3 and 4). Ribs,
strakes, and other protrusions should be
avoided, as these create turbulence.
Note: As a general rule, the faster the boat
can travel, the further aft and closer to the
centerline of the hull the transducer will
have to be located to remain in contact
with the water at high speeds.
4. Place the transducer body face down on the
the
transducer
inside of the hull in the area you have selected.
Keep the side tabs (or pointed end of the
transducer) pointing towards the bow of the
boat.
5. Fill the hull with enough water to submerge the
transducer body. It may be helpful to use a
sand-filled bag or other form of weight to hold
the transducer in position on a sloping surface.
Note: The transducer cannot transmit
through air. The water purges any air from
between the transducer and the hull, and fills
any voids in the coarse fiberglass surface.
6. Power up and operate your depthsounder as
described in your operation manual.
7. Run the boat at various speeds and water
depths while observing the screen of the
depthsounder. The transducer can be moved to
different locations in the hull until optimum
performance is achieved. If you are installing an
angled transducer, it may be necessary to
rotate the transducer slightly to obtain the
strongest signal.
I
NSTALLATION
remove the water from inside the hull and
thoroughly dry the mounting surface.
2.Mix an ample quantity of two-part slow-cure
epoxy and coat the face of the transducer and
the inside of the hull.
3. Press the transducer into place with a slight
twisting motion to purge any trapped air from
underneath. If you are using a transom-style
transducer, make sure that the pointed end of
the transducer points forward to the bow of the
boat. Position angled-style transducers to
transmit straight down and remain in parallel
alignment with the keel (Figure 5).
Note: Puck or round, circular-bottomed
transducers have no directional bias, and
therefore orientation of these types of
transducers is not as important.
4. Weight the transducer so that it does not move
while the epoxy is curing.
5. When the epoxy has cured, no water will be
necessary inside the hull, and water or spilled
gasoline or oil will not affect the performance of
the transducer.
R
OUTING THE
C
ABLE
point where the depthsounder is mounted. Every boat
is different and there may be several ways to route the
cable.Inside the boat, there is often a channel or
1.Mark the location of
the transducer and
The transducer cable has
a low profile connector
that must be routed to the
Inside the Hull Installation
Figure 1
Angled transducer Installation
Figure 2
Figure 3
Preferred Mounting Area
Steps
Figure 4
Forward
Figure 5
Correct orientation for
transducer housings.
Ribs
Advertisement

Related Manuals for Humminbird XP 9 20 T


Summary of Contents for Humminbird XP 9 20 T
- Page 1 Inside the Hull Mounted Transducer HANK Thank you for choosing Humminbird, America’s #1 name in depthsounders. Humminbird has built its reputation by manufacturing top- quality, thoroughly reliable marine equipment. Genuine Humminbird accessories offer the opportunity to upgrade and expand the capabilities of your Humminbird product.
- Page 2 USTOMER ESOURCE ENTER Your Humminbird accessory is designed for trouble-free operation and is backed by the same warranty as our depthsounders, VHF Marine-band radios, and GPS Navigation equipment. Refer to your Humminbird WARNING: Disassembly and repair of this electronic unit should only be performed by authorized service Warranty Card for the specific details of this warranty.