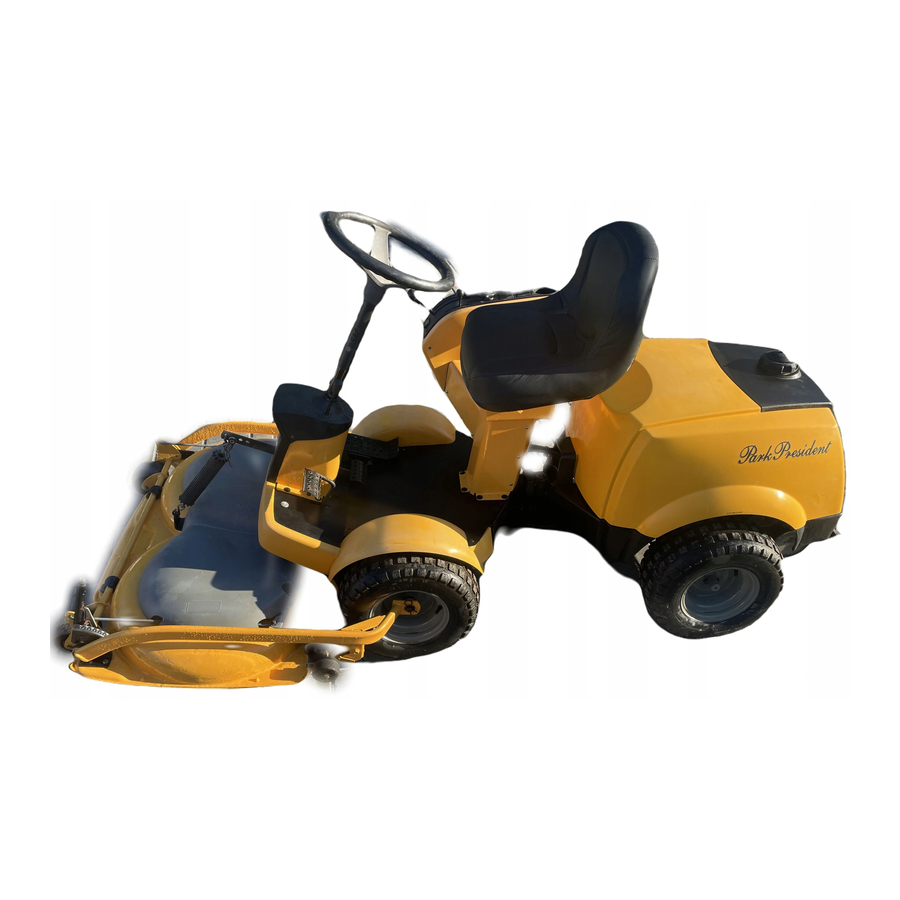
Summary of Contents for Stiga PRO 18 PRO 16
- Page 1 S T I G A P A R K P R O 1 8 P R O 1 6 P R ES I D E NT C L A S S I C 8211-0211-06...
-
Page 2: Check Engine/Transmission Oil Level
7. Park Classic-President 12. Park Classic-President 8. Park Pro16-Pro18 9. Park President 13. Park Pro16-Pro18 10. Park Pro16-Pro18 14. Park President... - Page 3 15. Park Pro16-Pro18 16. Park Pro16-Pro18 19. Park Classic-President 20. Park Pro16-Pro18 21. Park Classic-President 22. Park Pro16-Pro18...
- Page 4 27. Park President-Pro16-Pro18 28. Park Classic-President 29. Park Classic 30. Park Classic 31. Park President 32. Park Pro16-Pro18 33. Park Pro16-Pro18...
- Page 5 24. Park Classic 25. Park President 26. Park Pro16-Pro18...
- Page 6 1. Park Classic 2. Park Classic 4. Park President-Pro16 3. Park President-Pro16 5. Park Pro18 6. Park Pro18...
-
Page 7: Parking Brake
GENERAL This symbol indicates WARNING. Per- sonal injury and/or damage to property may result if the instructions are not followed carefully. You must read these instructions for use and the accompanying pamphlet "SAFETY INSTRUCTIONS" careful- ly before starting up the machine. SYMBOLS The following symbols are displayed on the ma- chine in order to remind you about the safety pre-... -
Page 8: Seat Suspension
6. DISENGAGING LEVER (President - Pro16 - Pro18) A lever for disengaging the variable transmission. Enables the machine to be moved by hand without the help of the engine. (Note that, on the Pro16- Pro18, the lever is on the left-hand side.) There are two positions: 1. -
Page 9: Operating The Machine
OPERATING THE MACHINE AREAS OF USE - PARK The machine may only be used for the following tasks using the STIGA accessories stated: 1. Mowing Using mower deck 13-2922 (100B), 13-2913 (102M), 13-2917 (110S), 13-2915/13-2921 (121M) or flail mower 13-1977. -
Page 10: Filling The Fuel Tank
5. Grass and leaf transport Using dump cart 13-1979 (Standard) or 13-1988 (Maxi). 6. Fertiliser spreading Using fertiliser spreader 13-1987. Can also be used for spreading grass seed. 7. Sand spreading Using sand spreader 13-1975. Can also be used for spreading salt. Snow chains 13-1956 and wheel weights 13-1982 are recommended. -
Page 11: Starting Engine
lever (only US and Canada) In order to start the machine the following are nec- essary: - gear lever in neutral (only Classic) - brake pedal depressed - driver sitting on seat - power take-off engagement lever at lowest setting (i.e. power take-off disengaged) Always check the operation of the safe- ty system before using the machine! Check in the following way:... -
Page 12: Maintenance
“FULL”). Be careful when driving on slopes. No sudden starting or stopping when mov- ing up or down a slope. Never drive across a slope. Move from the top and down, and from down to the top. The machine, equipped with original accessories, must not be driven on slopes greater than 10°... -
Page 13: Air Bleeding
5. To facilitate filling up the oil, we recommend that you use, for example, a pump (figure 16 shows a STIGA pump, part number 1134-3898-01). 6. Fill the pump with oil. Then insert the nipple into the hose F and slowly press the oil into the ENGLISH transmission. -
Page 14: Air Filter
25 hours running (fig 17 - 18). All plastic bearings should be lubricated twice each season. Apply universal grease to the steering chain a cou- ple of times each season. If the steering chain is re- ally dirty, dismantle it, wash it, and then grease it once more. - Page 15 ADJUSTING POWER TAKE - OFF CABLE (not Pro18) If the v-belt between the engine belt pulley and centre belt pulley slips when the power take-off is engaged, the power take-off cable can be tensioned by means of the two cable adjusters K (fig 23). REPLACING THE V - BELTS You can replace the v-belts while the machine is standing on its wheels.
-
Page 16: Adjusting The Brake
When adjusting, make sure the cable's clutch function is always actived before the brake function. Then adjust the brake drum with the help of the ad- justing nut Z (fig 32). STIGA reserves the right to make changes in the product without prior notice. - Page 17 Art. no.: 13-1258, 13-1358, 13-1458, 13-1818, 13-1442, 13-1443, 13-1446, 13-1448 Serial no.: See machine Manufact.: STIGA AB, P.O. Box 1006, S-573 28 Tranås, Sweden Product: Lawn mower with combustion engine This product complies with the following: - Electromagnetic Compatibility Directive 89/336/EEC...
- Page 18 Park Classic 3400 min 9.3 kW 4.5 m/s < 0.5 m/s < 10° < 10° < 10° 100B: 100 dB(A) 100B: 102M: 99 dB(A) 102M: 99 dB(A) 110S: 100 dB(A) 100B: 87 dB(A) 100B: 102M: 85 dB(A) 102M: 85 dB(A) 110S: Park Park...
- Page 19 M O W I N G A H E A D B o x 1 0 0 6 · S E - 5 7 3 2 8 T R A N Å S w w w . s t i g a . c o m...


