
Related Manuals for Prem-I-Air PKY12


Summary of Contents for Prem-I-Air PKY12
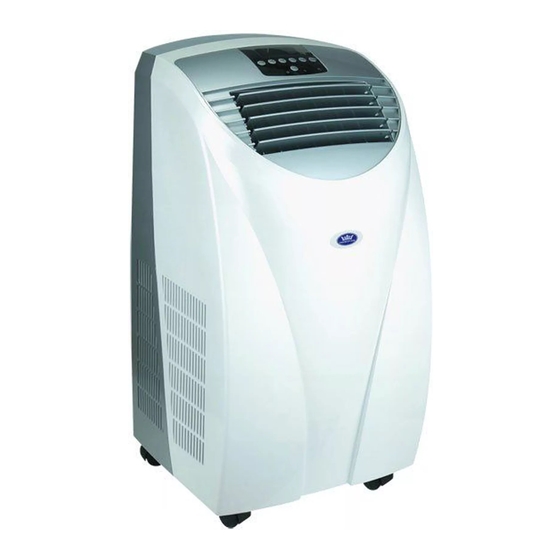
- Page 1 12000BTU Mobile Air Conditioner Model PKY12 Please read and retain these instructions for future reference...
- Page 2 SPECIFICATION PKY12 Model no. 12,000 BTU/hr Cooling capacity 1250W / 5.7 A Power/Ampere consumption for cooling* 350m Air volume (max. speed) 36 L/day Humidity removal capacity 220~240V/50Hz/1phase Power supply Rotary Compressor R407C Refrigerant 500g Refrigerant load* 3 + Auto Fan speed...
- Page 3 IMPORTANT SAFETY INSTRUCTIONS 1. Transport & store the unit in an upright position only. Leave it in an upright position for at least 3 hours before first use. 2. Always place the unit on an even, level surface. 3. An opening in a window or wall is required to accommodate the exhaust hose to expel the hot air.
- Page 4 BS PLUG WIRING INSTRUCTIONS Wiring Instructions: Should it be necessary to change the plug please note the wires in the mains lead are coloured in accordance with the following code: BLUE - NEUTRAL BROWN - LIVE GREEN AND YELLOW - EARTH As the colours of the wires in the mains lead of this appliance may not correspond with the coloured markings identifying the terminals in your plug, proceed as follows: 1.
- Page 5 PRODUCT DESCRIPTION Si de panel Rear cover Operation panel front cover air inlet Air outlet air outlet remote controller air inlet Power line Drainage outlet caster Rear view Side view Front view Please transport this product in an upright position only, and place the product on a stable level surface.
- Page 6 INSTALLATION This unit is a portable air conditioner, which can be moved from room to room. When you use this appliance for cooling or dehumidifying function, air from the exhaust port at the back of unit must be exhausted out of the room to complete the air exchange of the condenser.
- Page 7 TIPS FOR ENERGY SAVING Do not: ♦ Block the air inlet and outlet of the unit. If they are obstructed, the unit will not work well, and may be damaged. ♦ Let direct sunlight into the room. Use sunshades, blinds or curtains. If the walls and ceiling of the room are warmed by the sun, it will take longer to cool the room.
- Page 8 SPEED Button Press to select H (High), M (Medium), L (Low) speed. (During Dry mode, unit will only operate in L fan speed). The fan speeds are identified distinguished by the speed of the digital air segments progressing out from the windmill fan image on the LED display, as it gets faster.
- Page 9 OPERATIONS Operating the unit in COOL MODE: ( indicator illuminates) Press MODE button to select COOL. Press SPEED button to choose H, M or L fan speed. 1. Set your desired temperature by pressing button. 2. The unit will continue to give cool air until the set temperature is reached. The lowest temperature for COOL mode is 18 If the current room temperature is higher than the temperature set on the remote control the compressor will be running and...
- Page 10 NOTE To prolong the compressor's life, after switching off the unit, please wait forat least 3 minutes before switch back on. The cooling system will switch off if the ambient temperature is lower than thetermperature set. The ventilation, however, keeps working on the set level. If the ambient temperature rises above the selected level, the cooling system will start operating.
- Page 11 MAINTENANCE Always switch off and unplug the air conditioner from the mains before cleaning. To maximize the efficiency of the air conditioner clean regularly. Cleaning the housing Use a soft, damp cloth to wipe the body clean. Never use aggressive chemicals, petrol, detergents, chemically treated cloths, or other cleansing solutions.
- Page 12 Do not operate the unit with a damaged cord or plug, after the unit malfunctions, has been dropped or damaged. For your convenience, record the complete model number and product name (located on the Product Identification Plate), the date you purchased the product, and attach your purchase receipt as proof of purchase.