Table of Contents
Advertisement
Advertisement
Table of Contents

Related Manuals for Prem-I-Air KY-44B


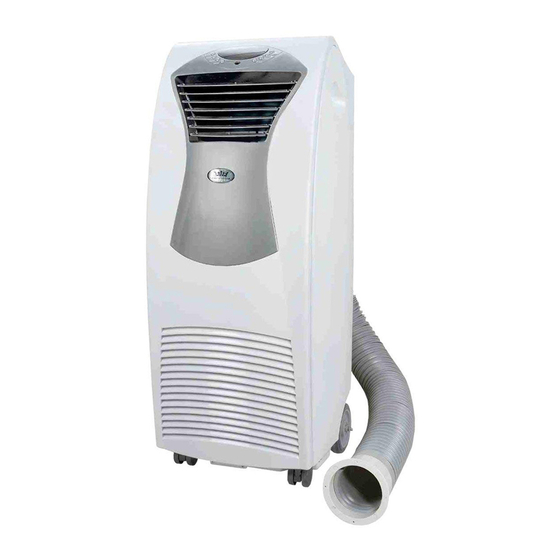
Summary of Contents for Prem-I-Air KY-44B
- Page 1 IMPORTANT Please read these instructions carefully before use.
- Page 2 Important Safety Instruction BS Plug Wiring Technical Specification Energy Saving Advice Product Description Control Panel Remote Control Functions Use of Control Panel 11 -13 Remote Control Operation Air Exhaust Duct Installation 15 -17 Maintenance 18 – 19 Trouble Shooting Packing List Electrical Circuit Diagram Services Warranty THE MANUFACTURER DISCLAIMS ANY RESPONSIBILITY, IF THE...
- Page 3 Read and save these important safety instructions before using this unit. When using electrical appliances, basic safety precautions should always be followed including the following: Transport & store the unit in an upright position only. Leave it in an upright position for at least 3 hours before first use. Always place the unit on an even, level surface.
- Page 4 21. ALWAYS turn the unit off and remove the mains plug before cleaning, carrying out maintenance or moving location. 22. Avoid the use of adapter plugs, multiple sockets and /or extension leads. If their use is necessary, ensure they conform to current safety standards.
- Page 5 Wiring Instructions: Should it be necessary to change the plug please note the wires in the mains lead are coloured in accordance with the following code: BLUE - NEUTRAL BROWN - LIVE GREEN AND YELLOW - EARTH As the colours of the wires in the mains lead of this appliance may not correspond with the coloured markings identifying the terminals in your plug, proceed as follows: 1.
- Page 6 KY-44B Model Cooling capacity 15000Btu/hour Dehumidifying capacity 3.5 litres / hour Nominal power 1600 watts Input power (Max) 1800 watts Air flow 550 m³/h Power source 220-240V ~ 50Hz ≤ Sound pressure level 54 dB (A) Net weight 50 kg...
- Page 7 Do not locate the air conditioner where furniture or other objects can obstruct the airflow. Keep blinds/curtains closed during the warmest part of the day. Close the fireplace damper, floor and/or wall grilles, so cool air does not escape through the chimney or ductwork. Keep the filters clean.
- Page 8 1. Exhaust air duct 2. Exhaust air duct inlet connector 3. Mid-connector 4. Exhaust air duct outlet connector 5. Remote controller 6. Fish tail exhaust outlet connector - 8 -...
- Page 9 - 9 -...
- Page 10 - 10 -...
- Page 11 Do not operate in cooling or dehumidifying mode when room temperature exceeds DB35 C, RH70% Automatic, Dehumidify, Cooling, Fan mode operation 1. Turning the unit on Plug in the power cord. The unit beeps twice. Press the “On/Off” button to turn on the unit. The LED displays the room temperature and operates in Automatic mode.
- Page 12 (continued) 6. Modes operation Automatic Mode 1. Once the Automatic mode is selected, the indoor temperature sensor operates to select the desired mode. 2. When the room temperature ≥24 C, the unit automatically selects cooling mode and the upper fan turns to low speed automatically.
- Page 13 (continued) 7. Timer operation 1. Press “Timer” button to set Automatic Off time while the unit is running. 2. Press “Timer” button to set Automatic On time while the unit is standby. 3. The adjustable time range is 1-12 hours by hour. 8.
-
Page 14: Remote Control Operation
Remote Control Operation How to install or change batteries (batteries not include) 1. The polarity of batteries must match the indicator in the remote control. 2. Don’t mix new and old batteries. 3. If the remote control will not be used for a long period, take batteries out to avoid corrosion. - Page 15 Air Exhaust Dust Installation How to connect the connectors to the exhaust air duct: 1. Extend the exhaust air duct 2. Screw the exhaust air duct by drawing out the two ends of into the mid-connector. the duct. 3. Screw the exhaust air duct into the outlet connector. 4.
- Page 16 Air Exhaust Dust Installation (continuous) Suggestion methods to exhaust hot air: Exhaust hot air from window Open window a little and place plastic pipe outside. Exhaust hot air from door Open door to an appropriate angle to fit plastic pipe to outside. - 16 -...
- Page 17 Air Exhaust Dust Installation Note . Air exhaust duct can be extend from 0.55 to 1.8 meters, the unit works more efficiently if the duct is shorter. 2. Make sure the air exhaust duct is not distorted. 3. Use only the duct supplied - 17 -...
- Page 18 Before carrying out ANY maintenance works ensure the appliance is switched off and the three-pin plug is removed from the power socket. Filter maintenance Take out air filter cover from back air inflow vent. Clean, wash the air filter by immersing it gently into warm water with a neutral detergent, rinse the filter of detergent and dry it thoroughly in a shaded place.
- Page 19 (continued) B. Continuous drainage This unit can be used with a permanent drain connection. If you use this unit frequently, please connect the pipe to the unit as shown below so that the unit can drain the water continuously. 1. Disconnect the rubber plug from continuous drainage pipe. Store the disconnected rubber plug for later use.
- Page 20 Problem Cause Suggested solution Power supply fault. 1. Unit not plugged in Plug into socket outlet. The air conditioner 2. Faulty plug or Contact a qualified does not work socket engineer to replace faulty plug or socket. Replace or reset fuse. 3.
- Page 21 Mobile Air Conditioner Exhaust Air Duct Mid-Connector Exhausted Air Duct Inlet Connector Exhausted Air Duct Outlet Connector Exhausted Air Duct Fish Tail Outlet Connector Remote Controller Manual Instruction Drainage Pipe Water Plate - 21 -...
- Page 22 - 22 -...
- Page 23 Do not operate the unit with a damaged cord or plug, after the unit malfunctions, has been dropped or damaged. For your convenience, record the complete model number and product name (located on the Product Identification Plate), the date you purchased the product, and attach your purchase receipt as proof of purchase.