Table of Contents
Advertisement
Quick Links
Download this manual
See also:
Operating Manual
Advertisement
Table of Contents

Summary of Contents for Spartherm Magic
-
Page 1: Installation And Operating Instructions
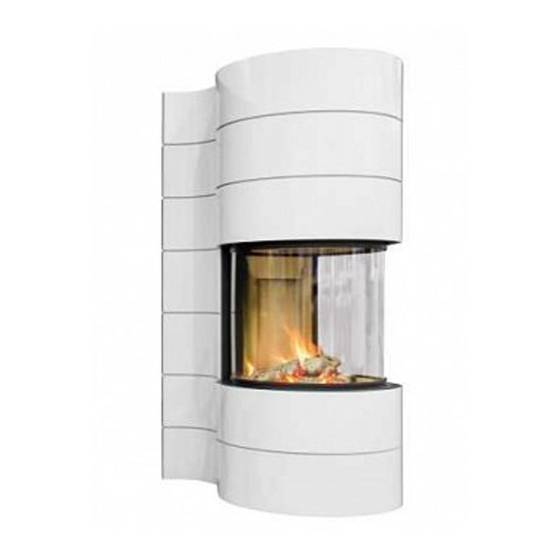
Installation and operating instructions Fireplace Insert Magic - Electric Rotary Control... - Page 2 PREFACE / QUALITY PHILOSOPHY You have decided in favour of a Spartherm Magic fireplace insert accessory - thank you for your confidence in our company. In a world of surplus and mass production, our company stands for the values expressed by our owner, Gerhard Manfred Rokossa: "High technical quality combined with contemporary design and service to the...
-
Page 3: Table Of Contents
CONTENTS 1. General instructions 5. Guide 1.1 Technical data 5.1 Troubleshooting 1.2 Scope of delivery 5.2 Service Guide 1.3 Functional description 6. General warranty conditions 2. Assembly instructions 6.1 Area of application 2.1 Electrical connection 6.2 General information 2.2 Control box 6.3 Warranty period 2.3 Connection cables 6.4 Warranty requirements... -
Page 4: General Instructions
433.92 MHz with rolling 64-bit Keeloq ® - exchange code The rotary control is to be used exclusively for the Spartherm "Magic" Dimensions control box (L W H) 280* x 200 x 160 mm fireplace. The control box is designed for indoor installation. Installation... -
Page 5: Functional Description
2. ASSEMBLY INSTRUCTIONS 1.3 FUNCTIONAL DESCRIPTION For igniting and stoking, the firebox of the Magic fireplace has to be turned These assembly instructions only apply to the electric rotary control for the in order to obtain access to the firebox door. Afterwards, the firebox has to Magic fireplace. -
Page 6: Electrical Connection
• 1 x Rear limit switch • 1 x Door contact switch (monitoring of the firebox door) • 1 x Motor current Magic stove Rotary control All wires are equipped with distinctive plugs. They can only be inserted in the correct position. The two limit switch cables are connected to the control via a common plug. -
Page 7: Commissioning
Button B on the remote control 3. OPERATION Now, you can ignite the Magic fireplace. It is important to follow the sepa- rate operating instructions. When using the electric rotary control for the Magic fireplace, rotating the firebox is ONLY possible with the provided remote control. -
Page 8: Programming A Transmitter
tremendous force. Make sure that no foreign bodies, body parts or LED C1 other items are caught by or block the rotating parts. Failure to do so will void the warranty and can cause significant damage. LED C2 Button C1 Button C2 Opening the firebox: The supplied transmitter is programmed to the remote control. -
Page 9: Deleting Specific Transmitters
Radio range: 1. Press and hold Programming Buttons C1 and C2. The LEDs will blink. The Magic rotation control is fitted as standard with a high-quality radio Now, quickly press Button A to delete the remote control. The LEDs will system, which guarantees safe operation. -
Page 10: Replacing The Battery
Type of remote control: operation of the electric rotary control. In particular, safety-related informa- As standard, the electric rotary control for the Magic is equipped with a tion (Chapters 2 and 3) has to be explained. 433.92 MHz radio control. Coding occurs over a rolling 64-bit code; i.e. -
Page 11: Guide
(see pages 6) Before mechanical work is conducted on the Magic fireplace, unplug the • Change the position of the control box rotary control. In addition, the plug of the motor cable should be discon- Check whether other devices (mobile phones, •... - Page 12 7. Insert the motor plug; the status of the LEDs on the power supplies must Tip: If no motor is available for the test, a measurement can be taken of not change Terminals 15 and 16 instead to see if there are 5 - 8 Volts DC. These are the 8.
-
Page 13: General Warranty Conditions
Union. The warranty period and scope of the warranty are ensured within the framework of these conditions outside the statutory warranty which remains unaffected. Spartherm Feuerungstechnik GmbH offers a 5-year warranty for • main body combustion cells • main body fireplace stoves •... -
Page 14: Warranty Requirements
Independent of any statutory provisions acknowledged as taking precedence over the terms of this guarantee, all necessary repair works resulting from Spartherm Feuerungstechnik GmbH is not obliged to satisfy any claim if material or manufacturing defect shall be carried out free-of-charge and shall such documentation is not presented. -
Page 15: Spare Parts
6.9 LIABILIT Y Damages and claims for compensation which are not the result of delivery Spartherm Feuerungstechnik GmbH of a defective device from Spartherm Feuerungstechnik GmbH are excluded Maschweg 38 · D-49324 Melle and are not part of this warranty promise. - Page 16 GB 16...
-
Page 17: Commissioning Protocol
8. COMMISSIONING PROTOCOL Date: Device no.: (see rating plate) Installation company: Electrical installation: Connection without ground conductor The fireplace operator has been instructed regarding the operation of the control and the instructions for assembly and use have been provided: Signatures: Installer Operator Type of work... - Page 18 NOTES GB 18...
- Page 19 GB 19...
- Page 20 SPARTH ERM The global brand for your lounge Reg. no.: Product inspected by: Date: Month Year Your specialist dealer: Spartherm Feuerungstechnik GmbH | Maschweg 38 | 49324 Melle | Germany | Tel.: +49 5422 9441-0 | www.spartherm.com...


