Advertisement
Quick Links
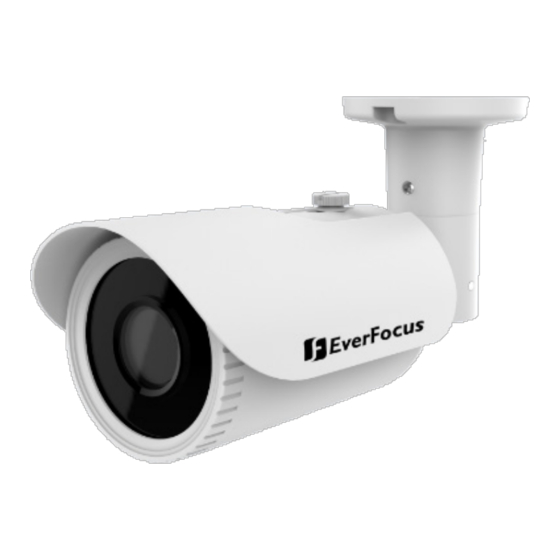
EZA1280 eZ.HD Series
1080p Dual Power FHD IP66 IR Bullet Camera
User's Manual
Copyright © EverFocus Electronics Corp.
Release Date: May, 2019
All the images including product pictures or screen shots in this document are for example
only. The images may vary depending on the product and software version. Information
contained in this document is subject to change without notice.
EverFocus Taiwan:
2F., No.12, Ln. 270, Sec. 3, Beishen Rd., Shenkeng Dist., New Taipei City 222, Taiwan
TEL: +886 2 2662 2338 FAX: +886 2 2662 3632 www.everfocus.com.tw
Advertisement

Related Manuals for EverFocus EZA1280 eZ.HD Series


Summary of Contents for EverFocus EZA1280 eZ.HD Series
- Page 1 The images may vary depending on the product and software version. Information contained in this document is subject to change without notice. EverFocus Taiwan: 2F., No.12, Ln. 270, Sec. 3, Beishen Rd., Shenkeng Dist., New Taipei City 222, Taiwan TEL: +886 2 2662 2338 FAX: +886 2 2662 3632 www.everfocus.com.tw...
- Page 2 1. Introduction Equipped with a 1080p Sony STARVIS CMOS sensor, the EZA1280 deliver 1080p full HD image quality. The model provides 2.8-12mm lens with ICR. Featured with Digital Wide Dynamic Range (D-WDR), the camera can provide clear images even under backlight circumstances where intensity of illumination can vary excessively.
- Page 3 1.3 Dimensions 1.4 Optional Accessory BAE3201 Color: White Size: Φ138 x 54(H)mm / 5.43”x2.16” Weight: 700g / 1.87lb Material: Metal 1.5 Cable Description Power Cable Video Output Cable No. Name Descriptions Power Cable Connects to a 12VDC / 24VAC power source. 1080p output, using a 75 Ohm BNC-type coaxial Video Output cable.
-
Page 4: Installation
2. Installation 1. Stick the supplied Mounting Sticker to the surface to mark the 3 screw positions. Drill 3 holes on the surface and insert the supplied 3 Screw Anchors into the screw holes. If you want to run the cable through the surface, drill a hole within the 3 screw area. -
Page 5: Configuration In The Osd Menu
5. For the first time installation, check whether the camera is properly focused. If not, you can manually adjust camera Zoom or Focus using the supplied L-Type Wrench. On the bottom of the camera, find the Zoom and Focus nuts. Using the supplied L-Type Wrench to adjust camera Zoom or Focus. - Page 6 Auto Normal / Deblur 1/30, 1/60, 1/120, 1/240, 1/480, Shutter Manual Speed 1/1000, 1/2000, 1/4000, 1/8000, 1/15000, 1/30000 Flicker Sens-Up Off, x2, x4, x8, x16, x32 0-10 Mode Night Only / All Day Level 0-20 BLK / CUSTOMIZE / WHT / YEL / CYN / GRN Color / MAG / RED / BLU H-POS...
- Page 7 D > N Thres 0-20 N > D Thres 0-20 Middle / High / Delay Auto Autoext Preset Color C-Temp 3000K / 5000K / 8000K Manual R-Gain 0-20 B-Gain 0-20 Color Gain 0-20 Middle / High / Off / Low CVBS 0-10 0-10...
- Page 8 Mode 1080 25P(30P) / 720 25P(30P) / 720 Frame Rate 50P(60P) Freq. 50HZ / 60HZ Confirm Full Image Comp Range User Offset 0-32 Color HD-CbCr / YUV / SD-CbCr Space Color Bar On / Off Language ENG / CHN / CHN(S) / JPN / KOR / POR Cam Title Right Up Left Down...