User Manuals: TELEDYNE API T300M CO Analyzer
Manuals and User Guides for TELEDYNE API T300M CO Analyzer. We have 3 TELEDYNE API T300M CO Analyzer manuals available for free PDF download: Operation Manual, User Manual, Manual Addendum

TELEDYNE API T300M Operation Manual (347 pages)
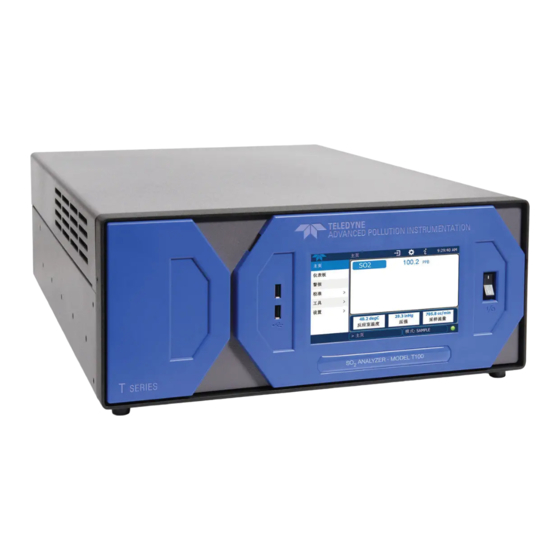
Carbon Monoxide Analyzer
Brand: TELEDYNE API
|
Category: Measuring Instruments
|
Size: 11 MB
Table of Contents
-
-
Rear Panel35
-
-
-
-
Startup70
-
-
-
Sample Mode82
-
Setup MODE87
-
-
-
5 Setup Menu
89-
-
Range Units99
-
-
Signal I/O110
-
Analog Output111
-
-
AIN Calibration127
-
Dark Calibration129
-
Electrical Test129
-
Flow Calibration130
-
Test Chan Output130
-
-
137139
-
Ethernet140
-
RS-485 (Option)140
-
-
-
DAS Structure160
-
Report Function175
-
HOLDOFF Feature177
-
-
Computer Mode183
-
Interactive Mode184
-
-
-
-
-
-
Status Leds247
-
-
-
Flow Is Zero255
-
Low Flow256
-
High Flow256
-
Sample Pump257
-
-
-
DC Power Supply263
-
I 2 C Bus263
-
Relay Board264
-
Sensor Assembly265
-
Electrical Test265
-
GFC Wheel Drive266
-
IR Source266
-
Motherboard268
-
Cpu271
-
Communications271
-
-
-
-
-
Beer's Law282
-
-
-
-
Cpu293
-
Flash Chip293
-
-
Relay Board299
-
Heater Control299
-
IR Source300
-
Status Leds301
-
-
Motherboard302
-
Sensor Inputs302
-
Analog Outputs303
-
I 2 C Data Bus304
-
-
Advertisement

TELEDYNE API T300M User Manual (180 pages)
Carbon Monoxide Analyzer
Brand: TELEDYNE API
|
Category: Measuring Instruments
|
Size: 12 MB
Table of Contents
-
-
Unpacking20
-
-
-
-
-
Setup>Events70
-
Setup>Vars74
-
-
-
-
-
-
-
Status Leds119
-
Flow Problems123
-
Flow Is Zero124
-
Low Flow124
-
High Flow124
-
Sample Pump125
-
-
Excessive Noise129
-
-
DC Power Supply130
-
I 2 C Bus131
-
Relay Board132
-
GFC Wheel Drive133
-
IR Source133
-
Motherboard134
-
Cpu135
-
Communications136
-
-
-
-
Beer's Law146
-
-
-
-
Cpu155
-
Flash Chip155
-
-
Relay Board161
-
Motherboard163
-
Sensor Inputs163
-
Analog Outputs164
-
I 2 C Data Bus165
-

TELEDYNE API T300M Manual Addendum (91 pages)
CO Analyzer with Auto-Reference
Brand: TELEDYNE API
|
Category: Measuring Instruments
|
Size: 3 MB
Table of Contents
-
-
-
Pneumatics20
-
-
-
-
-
Overview66
-
-
Status Leds70
-
Motherboard70
-
Advertisement