
Tandberg Data StorageLibrary LTO-4 SCSI Manuals
Manuals and User Guides for Tandberg Data StorageLibrary LTO-4 SCSI. We have 5 Tandberg Data StorageLibrary LTO-4 SCSI manuals available for free PDF download: Installation And User Manual, User Manual, Quick Start Manual, Quick Start
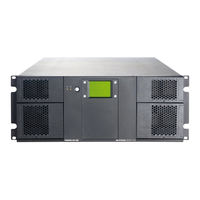
Tandberg Data StorageLibrary LTO-4 SCSI Installation And User Manual (109 pages)
professional tape backup and data protection solution
Brand: Tandberg Data
|
Category: Storage
|
Size: 5 MB
Table of Contents
Advertisement
Tandberg Data StorageLibrary LTO-4 SCSI User Manual (68 pages)
Brand: Tandberg Data
|
Category: Storage
|
Size: 1 MB
Table of Contents

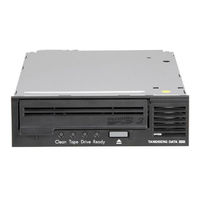
Tandberg Data StorageLibrary LTO-4 SCSI Quick Start Manual (2 pages)
HH SAS Internal Tape Drives
Brand: Tandberg Data
|
Category: Storage
|
Size: 0 MB
Table of Contents
Advertisement

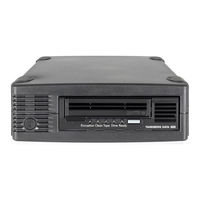
Tandberg Data StorageLibrary LTO-4 SCSI Quick Start (2 pages)
HH SAS External Tape Drives
Brand: Tandberg Data
|
Category: Storage
|
Size: 0 MB
Table of Contents
Tandberg Data StorageLibrary LTO-4 SCSI Quick Start Manual (2 pages)
Brand: Tandberg Data
|
Category: Storage
|
Size: 0 MB
Advertisement
Related Products
- Tandberg Data StorageLibrary LTO-4 SAS
- Tandberg Data StorageLibrary LTO-4 FC
- Tandberg Data LTO-1 HH
- Tandberg Data LTO-2 HH
- Tandberg Data LTO-3 HH
- Tandberg Data StorageLibrary LTO-3 SCSI
- Tandberg Data LTO-5
- Tandberg Data StorageLibrary LTO-3 SAS
- Tandberg Data StorageLibrary LTO-3 FC
- Tandberg Data LTO 1