
Juniper QFX5110 Manuals
Manuals and User Guides for Juniper QFX5110. We have 4 Juniper QFX5110 manuals available for free PDF download: Hardware Documentation, Hardware Manual

Juniper QFX5110 Hardware Documentation (669 pages)
Virtual Chassis Fabric
Table of Contents
-
Overview
25 -
-
Planning
110 -
-
-
-
-
Table190
-
Item193
-
Specification193
-
-
-
In this Section
208-
Compliance
214
-
Safety
226 -
-
Ramp Warning248
-
-
TN Power Warning282
-
Before You Begin
284 -
-
-
-
-
Maintenance
417 -
-
Advertisement
Juniper QFX5110 Hardware Manual (222 pages)
Table of Contents
-
Overview21
-
Table29
-
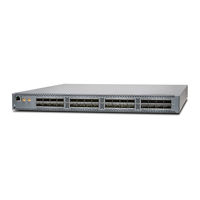
Switch Ports30
-
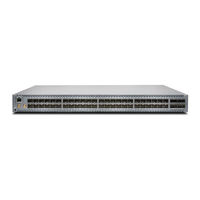
Switch Ports33
-
Cispr44
-
Fan Modules45
-
Switch49
-
Series81
-
Procedure98
Juniper QFX5110 Hardware Manual (176 pages)
Table of Contents
-
Overview19
-
Overview21
-
Overview23
-
Fan Modules40
-
Switch43
-
Figure46
-
-
Dispersion72
-
QFX Series75
-
Information77
-
-
Advertisement

Juniper QFX5110 Hardware Manual (254 pages)
Table of Contents
-
Overview10
-
Ex4600-Em-8F43
-
Qfx-Em-4Q45
-
Qfx-Pfa-4Q46
-
Item or Task98
-
Device99
-
Before You Start132
Advertisement