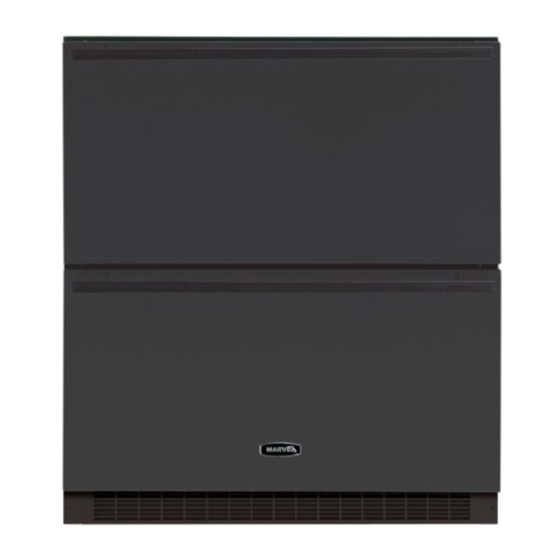
Marvel Refrigerated Drawers 60RDE Installation And Maintenance Instructions Manual
Refrigerated drawers
Hide thumbs
Also See for Refrigerated Drawers 60RDE:
Summary of Contents for Marvel Refrigerated Drawers 60RDE
- Page 1 MARVEL REFRIGERATED DRAWERS Installation Operation Maintenance Instructions Refrigerated Drawers 60RDE & 80RDE...
- Page 2 UNPACKING YOUR REFRIGERATED DRAWERS Remove Packaging Your refrigerated drawers have been packed for shipment with all parts that could be damaged by movement securely fastened. Before using, be sure all packing materials and tape have been removed. Important Keep your carton packaging until your refrigerated drawers have been thoroughly inspected and found to be in good condition.
- Page 3 Select Location The proper location will ensure peak performance of your appliance. Choose a location where the unit will be out of direct sunlight and away from heat sources. Best perfor- mance will be maintained when installed within the follow- ing parameters: Ideal Ambient Temperature Range Built-In...
- Page 4 SENTRY SYSTEM™ REFRIGERATION MONITOR Start Your Appliance Your appliance will start upon initial plug-in. The LED will flash amber upon initial plug-in due to your unit being powered-on at the factory to verify performance and then powered-off. The Sentry System™ refrigeration monitor senses a power outage has occurred and relays this infor- mation to you when you initially power-up your appliance.
-
Page 5: Full Overlay Panel Installation Instructions
Figure 4 Figure 3 Figure 5 5/16 Phillips Head Screws Holding Drawer Front Gasket Figure 6 FULL OVERLAY PANEL INSTALLATION INSTRUCTIONS Step 1: Determine Wood Screw Requirements A #8 pan head wood screw should be used to properly secure the overlay panel. A total of 8 screws will be needed. - Page 6 FULL OVERLAY PANEL INSTALLATION INSTRUCTIONS Step 3: Size the Overlay Panel Figure 7 (for 60RDE units) Figure 8 (for 80RDE units) Step 4: Attach the Overlay Panel to the Door Set the overlay panel on drawer front face and align edges.
- Page 7 Condenser The condenser tubing inside the cabinet does not require frequent cleaning; however, satisfactory cooling depends on adequate ventilation over the coils. Be sure that noth- ing obstructs the required air flow openings in front of the cabinet. At least once or twice a year, brush or vacuum lint and dirt from the condenser for efficient performance by unscrewing the grille on the bottom front of the cabinet.
- Page 8 TROUBLESHOOTING YOUR REFRIGERATED DRAWERS Before Calling for Service Before calling for service, check the troubleshooting table on this page. This table lists possible problems that you can remedy without difficulty to avoid an unnecessary service call. PROBLEM Odor in cabinet 1.
- Page 9 If You Do Need Service If you do need service, contact your dealer or Marvel Indus- tries. In any correspondence, refer to the model number and serial number of your unit which is located on the up- per left hand side of the inside wall liner. Retain your proof of purchase.
-
Page 10: Household Product Warranty
In no event shall Marvel Industries be liable for any consequential or incidental damages or expenses resulting from breach of these or any other warranties, whether express or implied. - Page 11 NOTES...
- Page 12 Marvel Industries P .O. Box 997 Richmond, IN 47375-0997 800.428.6644 An AGA Company 41010409 Rev B 03.03.08 www.lifeluxurymarvel.com All specifications and product designs subject to change without notice. Such revisions do not entitle the buyer to corresponding changes, improvements, additions, replacements or compensation for...


Need help?
Do you have a question about the Refrigerated Drawers 60RDE and is the answer not in the manual?
Questions and answers