Table of Contents
Advertisement
Quick Links
Advertisement
Table of Contents

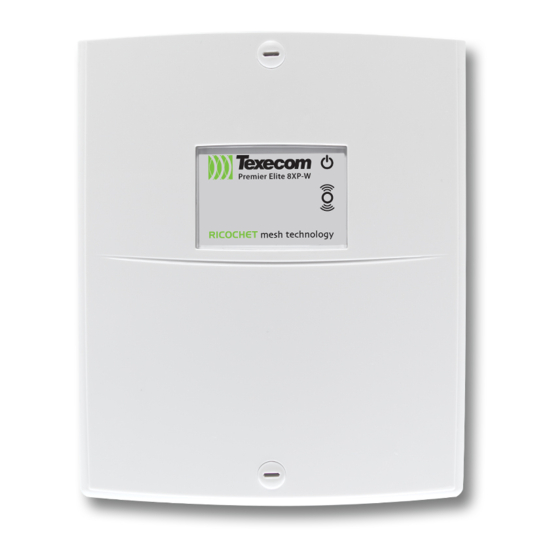
Summary of Contents for Texecom Premier8XP
- Page 1 THANK YOU FOR VOTING TEXECOM INSTALLATION MANUAL Zone and Output Expander Issue 3...
- Page 2 1. Installation The Premier 8XP expander is only compatible with the Premier range of control panels. Expanders can be connected serially (daisy chain), in parallel (star) or any combination of the two. Mounting Remove each screw cap by inserting a flat bladed screwdriver into the slot and turning anti-clockwise, excessive force is NOT required.
- Page 3 Selecting an Address Each expander must be assigned a different address using the DIL switches located in the centre of the PCB. The table below shows the expander addressing: Address DIL 1 DIL 2 DIL 3 DIL 4 On or Off !"...
- Page 4 Warranty All Texecom products are designed for reliable, trouble-free operation. Quality is carefully monitored by extensive computerised testing. As a result the Premier 8XP expander is covered by a two-year warranty against defects in material or workmanship.


Need help?
Do you have a question about the Premier8XP and is the answer not in the manual?
Questions and answers