Singer 14CG754 Operator's Manual
Hide thumbs
Also See for 14CG754:
- Information sheet (2 pages) ,
- Operator's manual (156 pages) ,
- Instruction manual (54 pages)
Table of Contents
Advertisement
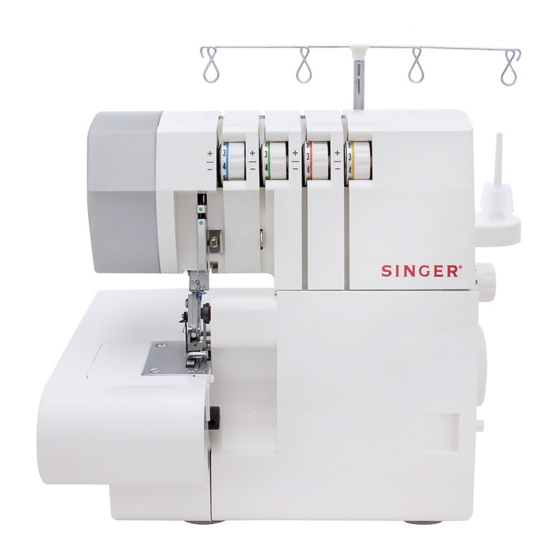
14SH744/14CG744
(2.3.4 THREAD
OVERLOCK
MACHINE)
(2.3.4 MAQUINA
SOBREORILLADORA)
(SURJETEUSE
2.3.4 FILS)
14SH754/14CG754
(2.3.4 THREAD
OVERLOCK
MACHINE
WITH DIFFERENTIAL
FEED)
(2.3.4 MAQUINA
SOBREORILLADORA
CON TRANSPORTE
DIFERENClAL)
(SURJETEUSE
2.3.4 FILS ENTRAINEMENT
DIFFERNTIEL)
/
Operator's
Guide
Manual
de lnstrucciones
Manuel
D'instructions
\
,\
/
J
®
Advertisement
Table of Contents


Need help?
Do you have a question about the 14CG754 and is the answer not in the manual?
Questions and answers
can i see how to thread for a 3 thread on my Singer serger/#14SH744
To thread a 3-thread stitch on a Singer serger model 14SH744:
1. Turn off the machine and open the looper and needle area for access.
2. Thread the loopers first, starting from the center out:
- Upper looper (red path):
- Insert thread from back to front into the upper thread guide.
- Snap it into the top thread guide.
- Hold the thread with slight tension and floss it into the tension disks.
- Follow the threading path marked with red dots into the upper looper.
- Lower looper (color-coded path, often yellow or blue):
- Repeat similar steps by inserting the thread through the correct guides and path into the lower looper.
3. Thread one needle only, either left or right, depending on the desired stitch width.
- Follow the needle threading path and insert the thread through the needle eye from front to back.
Ensure all threads are secured in their guides, tension disks, and loopers. Replace covers and test the stitch on scrap fabric.
This answer is automatically generated