Sign In
Upload
Download
Table of Contents
Contents
Add to my manuals
Delete from my manuals
Share
URL of this page:
HTML Link:
Bookmark this page
Add
Manual will be automatically added to "My Manuals"
Print this page
×
Bookmark added
×
Added to my manuals
Manuals
Brands
Epcom Manuals
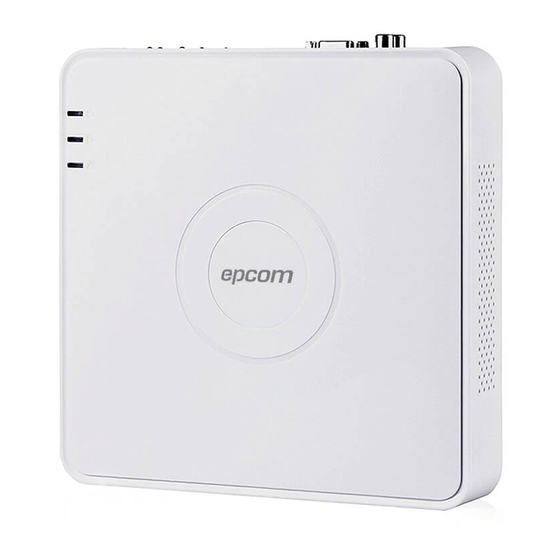
DVR
S04
Quick operation manual
Epcom S04 Quick Operation Manual
S series
Hide thumbs
1
2
3
4
5
6
7
8
9
10
11
12
13
14
15
16
17
18
19
20
Table Of Contents
21
page
of
21
Go
/
21
Contents
Table of Contents
Bookmarks
Advertisement
Table of Contents
1
Quick Operation Guide
2
DVR Pre-Installation
3
Hard Disk Installation
4
Dvr Installation
5
Front Panel
6
Rear Panel
7
Specifications
8
HDD Storage Calculation Chart
9
Menu Operation
Download this manual
SERIES
SERIES
POWERED BY
Quick Operation Guide
UD.7L0202B1365B01
POWERED BY
Table of
Contents
Previous
Page
Next
Page
1
2
3
4
5
Advertisement
Table of Contents
Need help?
Do you have a question about the S04 and is the answer not in the manual?
Ask a question
Questions and answers
Related Manuals for Epcom S04
DVR Epcom S16 Quick Operation Manual
S series (21 pages)
DVR Epcom S08 Quick Operation Manual
S series (21 pages)
DVR Epcom S04 S Series User Manual
(132 pages)
DVR Epcom EV-1004 Technical Manual
(7 pages)
DVR Epcom XMR Series User Manual
(17 pages)
DVR Epcom XMR401HDS User Manual
Mobile digital video recorder (73 pages)
DVR Epcom XMR404HD User Manual
Mobile digital video recorder (71 pages)
This manual is also suitable for:
S16
S08
Table of Contents
Save PDF
Print
Rename the bookmark
Delete bookmark?
Delete from my manuals?
Login
Sign In
OR
Sign in with Facebook
Sign in with Google
Upload manual
Upload from disk
Upload from URL


Need help?
Do you have a question about the S04 and is the answer not in the manual?
Questions and answers