Advertisement
Quick-Start
Guide
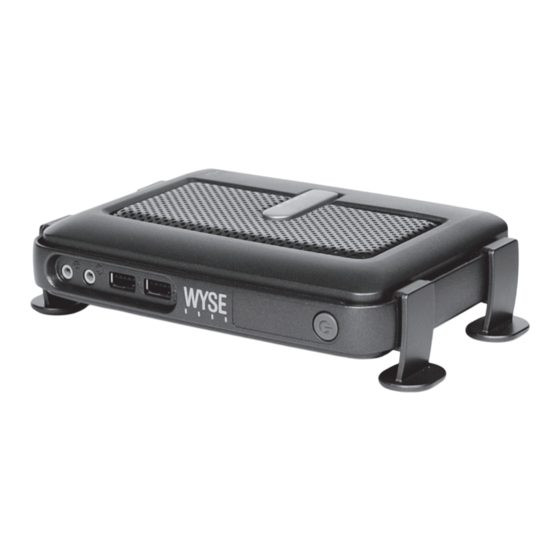
Wyse
Xenith
®
™
Use the easy 2-step process to quickly
connect your Wyse Xenith zero client
to your Citrix XenDesktop environment.
Refer to the administrators guide for
more detailed information.
Note: Be sure you have read the Caution Statements
on the reverse of this document before setting up
and operating Wyse Xenith.
Step 1:
Setting Up Wyse Xenith
1
Wireless option not available in all localities.
2
Supplied for U.S.A; in other locales, check package contents or contact your Wyse reseller.
Step 2:
Connecting to Your Desktop
Press the power button to turn on Wyse Xenith to see the XenDesktop logon screen. Simply enter your
User name, Password, and Domain (provided to you by an administrator) and click Log on. After
authentication is successful, your desktop is presented for use.
Note: If you have more than one connection, you will see the list of desktops from which you can select.
Administrators: Use DCHP Option Tag #181 to have
Wyse Xenith auto detect the XenDesktop environment
(for information go to the Wyse Knowledge Base and
search for Solution 19575).
If you do not see a Log on dialog box
but instead see this Notice! message, click OK.
In the Remote Connections dialog box that appears,
enter the XenDesktop Broker Server URL (provided to you by
an administrator) and click OK.
After clicking OK, you will be presented with the
XenDesktop logon screen.
Note: If you do not see a Log on dialog box, contact your
IT department for help.
Advertisement
Table of Contents

Subscribe to Our Youtube Channel
Summary of Contents for Wyse Xenith
- Page 1 Setting Up Wyse Xenith Connecting to Your Desktop Press the power button to turn on Wyse Xenith to see the XenDesktop logon screen. Simply enter your Quick-Start User name, Password, and Domain (provided to you by an administrator) and click Log on. After authentication is successful, your desktop is presented for use.
- Page 2 Shutdown icon in the Wyse Xenith toolbar to select Sign-off from account. • Not all USB devices are supported; check with Wyse or your Wyse representative to find out if a particular device is supported on your device.


Need help?
Do you have a question about the Xenith and is the answer not in the manual?
Questions and answers